Idle
Solenoid Power Kit Installation |
||
|---|---|---|
|
|
||
|
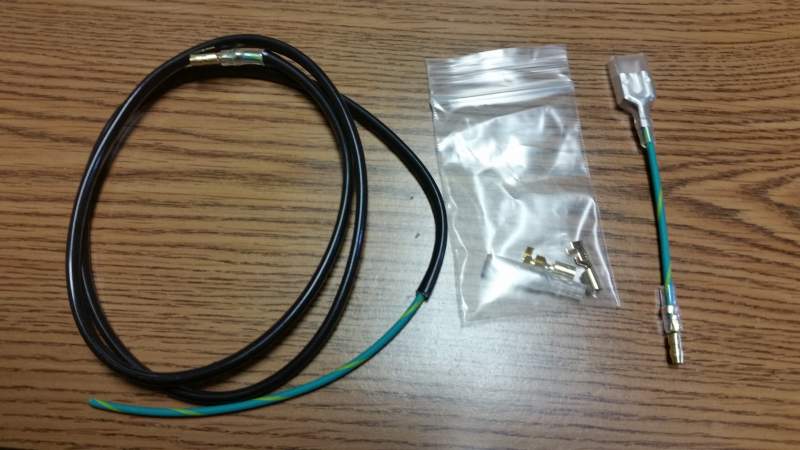
Tools needed: Wire stripper/cutters, open barrell crimper, or if you do not have crimpers, needle nose pliers and a soldering iron.
Fig. 1
1. Remove the positive and negative battery terminals: I can not stress this enough!!! You have been warned! 2. Locate your 4WD green light on the dash. Either remove the gauge cluster to access the bulb on the back or reach under the dash. Which ever method works you want to unplug the BULB from the housing. It just presses in. 3. There are two Green/Yellow wires attached to the light. One goes up inside the bulb housing the other is soldered to the outside of the metal bulb housing. These go to two MALE bullet connectors. 4. Unplug the male bullet connector that is going to the wire going into the bulb housing from the female bullet connector harness wire. This is the HOT wire. 5. Locate the supplied splitter adapter, and plug the male bullet connector on it into the FEMALE bullet connector you just unplugged coming from the harness. 6. Now plug the male connector on the 4WD light into the one of the two female recepatacles on the double female bullet connector. 7. Locate the idle solenoid extension wire with the male bullet connector on one end. Plug the male end into the remaining female receptacle on the double bullet connector. 8. Route the other end through the firewall using existing grommets so that it ends up at the carb idle solenoid wire. 9. Cut off any excess wire (or leave it under the dash). Slide the female bullet connector protective sleeve onto the wire. Strip off 1/8" of insulation from the end and crimp or solder on the female bullet connector. 10. Plug this female connector into the male connector on the idel solenoid. That's it! Reconnect the battery terminals and you now have switched power to the idel solenoid on a fused circuit! |
||