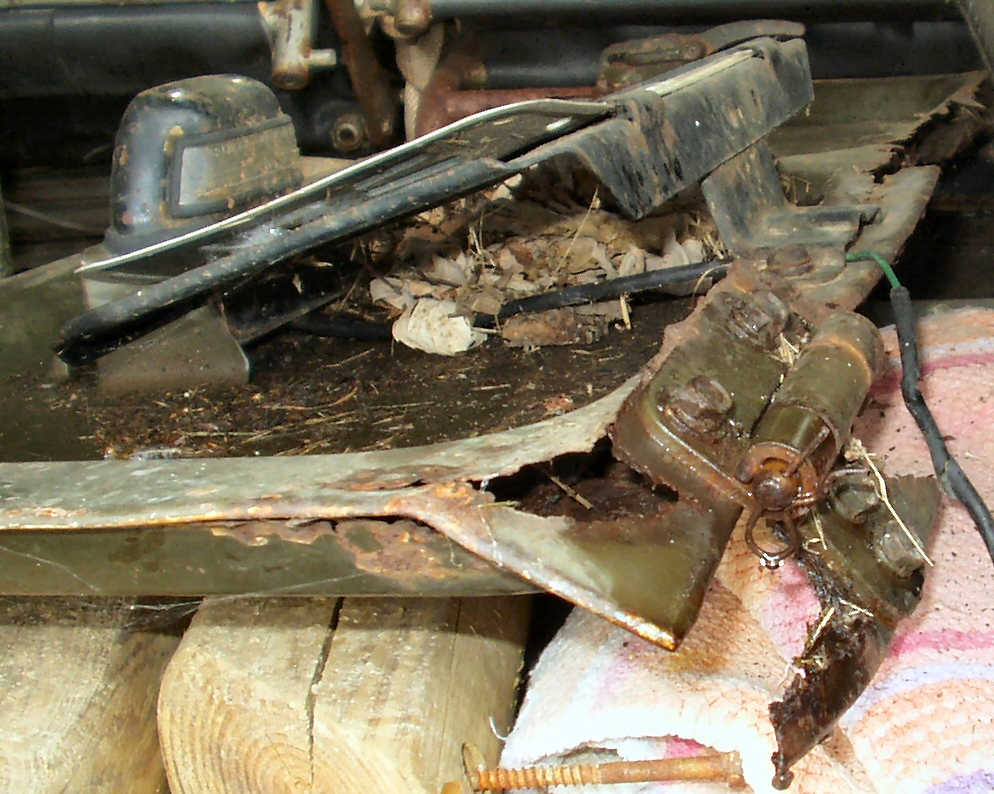
My Cruiser is an original soft top model and I have one of
the slightly rare drop down tail gates. Or at least I have most of one :-) Fig.
1 shows the state this poor tailgate
was in when I took delivery of the truck in 1998. Fig.
2-3's
show it after I sort of attached it back to the truck and before ANY work was
done to it. At that time I figured it would be easy to find a perfect
replacement. Fast forward 8 years.... I'm still looking for that perfect
original
tailgate. At least one under $500.
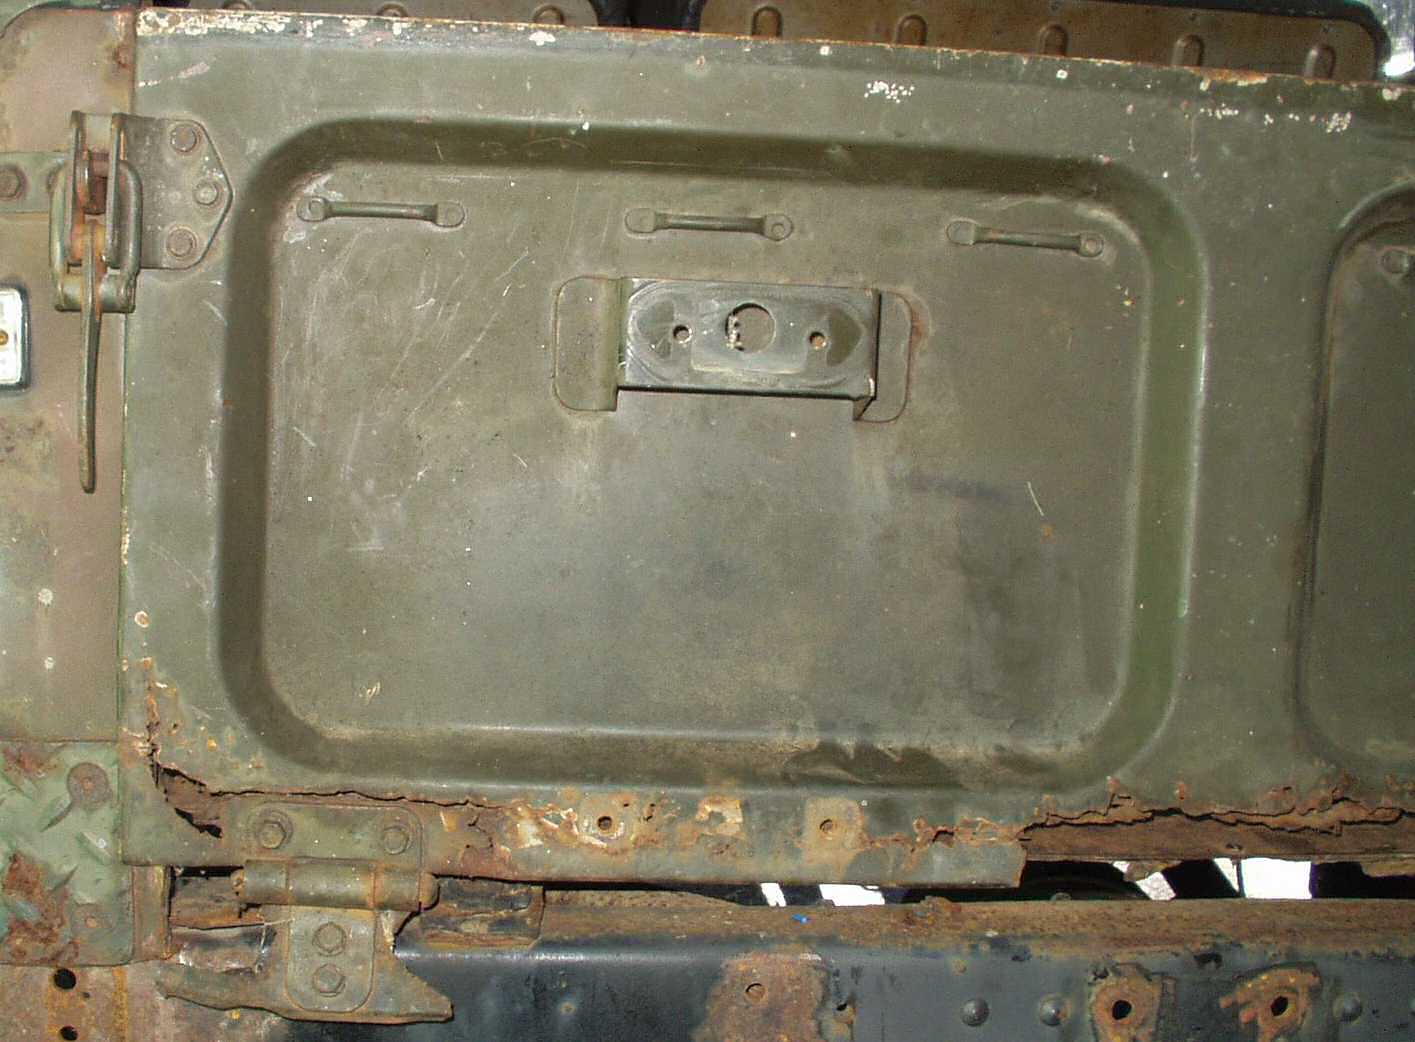
Fig. 4
Tailgate hardware
Fig. 5
Fig. 6
Since I could not find a good used gate and I did not want
to pay $450 for a 'new' one from a couple of the vendors now making them
I decided
to fix the one I have. Stop laughing, no, I mean it! If you have seen some
of the other things on this truck that have been saved then you know this
kind
of work is possible. I started by first stripping all the hardware off the
gate (Of course most of the bolts broke off...) and putting all of it into
the de-rust
tank. See Fig. 4. Now I had to make a decision.
Do I attempt to take the gate apart by drilling out all the spot welds to
de-rust
it or do I just cut out the bad section, put it in the tank and hope for the
best? Well you know me, I elected to take it apart and
attempt to totally repair it. Fig. 5-6 show
the fun I had drilling out the spot welds.
Well, fast forward again to last week when I scored another
tailgate! It's also rusted badly on the bottom but in far better shape than
mine. It does have some dents to repair. See Fig.
7-9.
Fig. X
Tailgate Chains and anchors
Fig. X
Fig. X
While fixing many other things I the truck I found the original
chains and anchors and put them in the de-rust tank. That did not work very
well as each link was so corroded that I could not get good electrical contact
on them. Next I tried putting them into a rock polisher (tumbler) with some
#200 grit that I had. That worked pretty good for one of them but took too damn
long. So for the other one I used my new sand blaster cabinet. That worked but
also took awhile. See Fig. X. I primed them with
self etching primer (See Fig. X) then sprayed them
with black epoxy paint. (See Fig. X) I tried powder
coating them but had the same issue with not being able to get a good ground
connection for the powder gun.