When I got the Cruiser it had Man-a-Fre 8 leaf spring packs
in the front and 7 leaf spring packs in the rear! Talk about a rough ride!
They were not in too bad a shape but on a trip to Virginia to visit
my dad and
to
pick up some other Cruiser parts I picked up a set of front and rear original
springs. They sat in my basement for months before I finally got around to
cleaning
them up and installing them.
Fig. 1
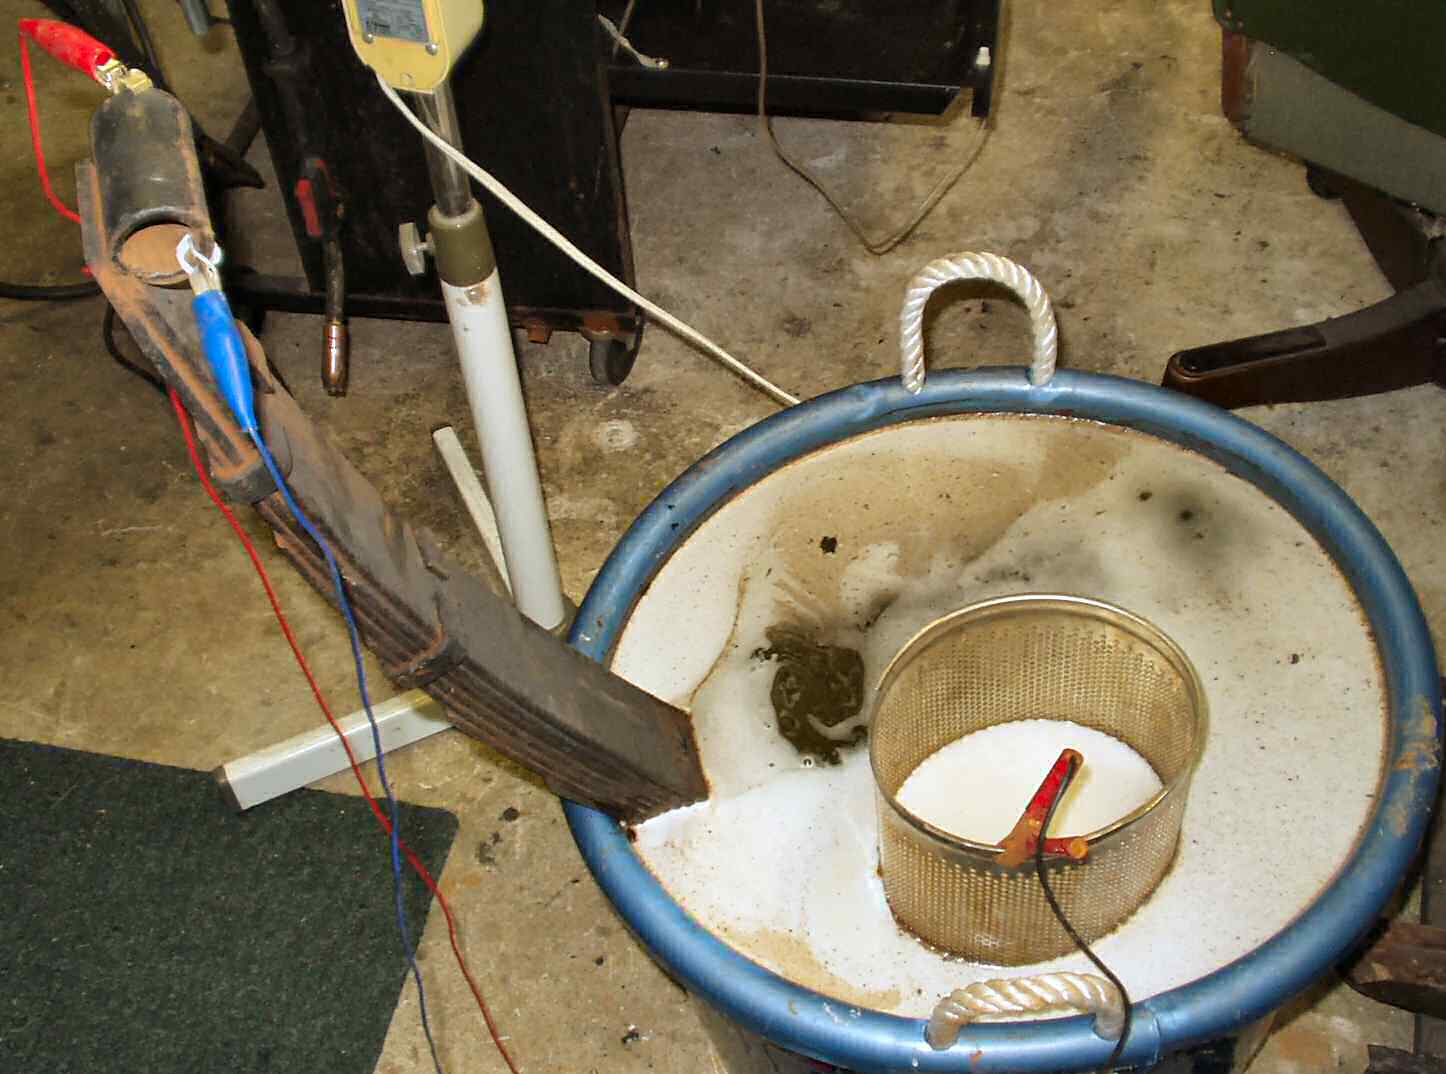
De-Rusting Springs
Fig. 2
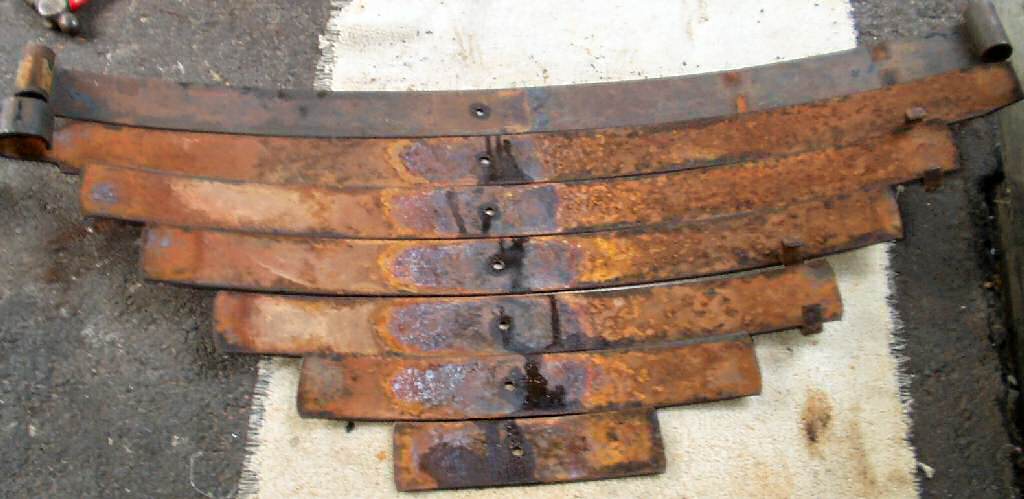
Disassembled
Fig. 3
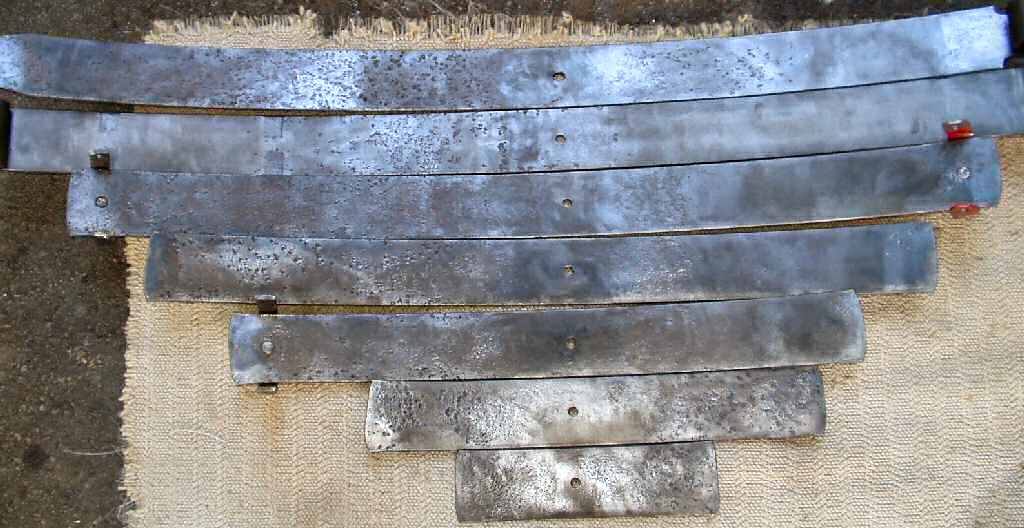
Wire Wheeled
First I placed each one of them into the de-rust tank for a
couple of days to completely rid them of all the rust and grease. see Fig.
1. Next I took the spring packs apart, see Fig.
2. A quick pass with a wire wheel, see Fig.
3, and they looked a lot better.
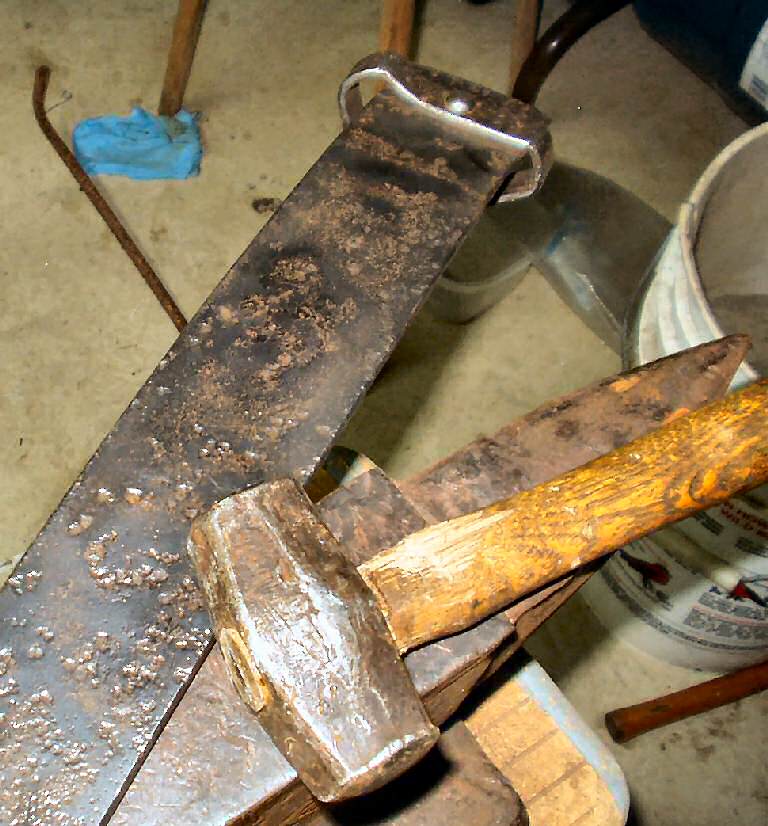
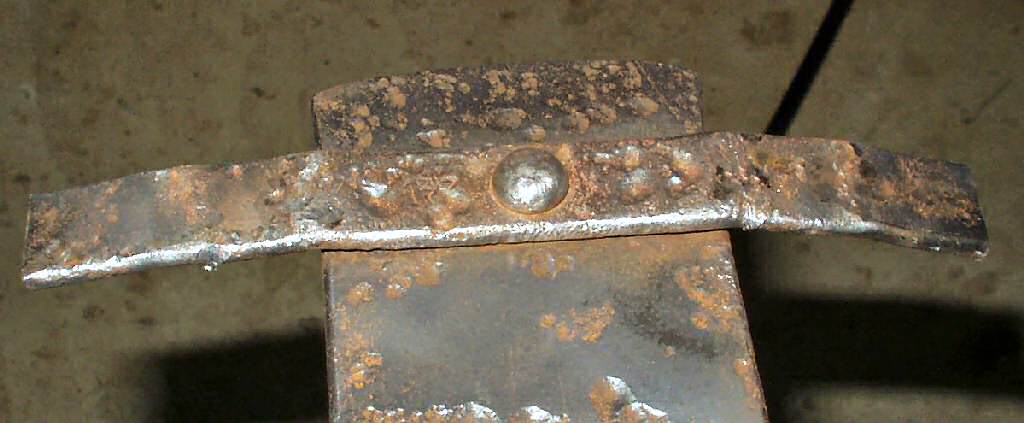
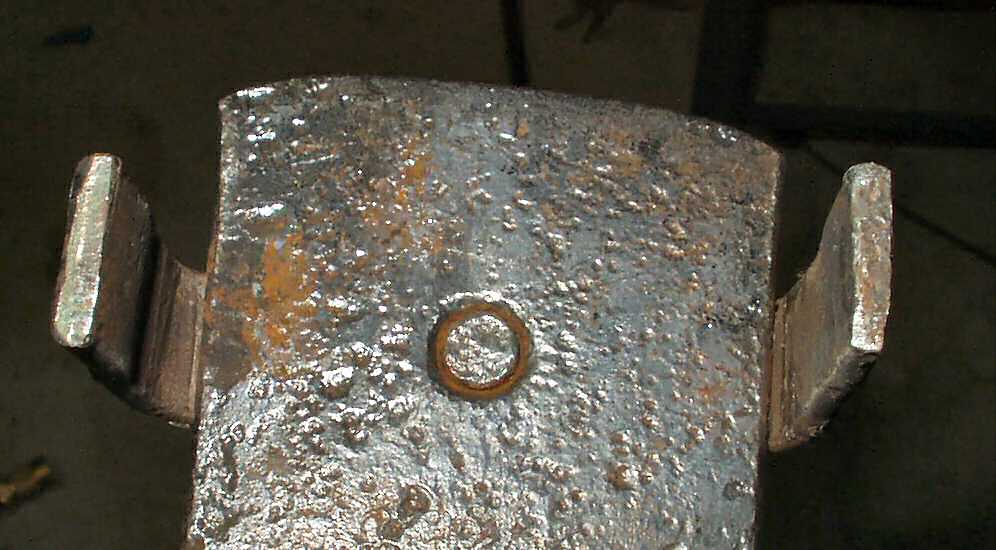
Fig. 4
Anvil Work
Fig. 5
Flatened Out
Fig. 6
Bent Straight
Next I modded the spring clamps (See Fig.
4-8 )
to allow for more flex on the trail.
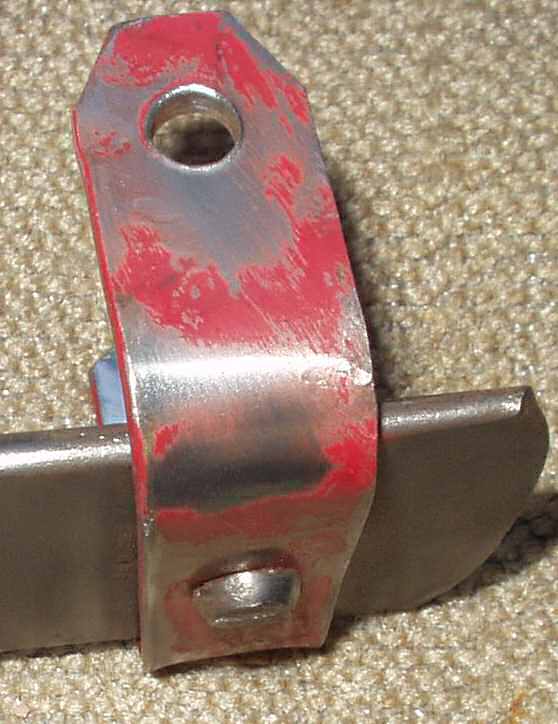
Fig. 8
Fabbed Clamp
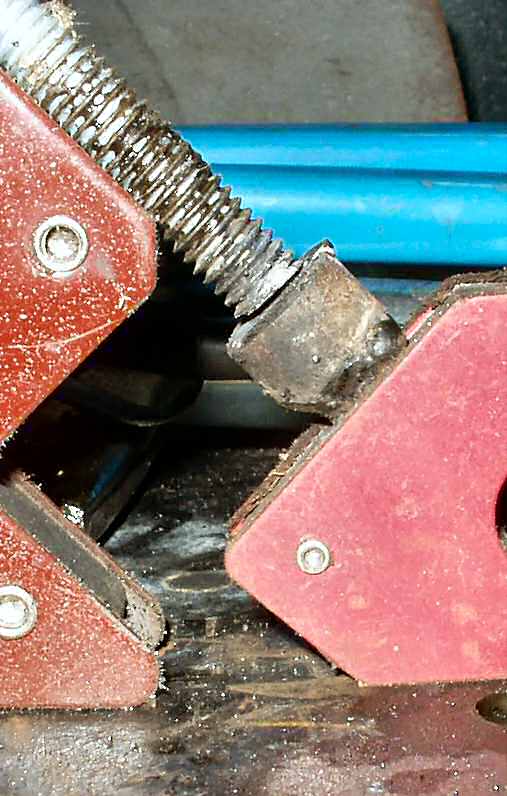
Fig. 9
Bolt and nylocs
Holes were drilled to accept 4" 3/8" bolts
with
nyloc nuts. I also had to fab
up one clamp from a piece of scrap as I was missing one?
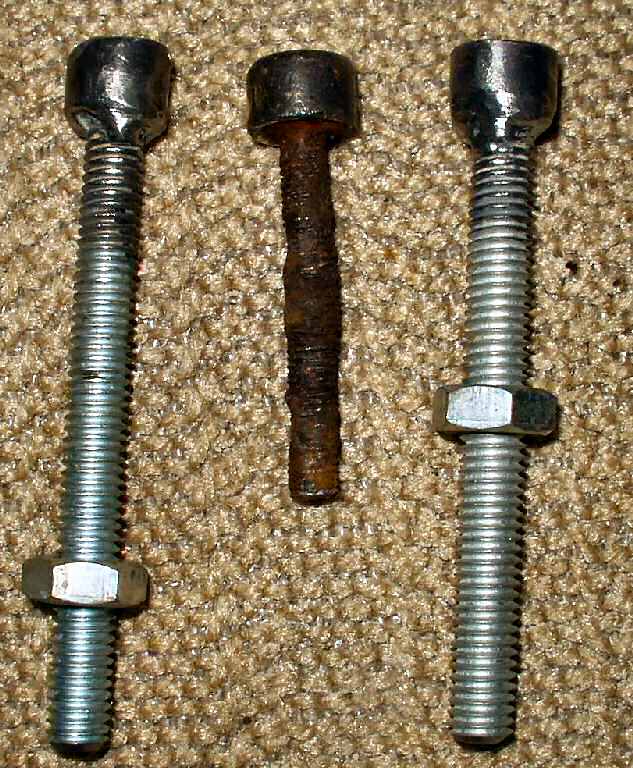
Fig.10
Different Pins
Fig. 11
Cutting new head
Fig. 12
Welding On
Fig. 13
Finished
Now I had to figure out the spring pin situation.
If you have messed with springs on Cruisers before you know that each manufacture
uses a different size spring pin. I had a set of springs I believe came from
Man-a-Fre on the Cruiser, a set of springs that came off a 1976 FJ40 and
a set of spring pins from CCOT. As you can see in Fig.
10 they are all different.
CCOT on the left, 1976 in the middlen and my 1971 Man-a-Fre spring pin on
the right. I read that it was easy to drill the springs so I got a brand
new
split point
cobalt
bit, some oil, and clamped the spring in a vice to give it a try. No go!
No way to drill that kind of steel with a hand held drill. So... guess I
will just have to make some pins that fit the existing holes. The holes in
the axle spring perch matched the Man-a-Fre heads
so I dug through my scrap pile and found a steel rod that was very close
to the same diameter and cut two pieces slightly longer than the heads on
those pins. See Fig. 11. I scrounged up some
7/16" all thread, cut two 4" sections off then used two magnetic welding
helpers to align the two for welding. See Fig.
12. See the finished version in Fig. 13.
Ok on with the painting.
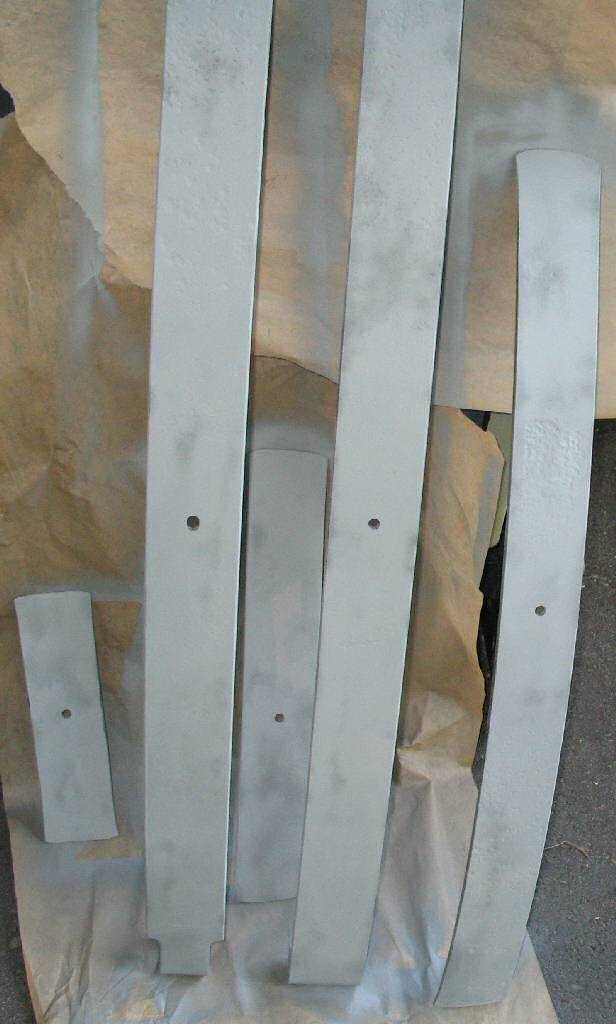
Fig.14
Primed
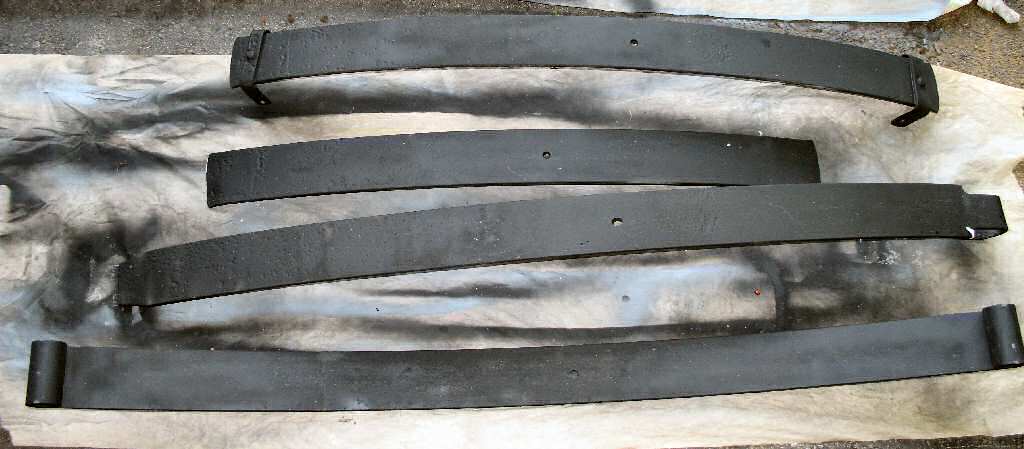
Fig. 15
Painted
I primed
each leaf with a galvanizing primer then painted over that with black. See Fig.
14-15.
Before
reassembling them I coated the top and bottom of each spring with Slip-Plate
#3. New bushings were installed in the spring eyes. Now they are ready
to
put
back on the
vehicle!