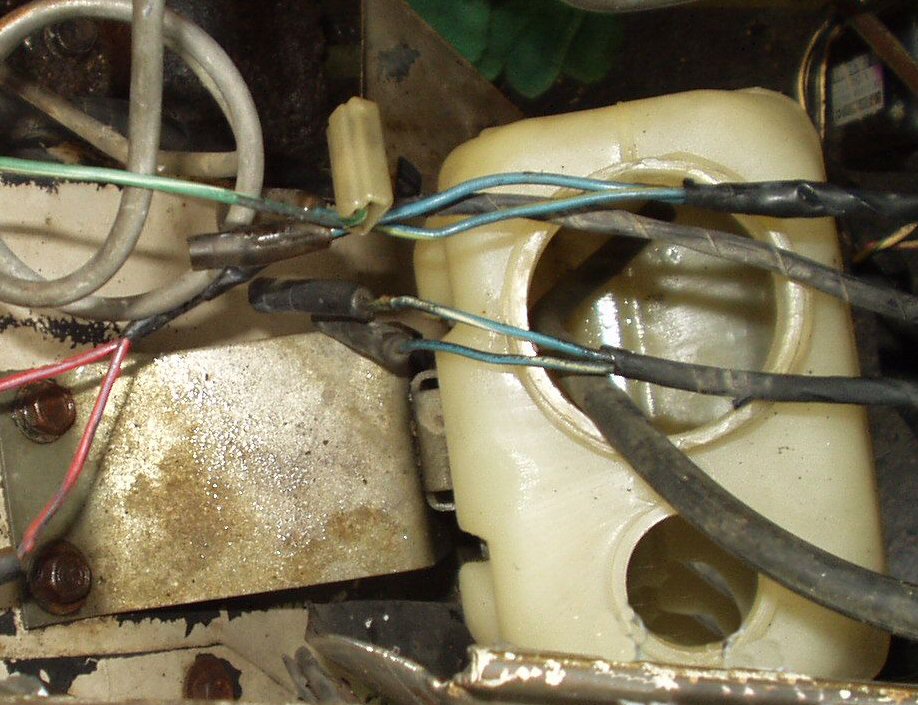
Does the windshield washer pump on your older
Cruiser look like the one in Fig. 1? Pump totally
corroded or like mine just outright missing? Well I have a simple cheap fix.
I located a source for washer pumps that will work for the older Cruiser and
maybe any Cruiser. YMMV!
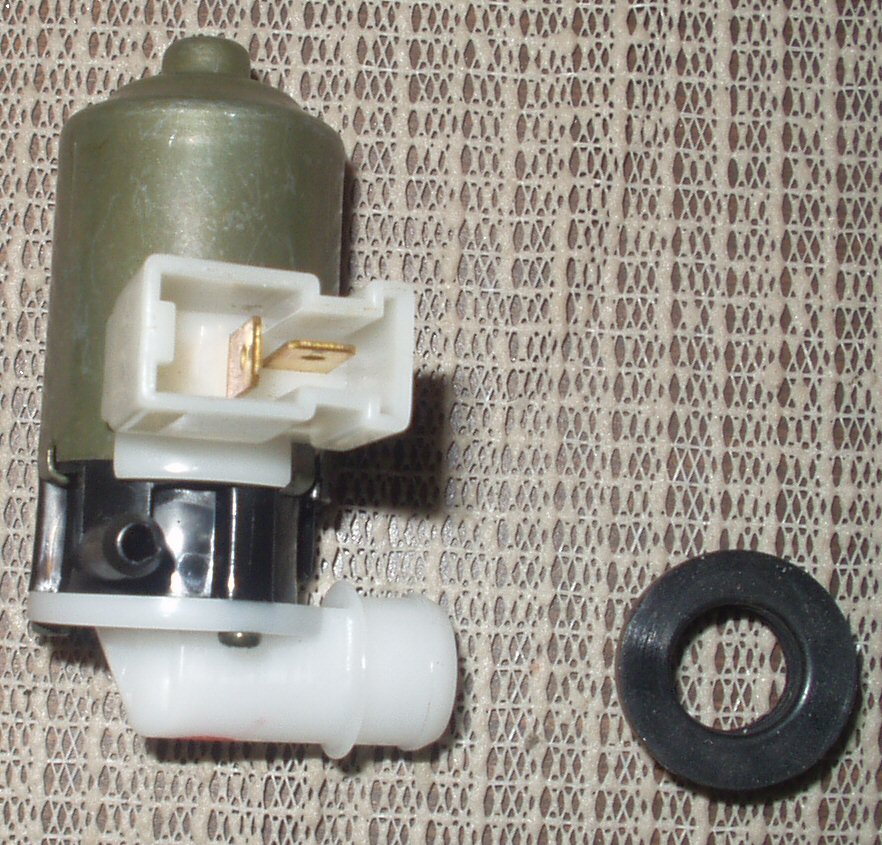
Fig. 2
The pump I found for $3.75 + shipping is
from www.allelectronics.com
Search for part CAT# PMP-2. See Fig. 2. This
is a press fit type pump and comes with a sealing washer. Since this is
a surplus company I can't guarantee they will always have them . (As of
11-16-2005 they were out of stock.) Order two of them so you will have a
spare if one fails. Here is how I mounted it to the stock tank.
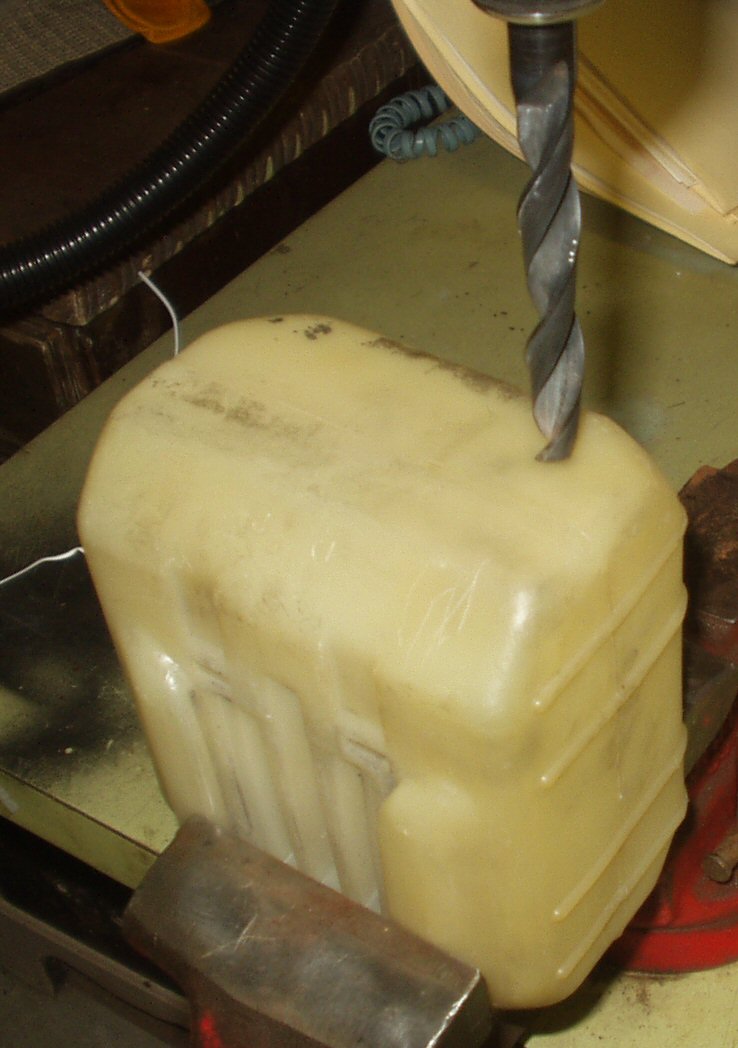
Fig. 3
Remove the stock tank from the inner fender
by just sliding it off it's mount. Clamp it in a vice upside down as
shown
in Fig. 3 and use a 11/32 drill bit to drill
a hole where shown. Don't get the hole too close to the edge of the tank
where
it's curved, or the washer won't seal. Test fit the included washer into
the hole then attempt to slide the pump nozzle into the washer. If it's
too tight then use a file or Dremel tool to carefully make the hole just
a little bigger. Don't rush and remove to much! Test fit often! You want
a very firm fit to prevent leaks.
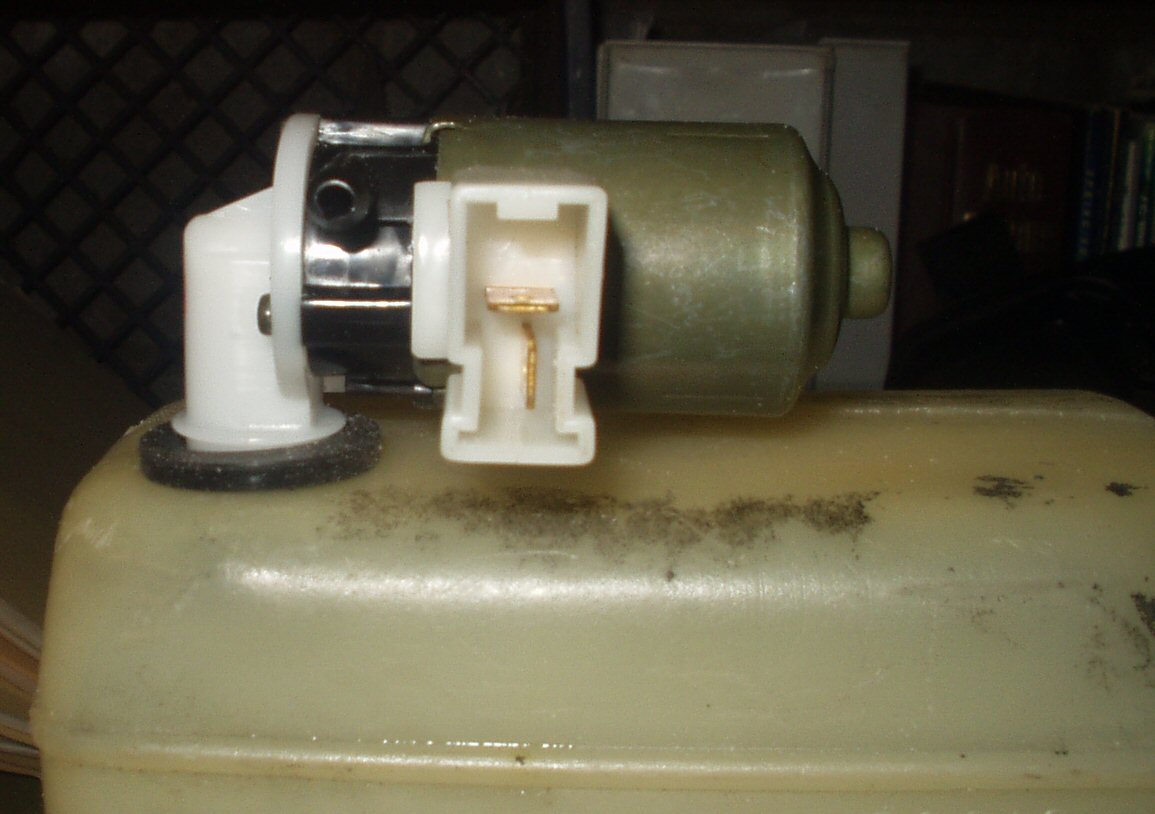
Fig. 4 A & B
In Fig. 4 A & B
you see the pump mounted to the bottom of the tank. Lets test our work for
leaks before continuing on. Fill the tank with water and let it sit for
a few minutes. It should not leak. If it does then empty the tank. Remove
the pump and washer. Dry the tank, pump and washer completely. Now lets
use our friend Mr. Silicone to seal it all up. Since there is no pressure
on this system it will be easy to seal. Just keep the silicone out of the
input. I was lucky, mine did not leak.
In Fig. 4 B
above you can see the electrical connector and the nipple for attaching
the hose going to the spray nozzles. Lets test the pump before we mount
it. Get two small clip leads and attach them to the terminals on the pump
motor. Make sure they are not shorting. Take the tank to the truck. Sit
the tank upright so the leads will reach the battery. These kinds of pumps
should not be run dry so put a bit of water in the tank and attach a short
length of hose to the small nipple. Now attach the leads to the battery.
Water should squirt out the hose. If it doesn't but the motor is running
then reverse the leads. If water does squirt out then your almost done!
If the motor does not work at all then get your spare motor (you DID order
the spare right?) and swap it in.
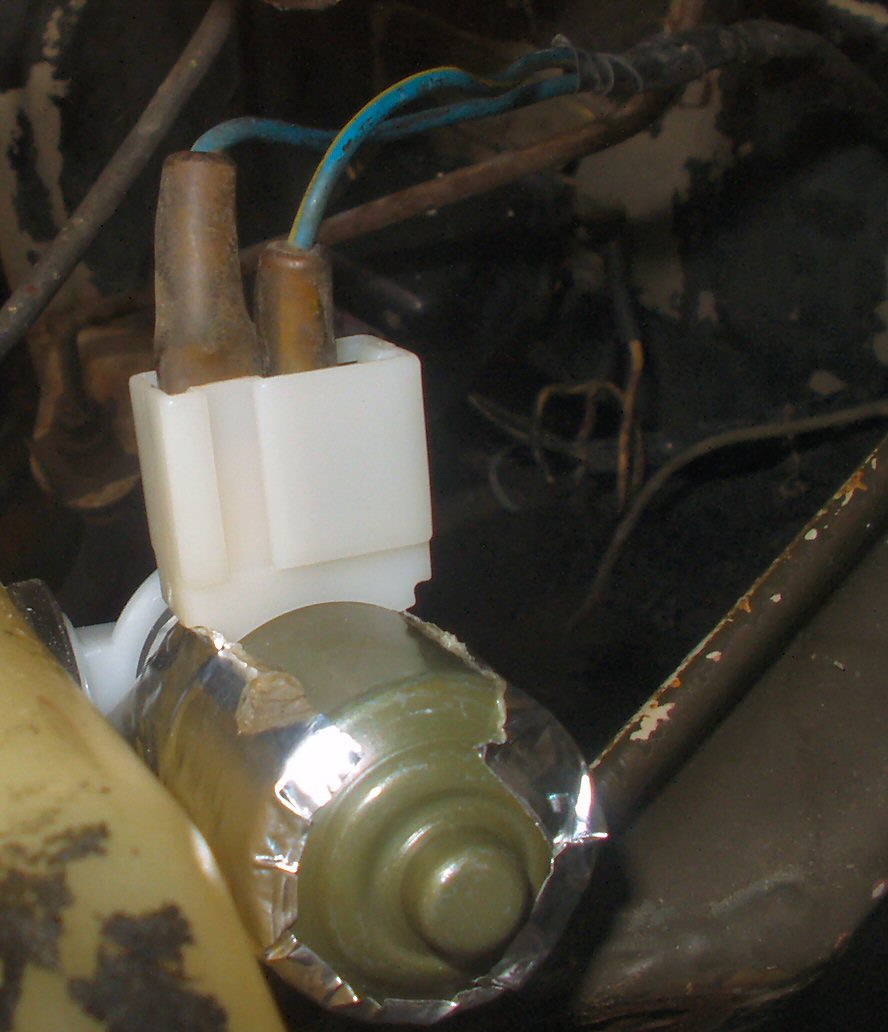
Fig. 5
Ok now dump the water and take the tank back to
the left side and lets connect it for real. Locate the wires from the old
pump. On my 2/1971 there are two Blue wires one with a red stripe and one
with a yellow stripe. They should already have the proper connectors for the
pump. How cool is that? Connect the one with the yellow stripe to the bottom
most connector on the pump as shown in Fig. 5 and
of course connect the other one to the other connector. Place the pump back
on its mount and fill it with washer fluid. Test it out with the wiper washer
switch. If it doesn't work then break out the meter. Check fuses first then
the switch itself.
Use the old caps to seal it off or try to
find a cap that will fit. I'm still looking and currently just use a piece
of Saran Wrap and a rubber band. Works great!