Removing the Wiper Arms and Gear Assemblies
to windshield retainer hardware
Fig. 1
Wiper Arm Nut
Fig. 2
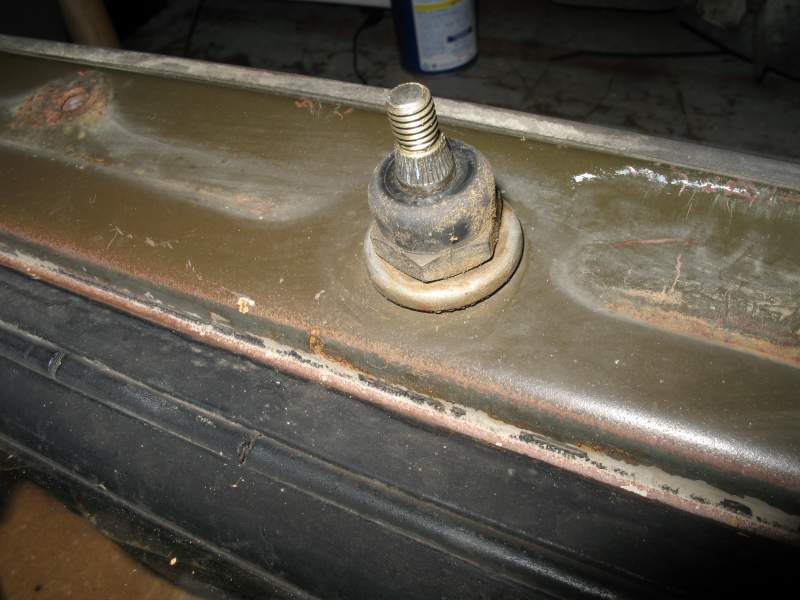
Arm Removed
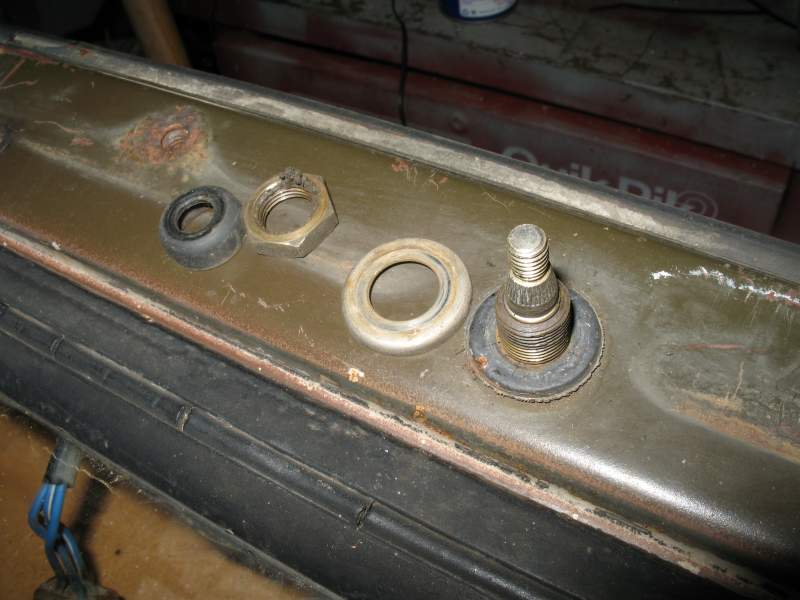
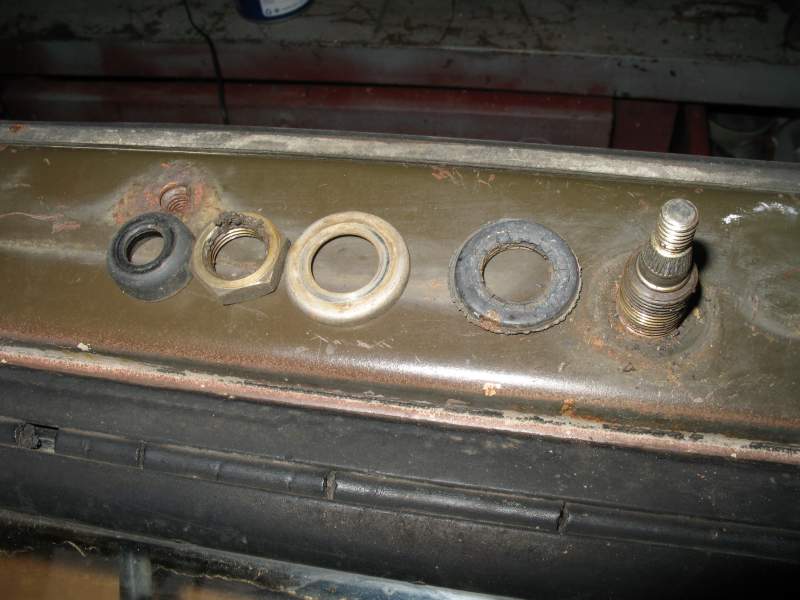
Fig. 3
1st Shaft Seal Removed
Fig. 4
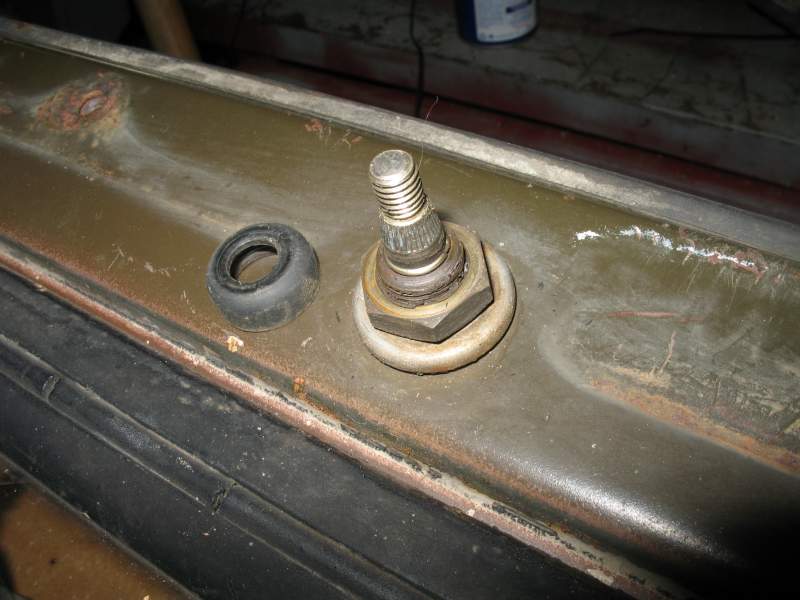
Shaft Nut Removed
Fig. 5
2nd Shaft Seal Cover Removed
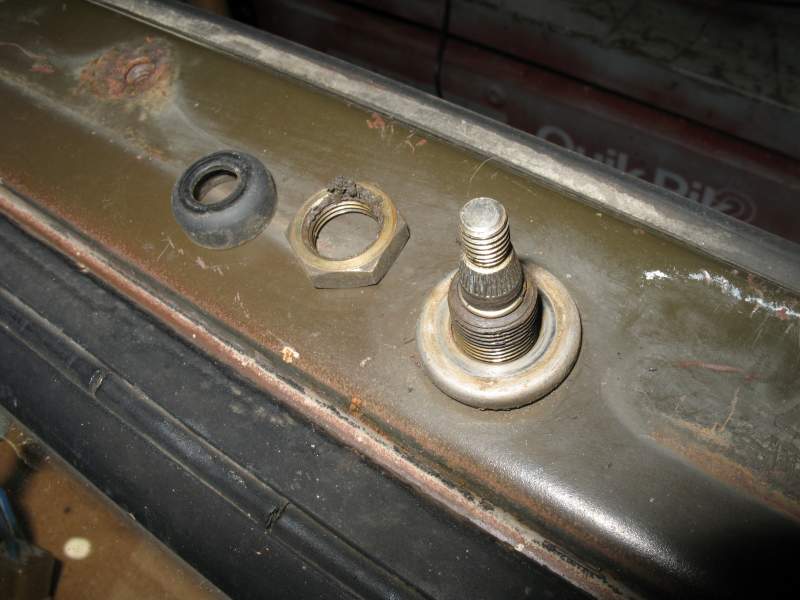
Fig. 6
2nd Shaft Seal Removed
If you are here, you have a wiper problem and more
than likely need to remove the wiper mechanicals. Here is how to disassemble
this unit.
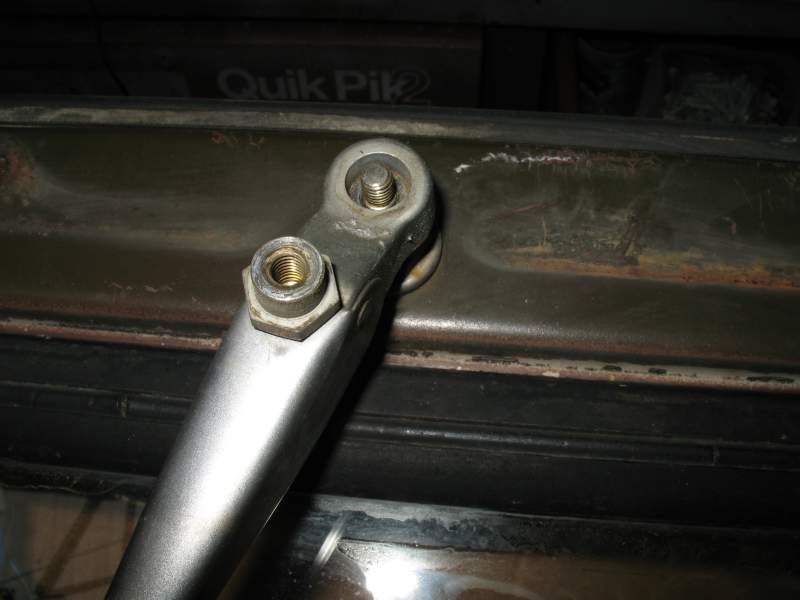
Start by removing the two nuts holding on the wiper
arms. If you happen to have the originals DO NOT LOSE THEM! They are a rare
part! See Fig. 1. Next remove the wiper arms. Note
: you may need to stick a coupple of screw drivers under the arm to gently pry
them off if they are stuck. Set the arms aside.
Refer to Figs 2 to Fig 6 and remove the 1st shaft
seal, shaft nut, 2nd shaft seal cover, and 2nd shaft seal. Repeat for the passenger
side. Now lets move our attention to the other side of the windshield.
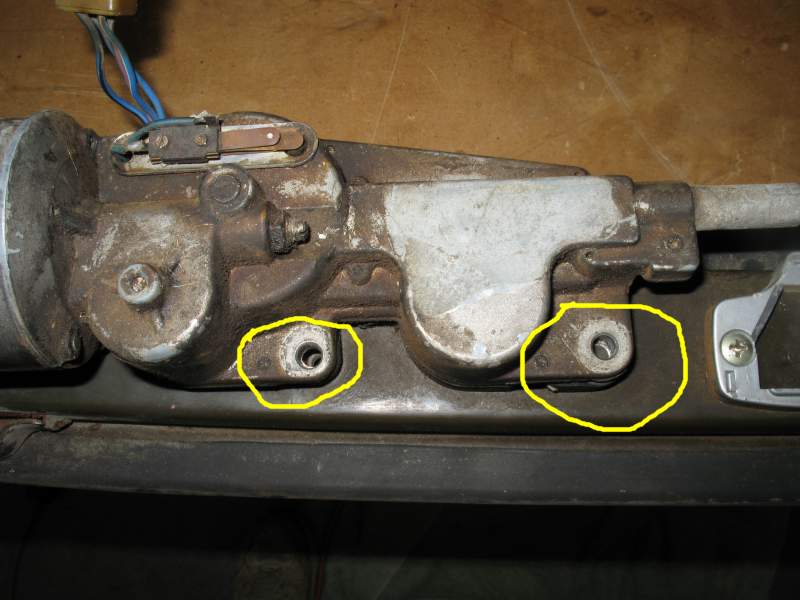
Fig. 7
Remove Gear Assembly Mounting Bolts
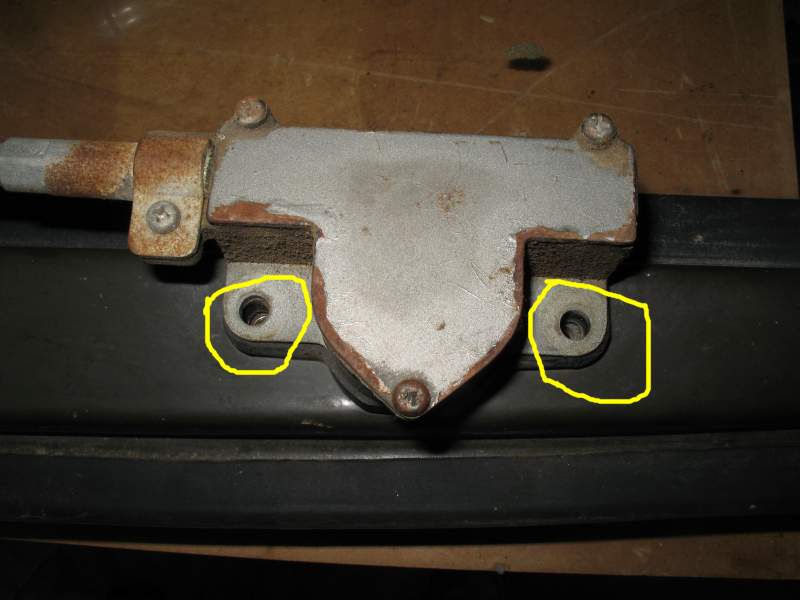
Fig. 8
Remove Secondary Gear Assembly Bolts
Fig. 9
Knock Wiper Shafts through Windshield
Fig. 10
Rubber Damper
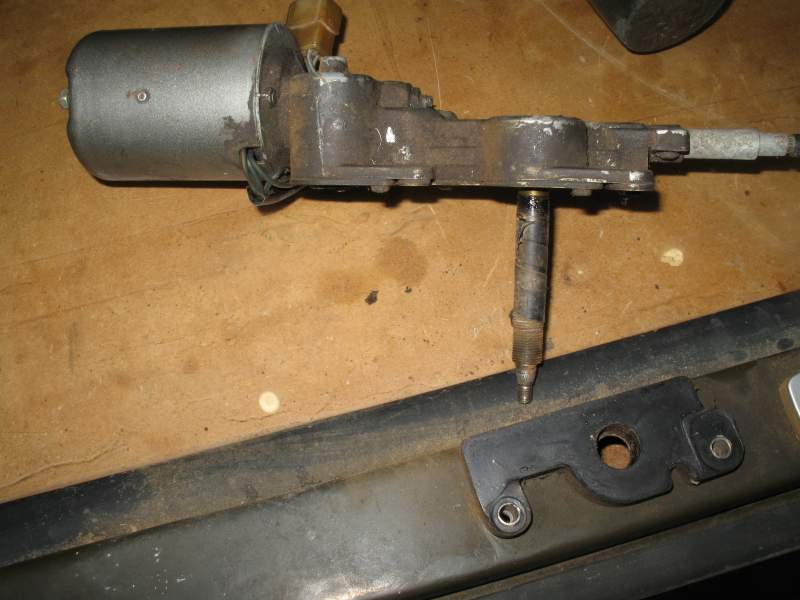
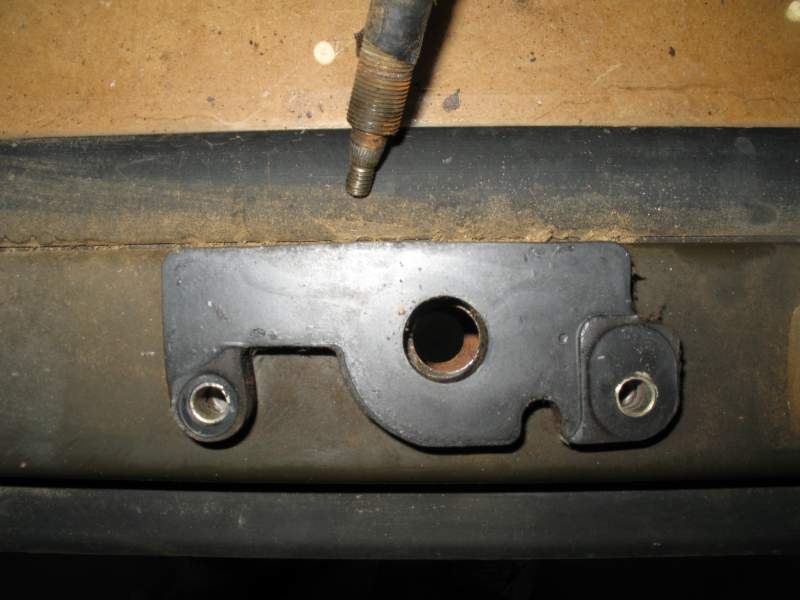
Go to the other side of the windshield. Referring
to Fig. 7 and 8, remove the 4 bolts that hold the
wiper motor and passenger side housings to the windshield frame. Now get a hammer
and a block of wood and gently tap the wiper arm shafts through the windshield.
See Fig. 9. This may leave the thick rubber vibration
dampers stuck to the windshield. You can remove and clean those if you wish.
See Fig. 10.
Fig. 11
Complete Removed Wiper assembly
Fig. 12
Remove Primary Gear Assembly Cover Bolts
Fig. 13
Remove Secondary Gear Assembly Cover Bolts
Fig. 14
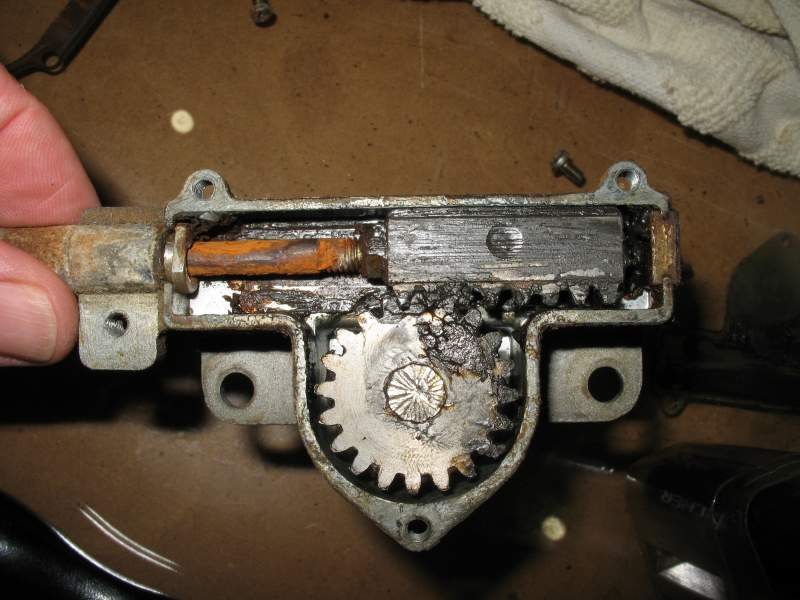
Primary Gear Assembly Cover and Wiper Shaft
Fig. 15
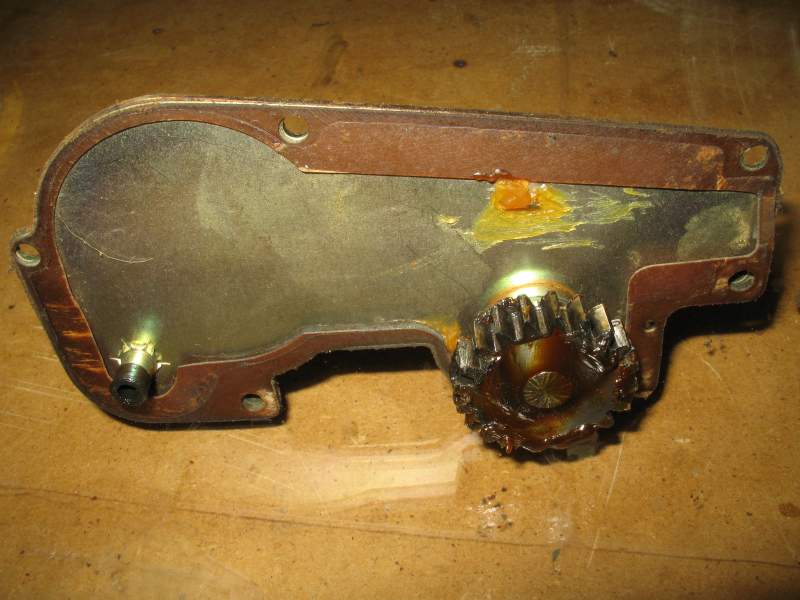
Primary Gear Assembly Guts
Fig. 16
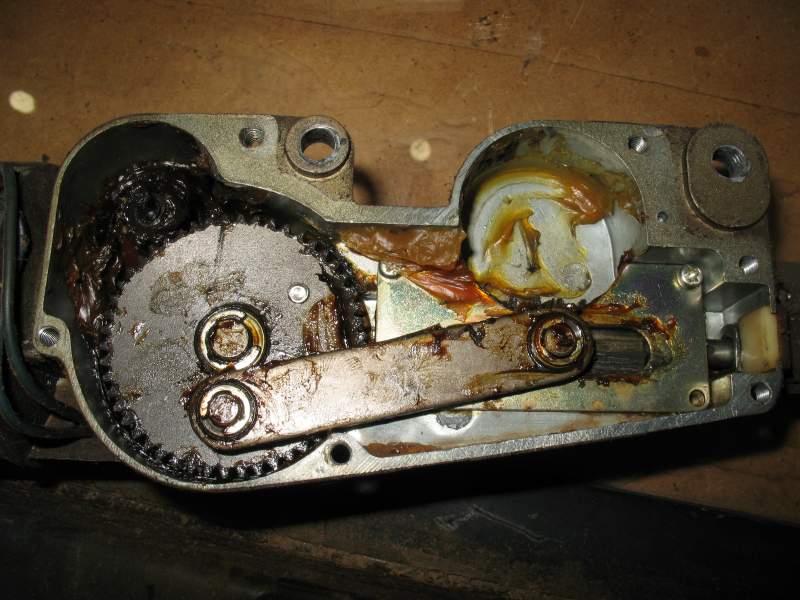
Secondary Gear Assembly Guts
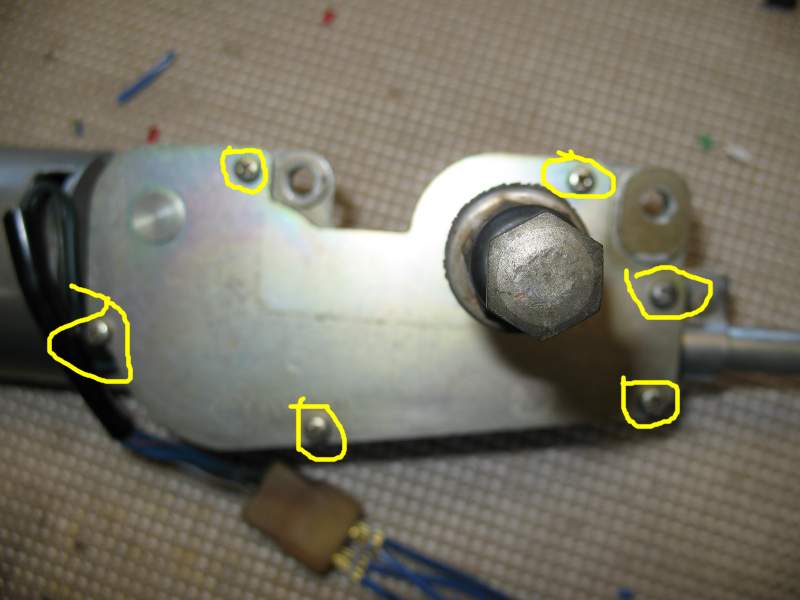
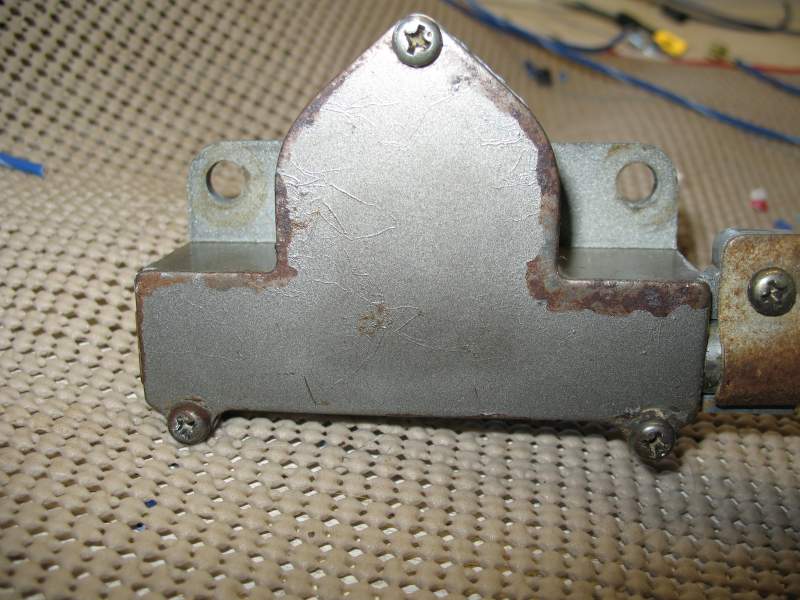
OK, now that you have the assembly removed, lets
start breaking it down even further. Start by removing the 6 small screws holding
the cover plate to the primary gear assembly as shown in Fig. 12. Also remove
the single screw that holds the retaning clip for the slide cable mechanism.
Then remove the three screws holding the sceondary gear assembly cover in place,
and the single screw holding the retaning clip for the slide cable mechanism
as shown in Fig. 13. Remove both covers being carful not to tear the gaskets
under the covers. They are not available!
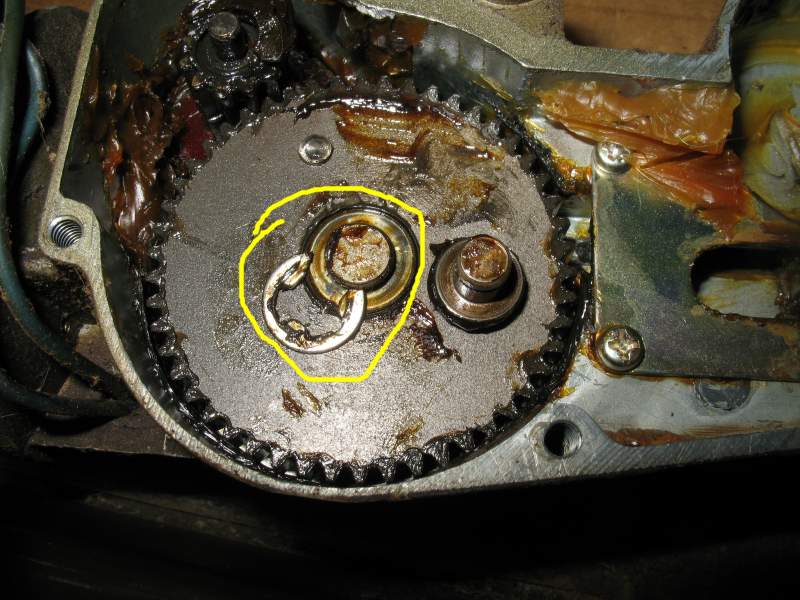
Fig. 17
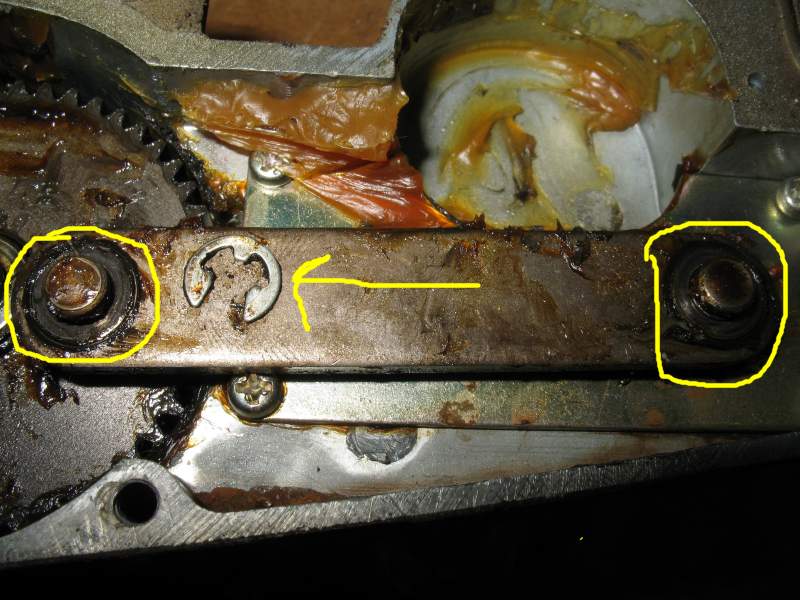
Connecting Rod C Clips
Fig. 18
Drive Gear C Clip
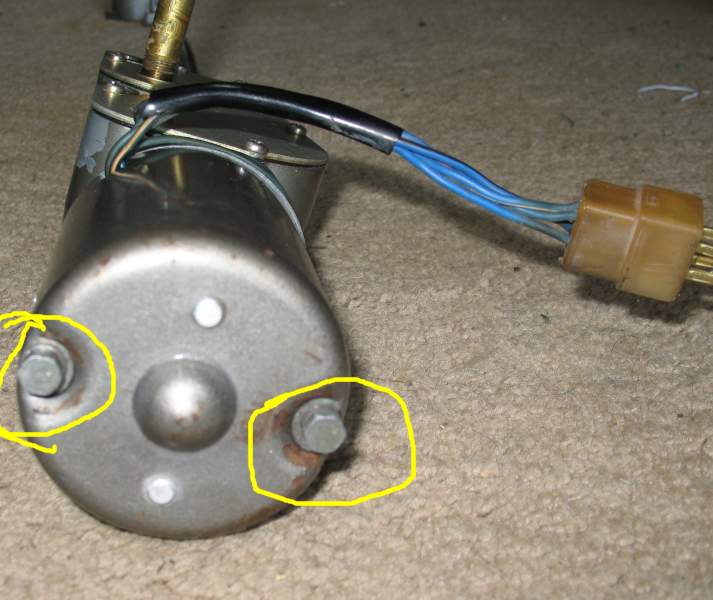
Fig. 19
Wiper Motor Bolts
Fig. 21
Brush Plate
Fig. 22
Primary Gear Assembly Guts
Fig. 23
Secondary Gear Assembly Guts
http://forum.ih8mud.com/threads/wiper-motor-from-a-volvo-into-a-75-fj40.845304/#post-9644022
Volvo wiper motor link