As I'm new to metal fabrication this project took
several weekends to accomplish. Most just spent figuring out how the body was
put together and how I was going to cut it out without removing too much material.
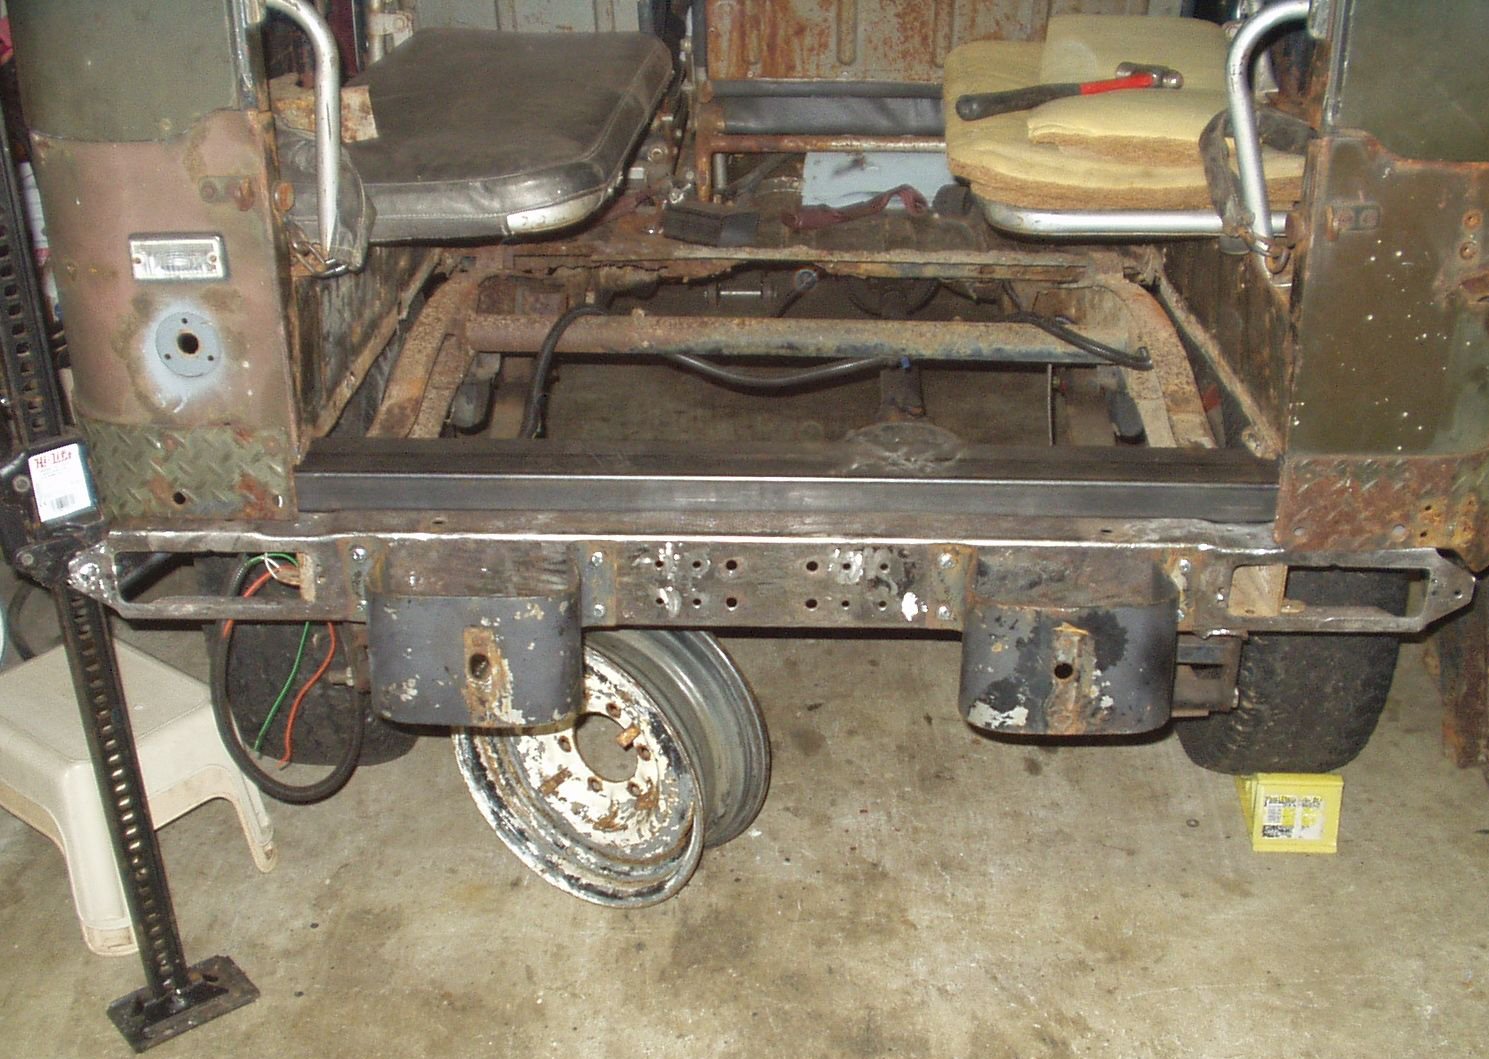
See the previous section for pics of what I started with. I had researched the
sill problem and decided that I liked the idea of using a 2x4 steel tube to
replace it. I acquired the tubing and started measuring ...
Fig. 1
Fig. 2
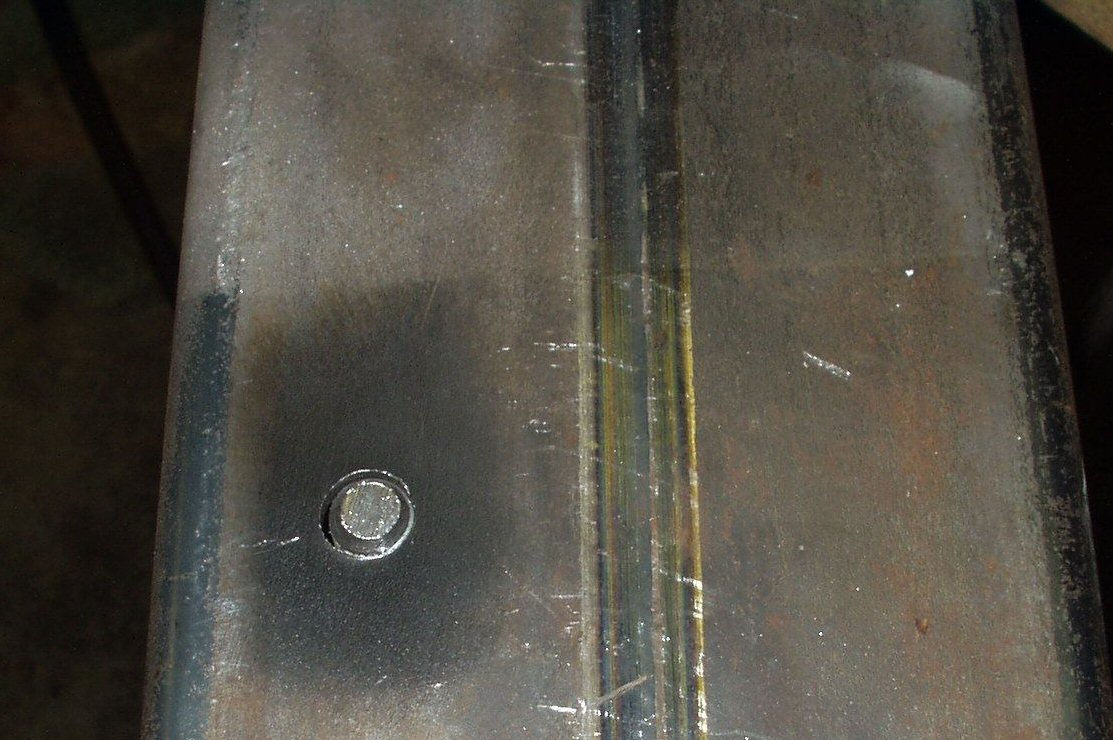
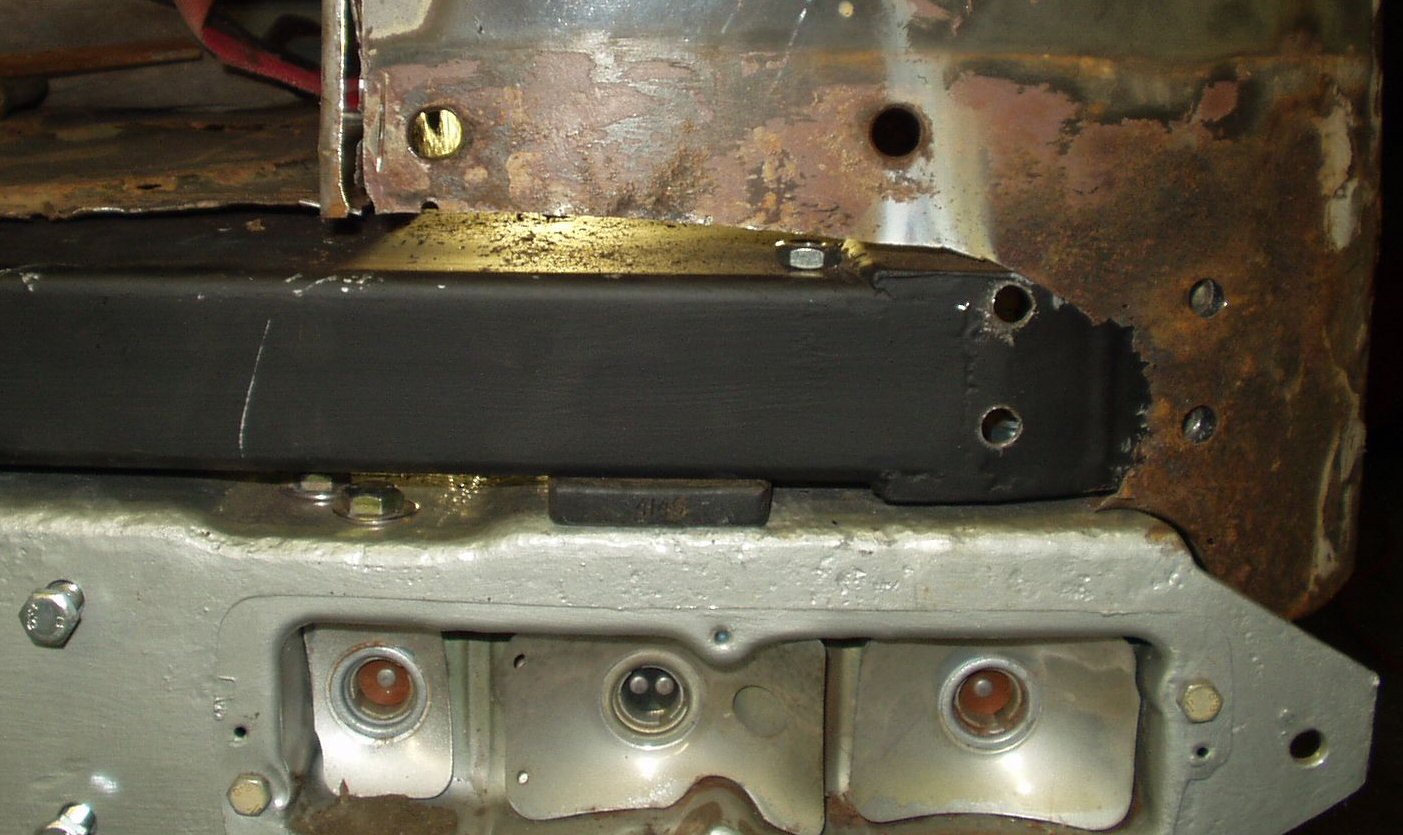
Rather than leave the ends open I welded them
up to keep water out.
Fig. 3
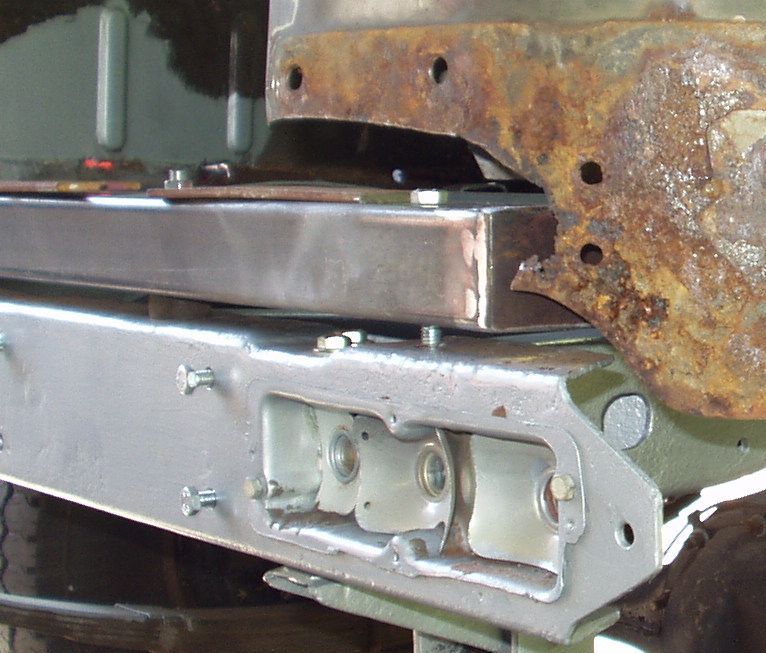
I also decided to make the bolts into studs so
I would have a smooth surface to weld the floor pan to. This will however make
it a bit more difficult to remove the body in the future. I will have to lift
the body high enough so the studs will clear the rear channel.
Fig. 4
Fig. 5
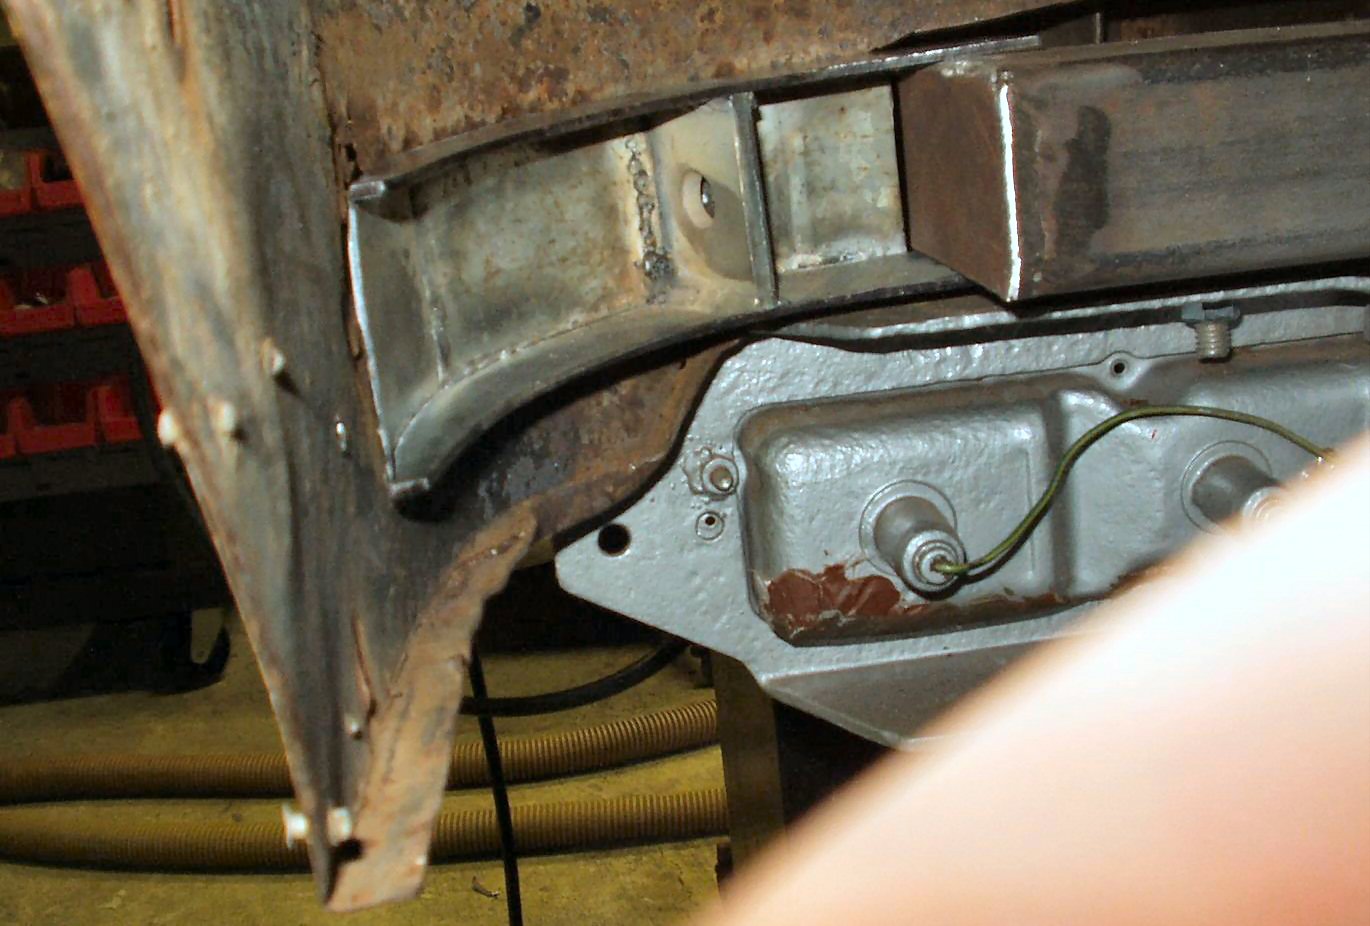
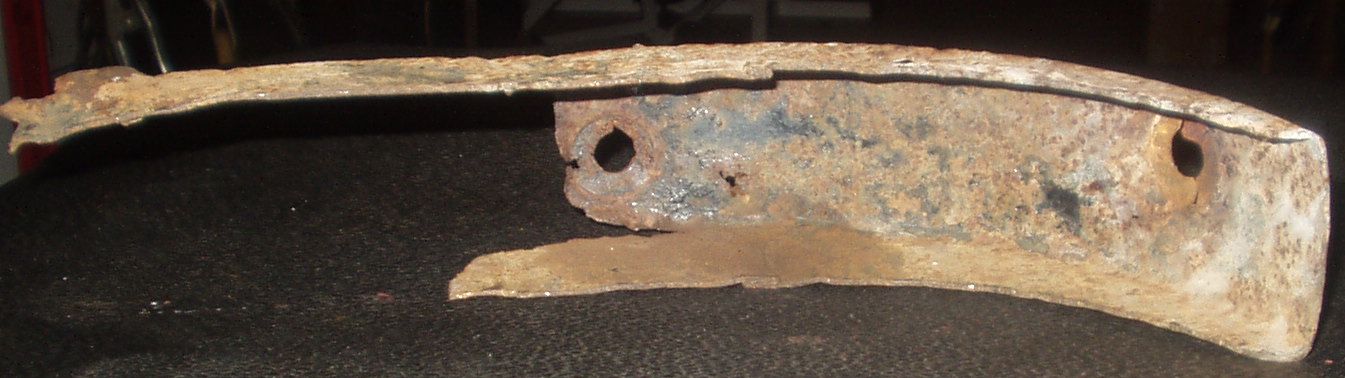
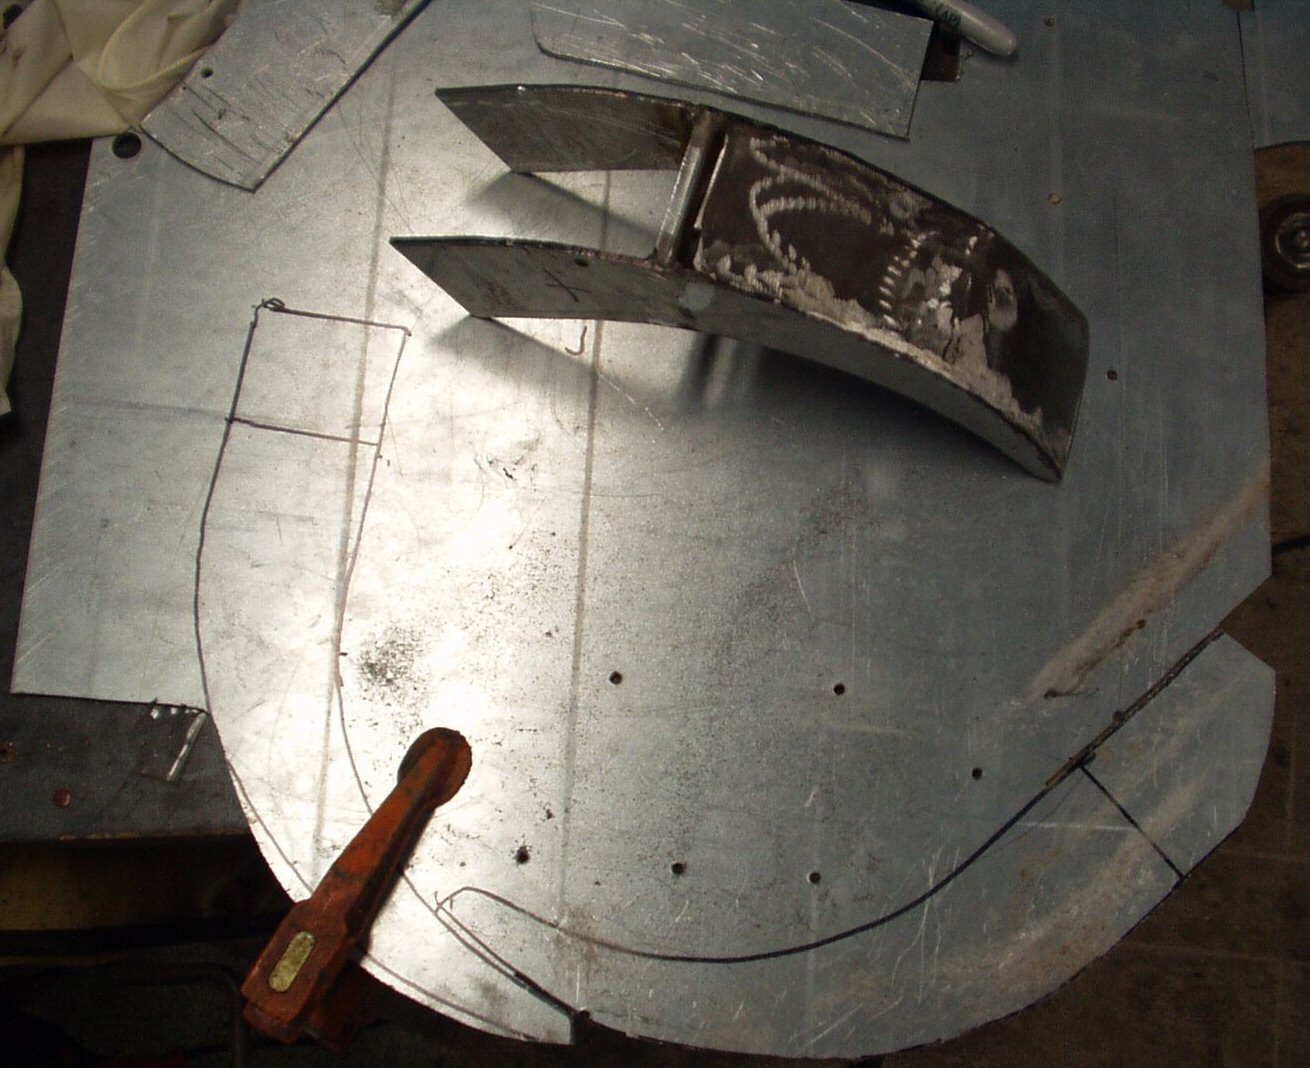
Now I had to make the end pieces for the tub support.
I had a piece of galvanized 10 gauge sheet. Using the old tub supports I cut
out I traced them onto the sheet then cut them out with a jig saw and a metal
cutting blade. Boy did that take forever! Next I clamped the pieces to the tube,
put it in the truck to line it up with the body and tack welded a support piece
in between them. I then cut some 16 gauge sheet from an old panel and welded
that so it followed the curve. This was easier than it sounds. Just tack the
piece on one end then using a hammer start bending the piece to fit. Tack again
and just keep working toward the end. Finally I welded the pieces onto the tube.
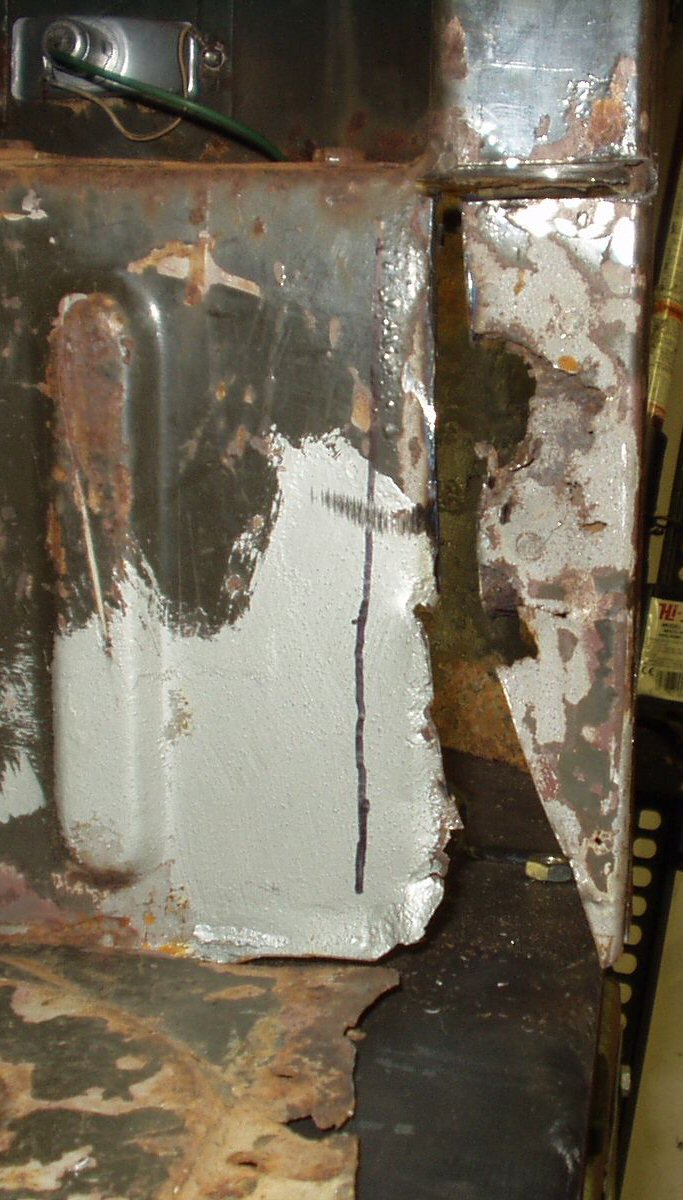
Next up was final test fitting to see if the body panels and such lined up.
Fig. 6
Pretty close fit.
Fig. 7
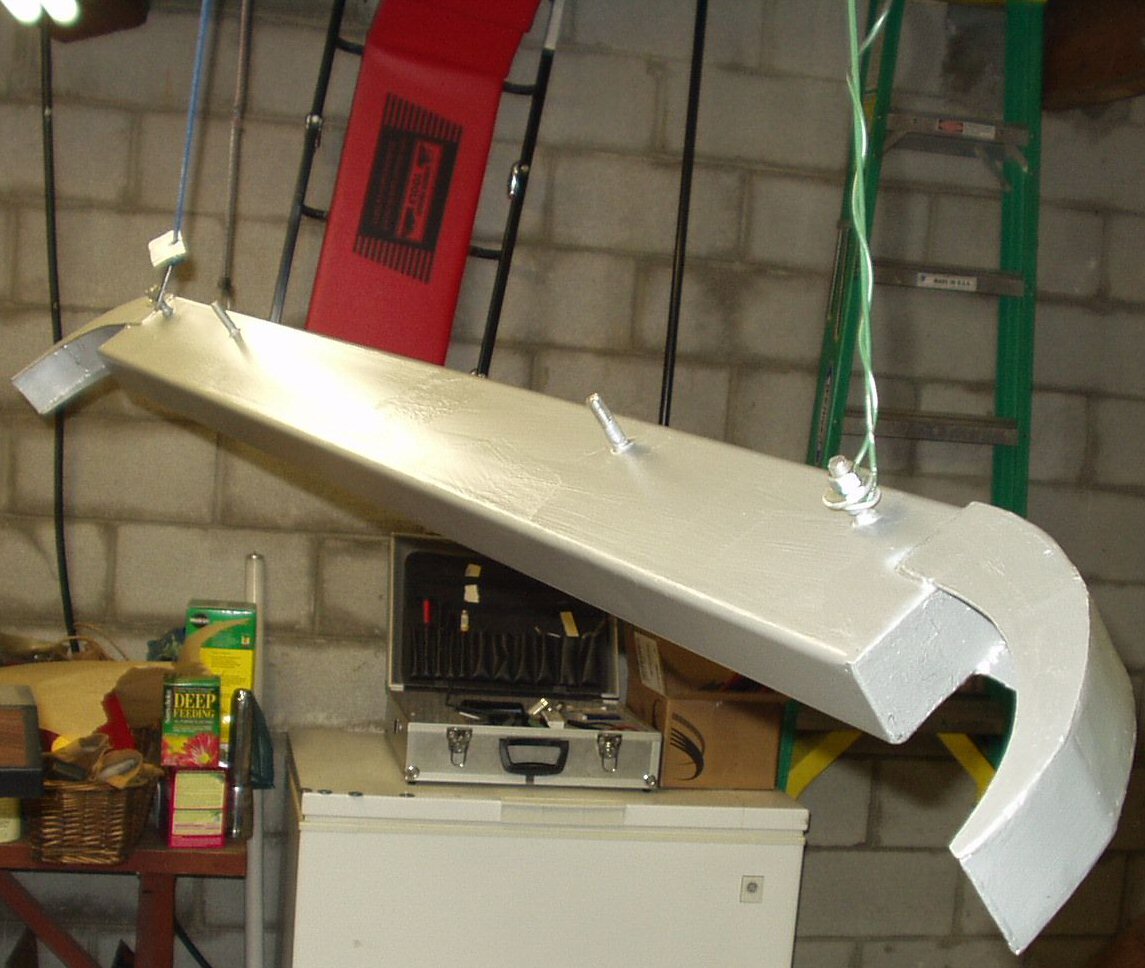
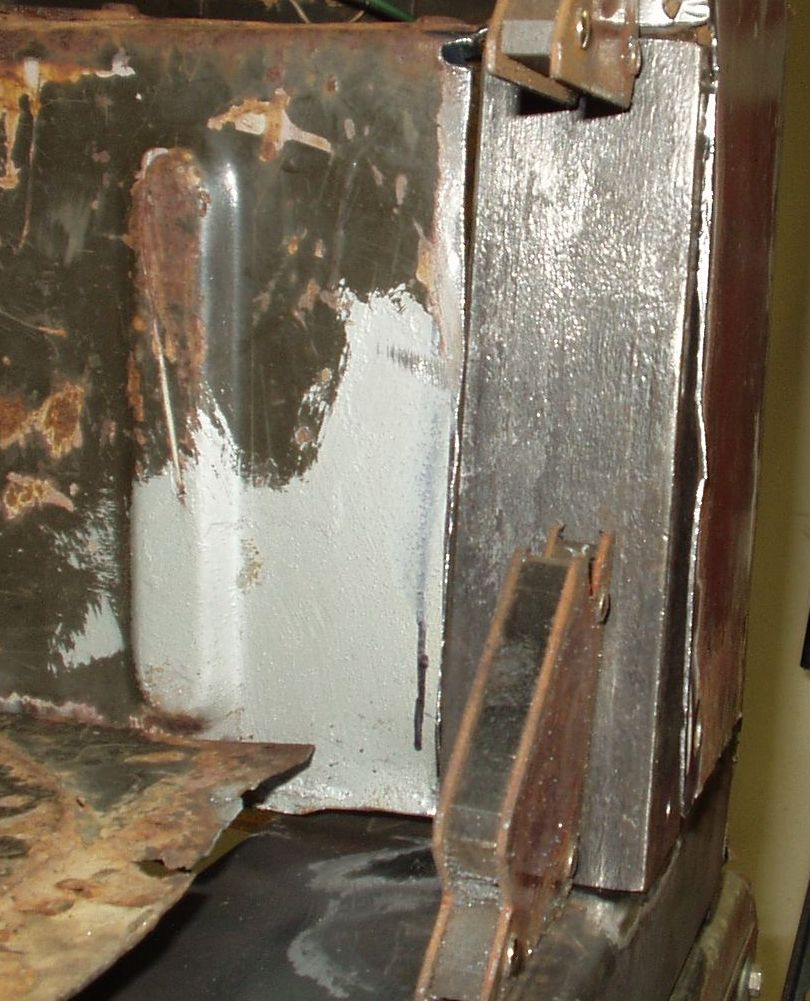
After final grinding and an coat of Rust Bullet
here is what you get.
Fig. 8
After a coat of black paint I mounted it and drilled
out the holes for the bottom tire carrier bracket. When I replace the quarter
panels I can use those holes to mark the panel in the right spot.
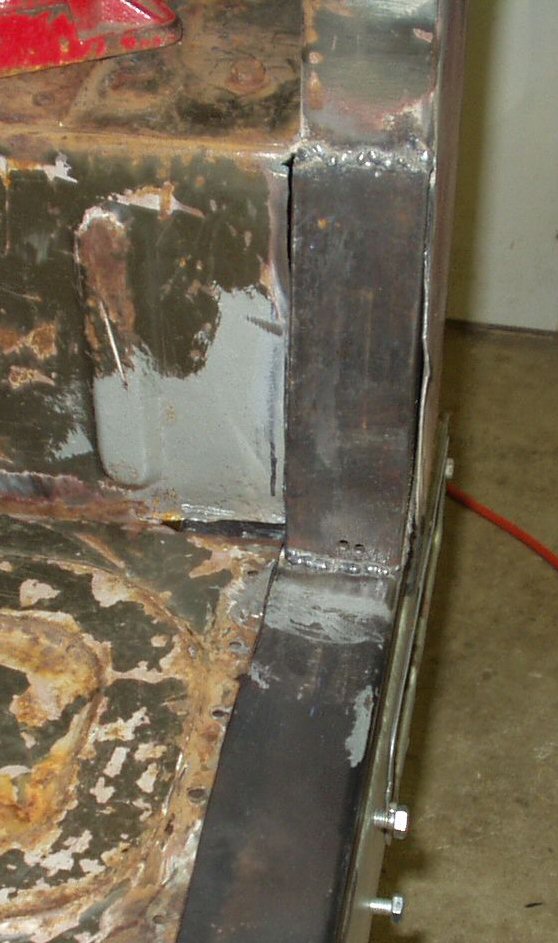
Ok now I had to tie the sill to the tub. To do
this I used 2" x 2" angle iron.