Powder Coating
I bought a powder coat kit from EastWood Company a couple of years ago and for many reasons had not had a chance to try it out. So after finishing de-rusting all my parts on the knuckle rebuild I decided to try the system on those parts.
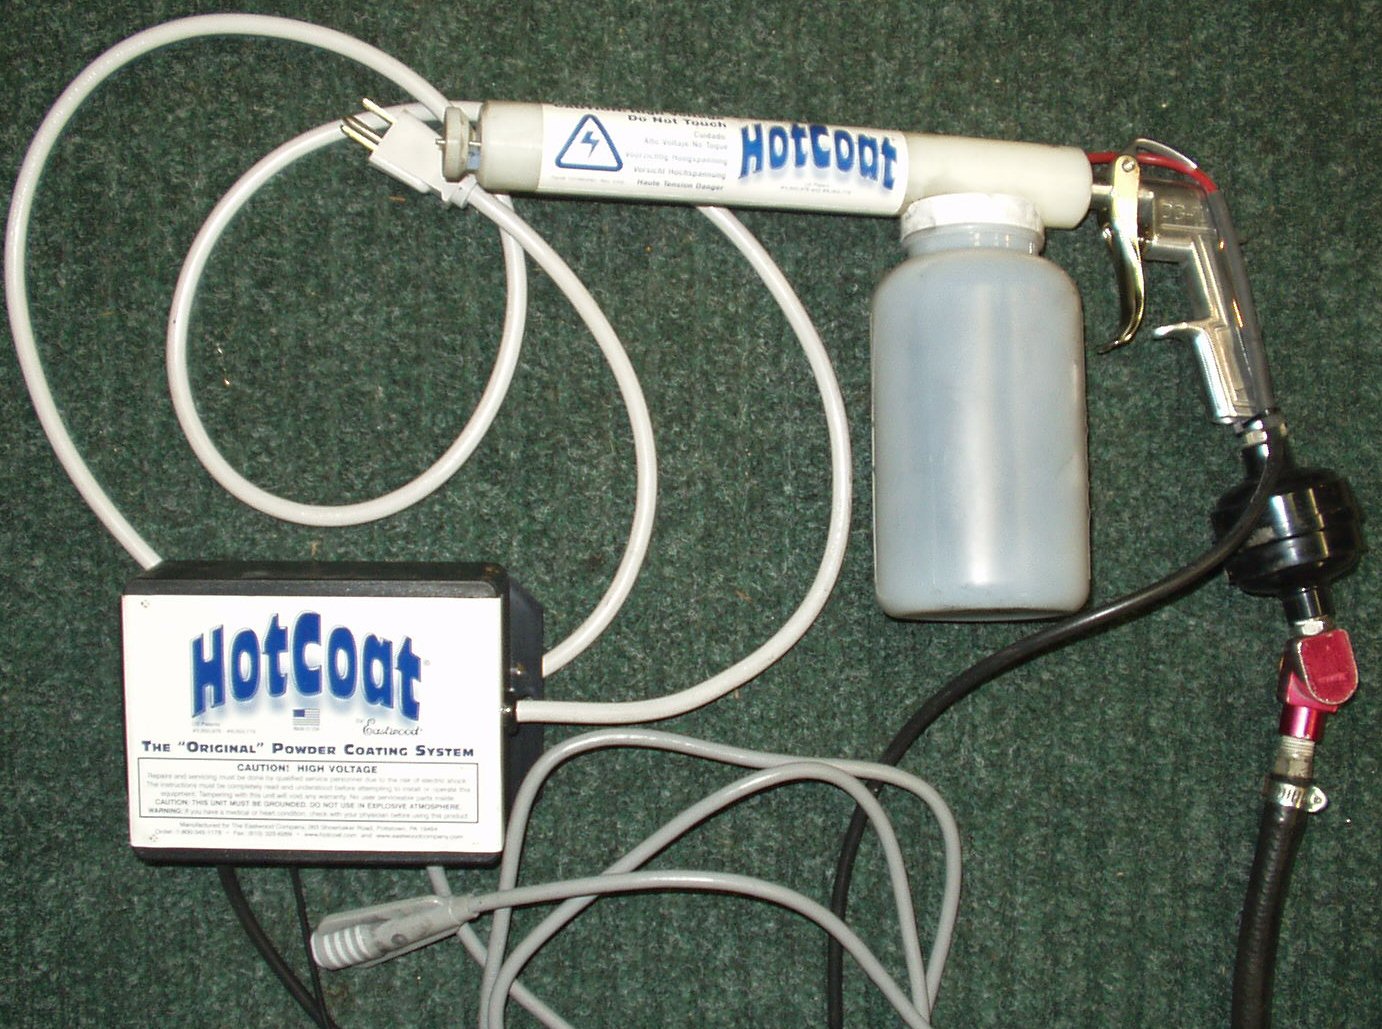
Fig. 1
I read the instruction book a couple of times and started setting up the shop to do it. First thing I had to acquire was an old oven. If you are thinking you can use the wife's oven think again! The powder emits fumes that are toxic while 'curing', not something you want in the house! Luckily for me my cousin had remodeled his kitchen last year and had given me the old oven. I stuck it in a corner of the basement near a window and wired it in to some existing 220 wires I had in that corner. (I had a large solder wave machine there a few years ago) I could now open the window when I cured parts to let the fumes out.
Next up was the air supply. The powder gun uses air pressure to move the powder though the gun. Since the gun is made of plastic it can only handle a MAX of 10 PSI. The working pressure is 8 PSI So you have to have an air compressor with a regulator capable of being set that low. My Craftsman has a regulator but it had a bit of trouble maintaining a stable 8 PSI It kept wanting to creep up. I compromised by setting the thing at 6 PSI
Now all that was needed was a 115VAC outlet to plug it in. That was no problem.
The principle of powder coating is simple. The powder is very finely ground plastic. There are several different types of this plastic and I won't go into the differences here. It is available in almost as many colors as paint. The gun is loaded with the powder and air is used to blow the powder through the gun where a deflector shapes the particle stream into a fog of particles. So your thinking, "Ok, how does the powder stick to the part?" well the other part of the system is a 9000 volt transformer. As the powder flows through the gun it passes over an electrode attached to the 9K supply. This charges the particles of plastic to 9K. Now all you do is ground the part to be coated and the 9K charged particles just jump on your part! The powder sticks by electrostatic charge but you have to be careful, it's easy to brush off. Once coated pop the part in the oven for 10-20 minutes depending on the powder and take out your new looking part!
As with painting surface prep is crucial. You treat the part exactly as if you were going to paint it. Strip off all grease, paint and rust, sand the surface to remove blemishes, fill with filler if needed (You must use a metal based filler that can withstand the 375-425 degree curing) and sand again. The only step you leave out is priming.
Here are some pics of my first attempts. Since these are all under the truck I did not spend a great amount of time sanding. All parts were de-rusted in the ERR Tank then dried, wire wheeled, wiped down with acetone then coated and baked.
|
Fig.1 Pre-Heated Brake Backing Plate
|
Fig. 2 Coated Part
|
Fig. 3 In the Oven |
Fig. 4 Ready to Install |
Fig .5 Ain't that purdy?
|
Fig. 6 Oil Retainer Ring |
Fig. 7 Front Brake Hard Line |
Fig. 8 Oil Seal Covers |
Fig. 9 Tie Rod Clamps |
Fig. 10 Parts in Oven |
Fig. 11 Keeping Powder out of Knuckle |
Fig. 12 Coated, ready for Oven |
Fig. 13 Knuckle In the Oven |
Fig. 14 Finished! |
Fig. 15 Side View |
Fig. 16 Wheel Cylinder, Drag Link Joint |
Fig. 17 Coating Bench |
Fig. 18 Powder Coating Frenzy! |
Fig. 19 Front Heater Box |
Fig. 20 Green??? |
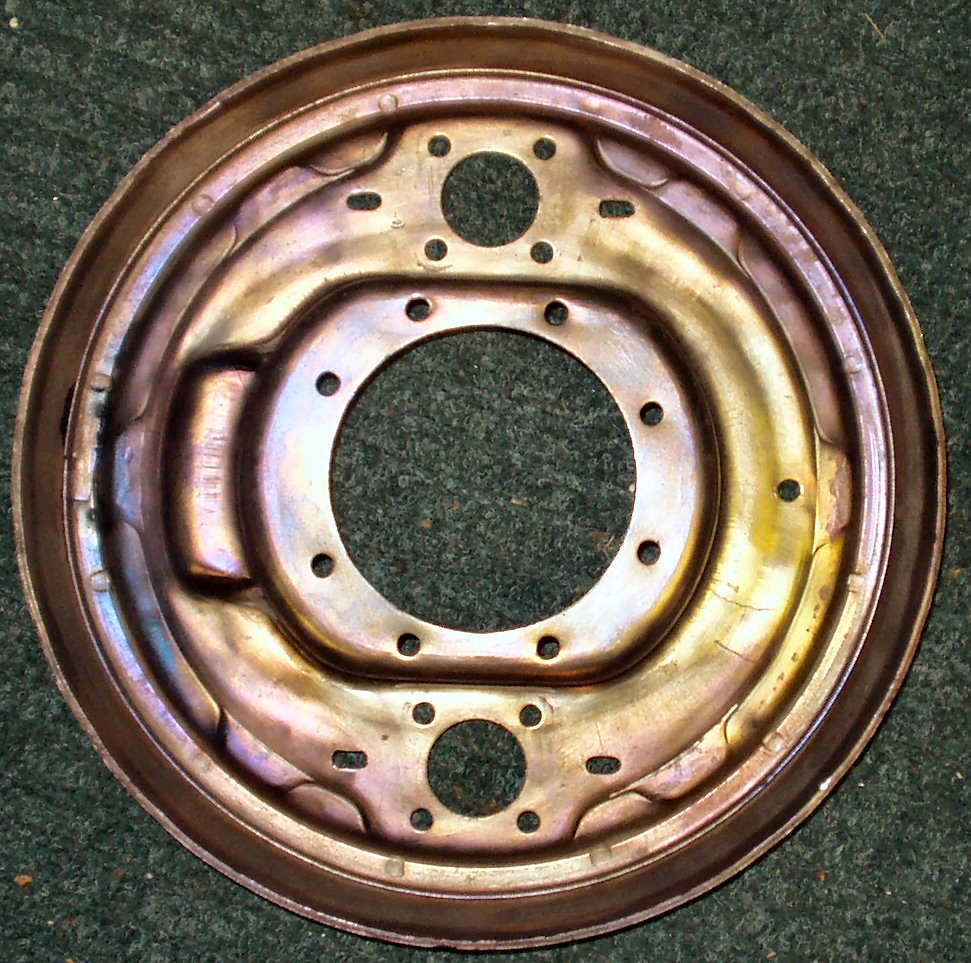
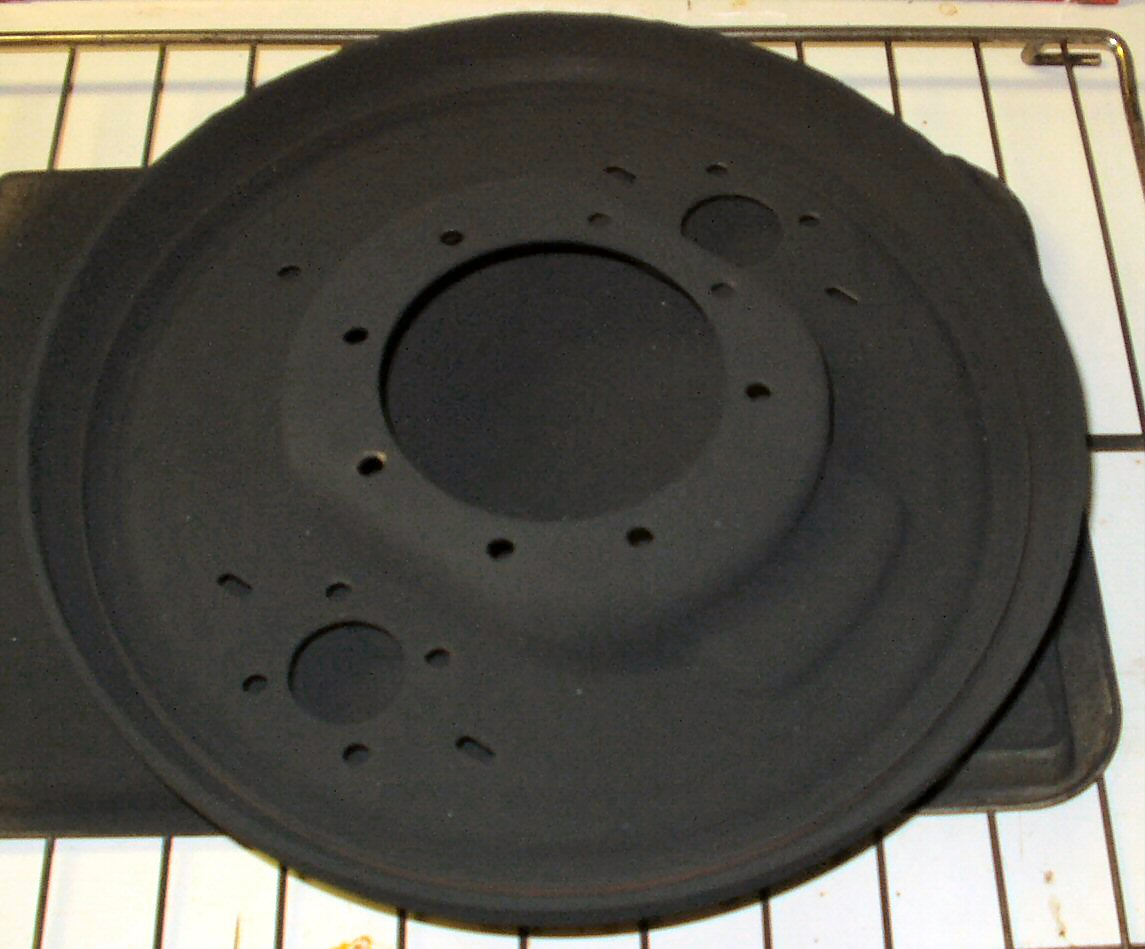

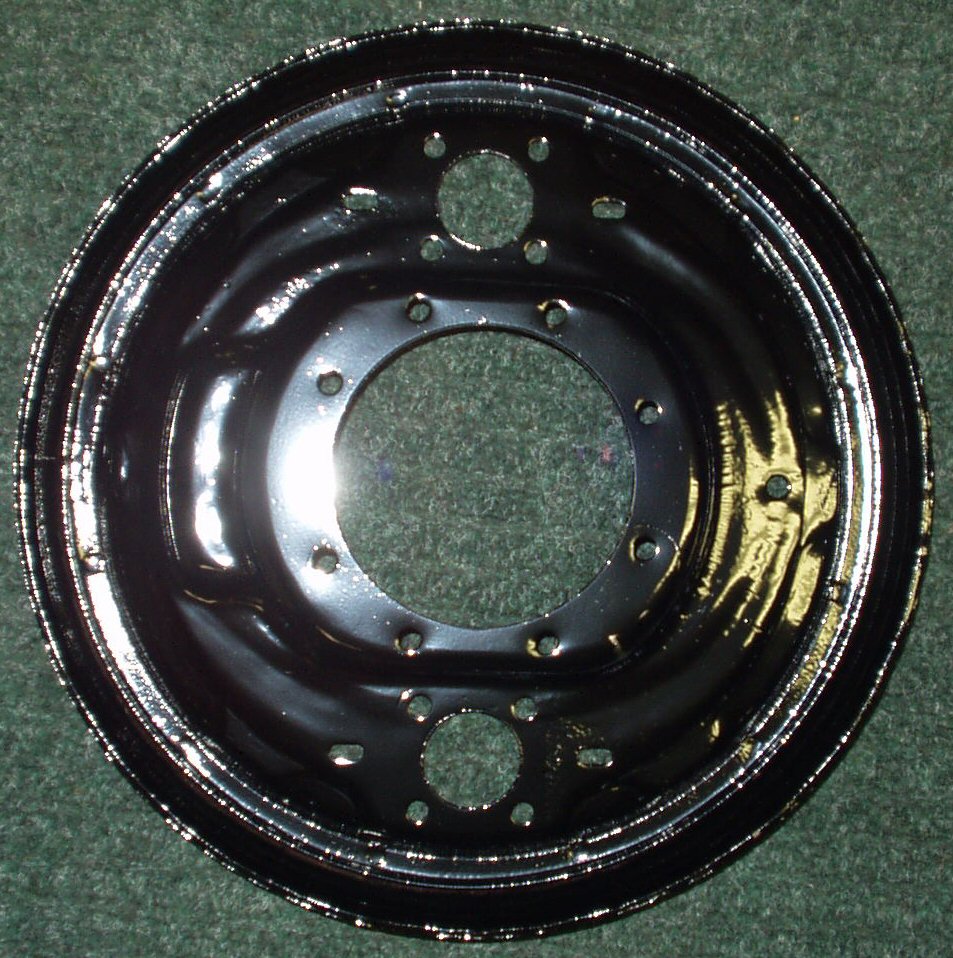
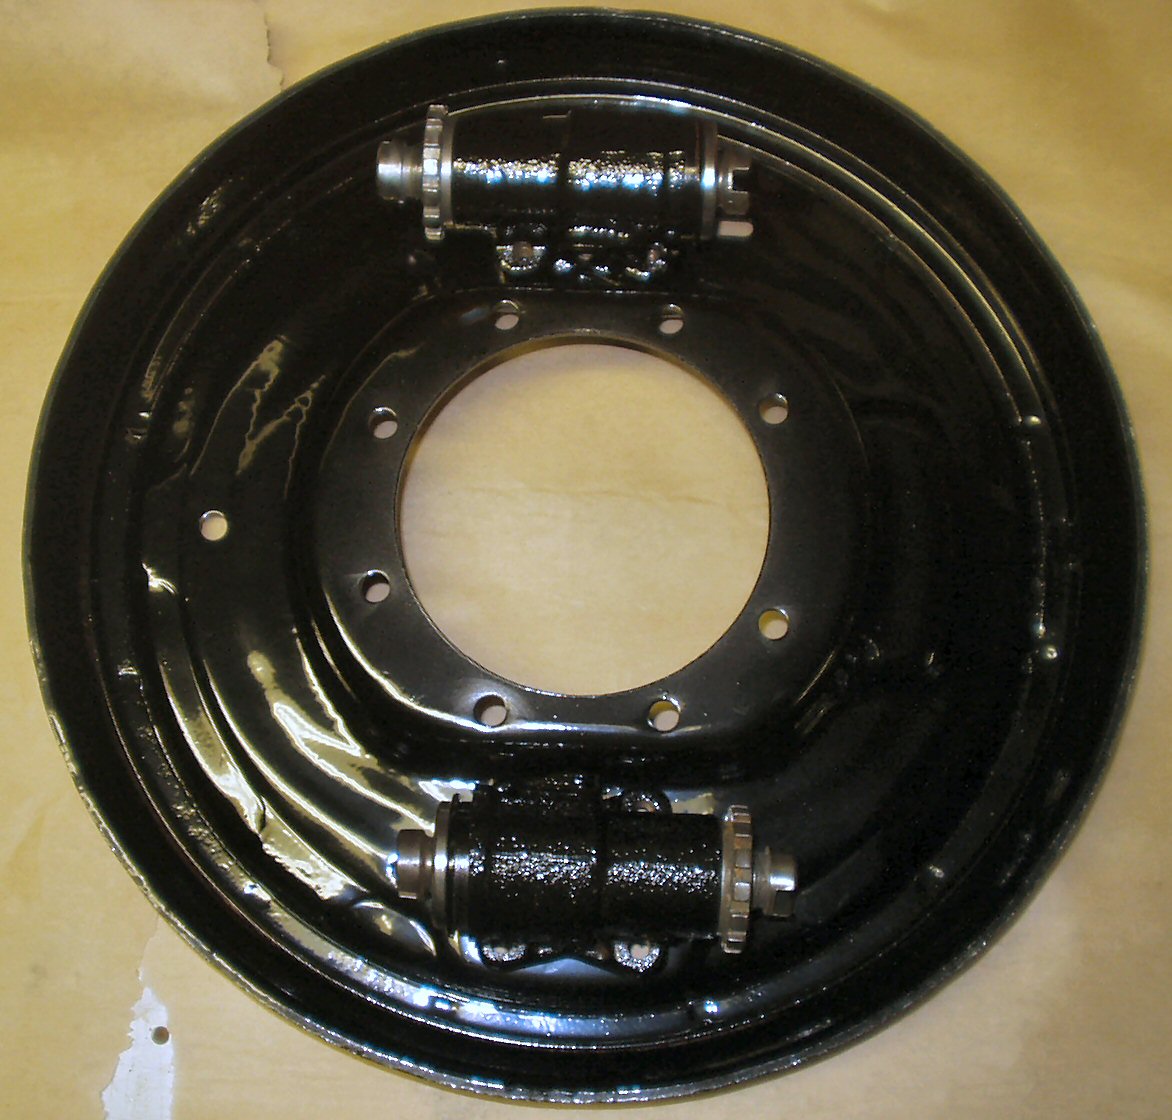
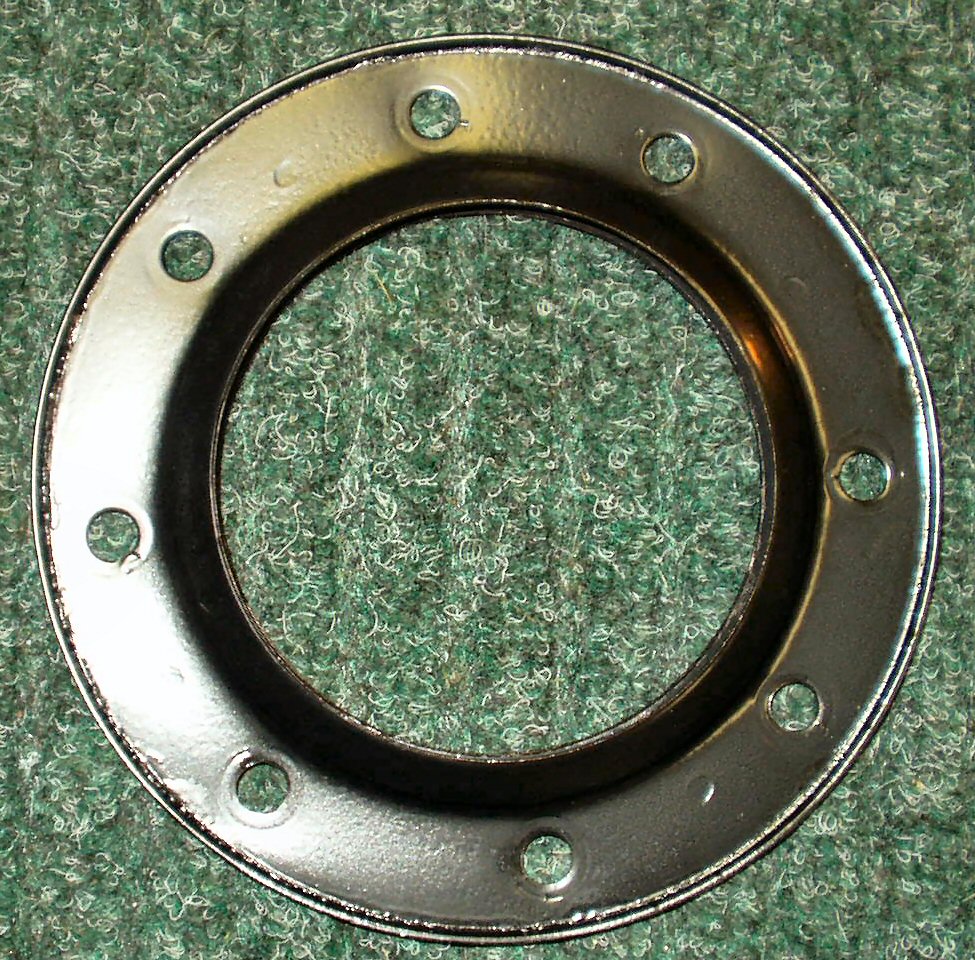
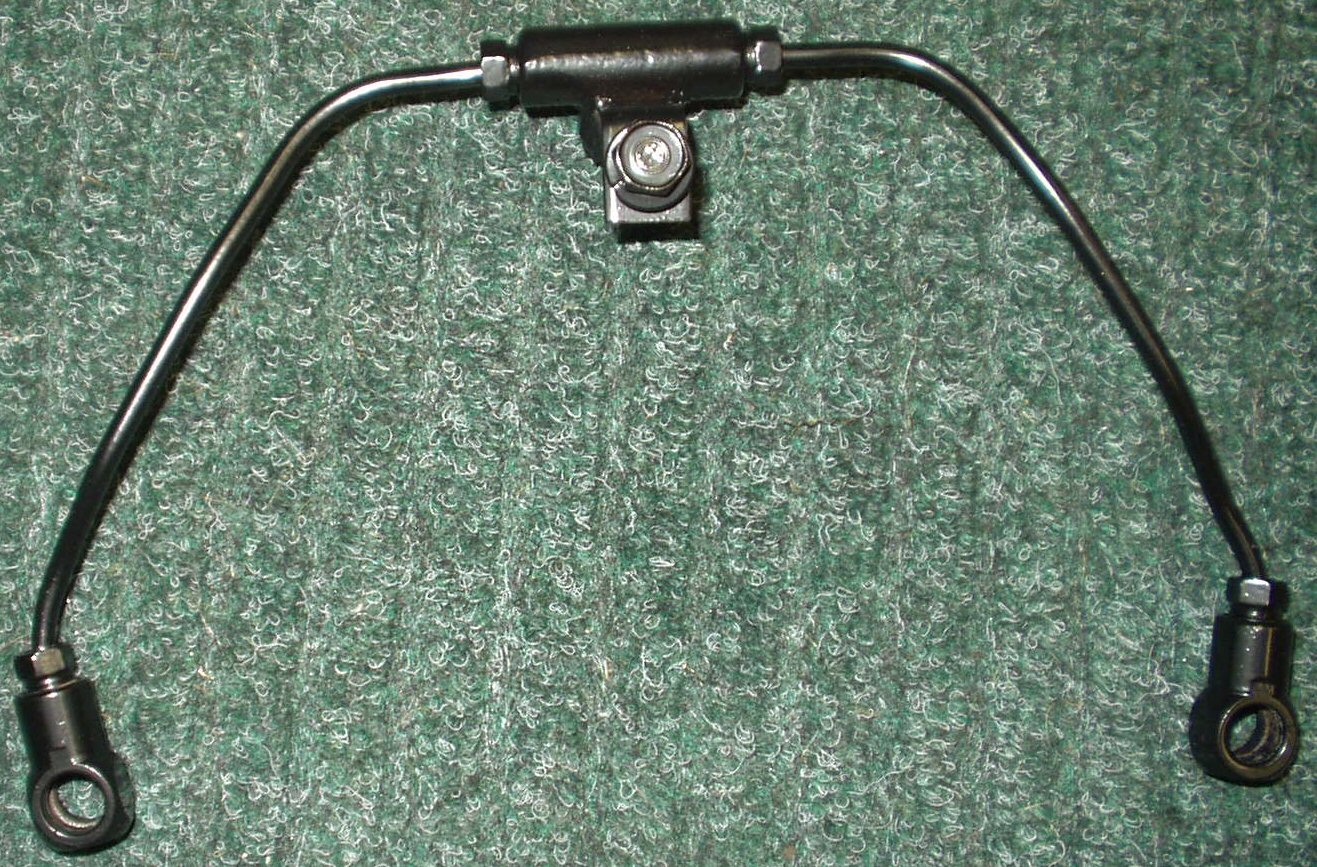
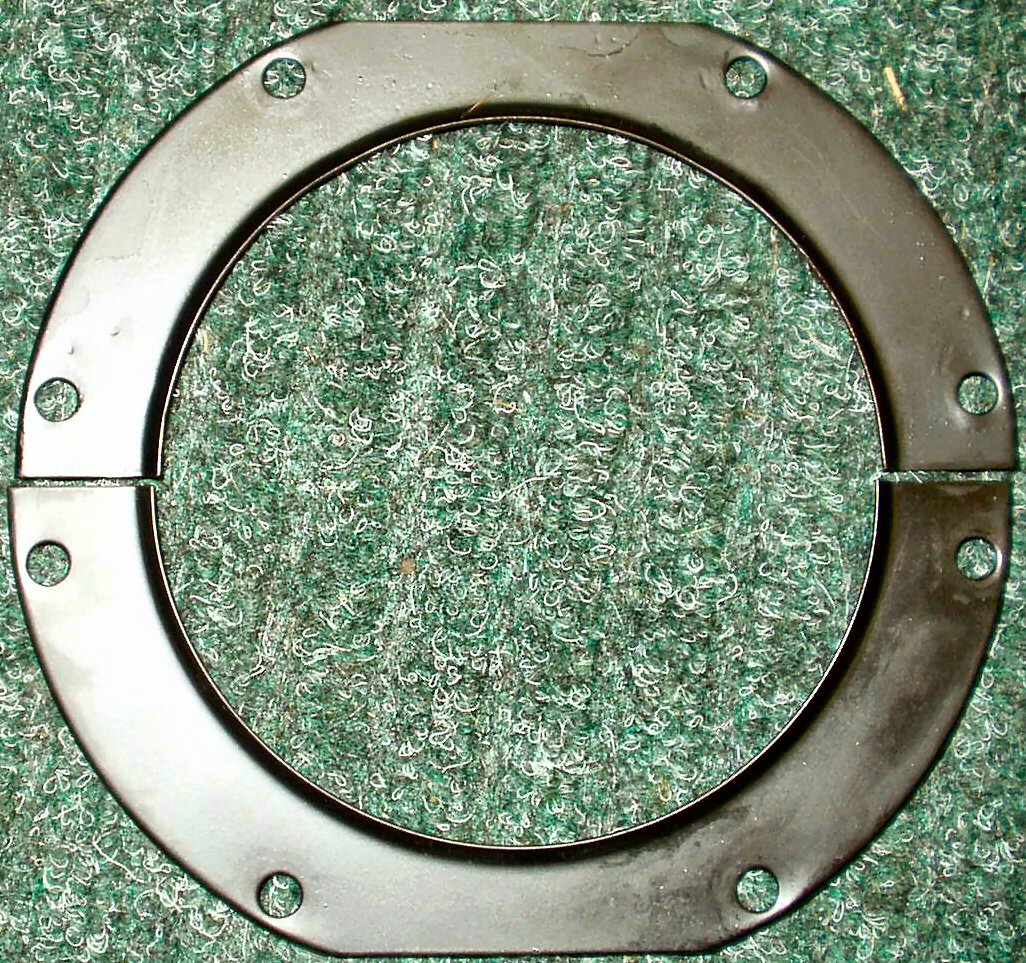
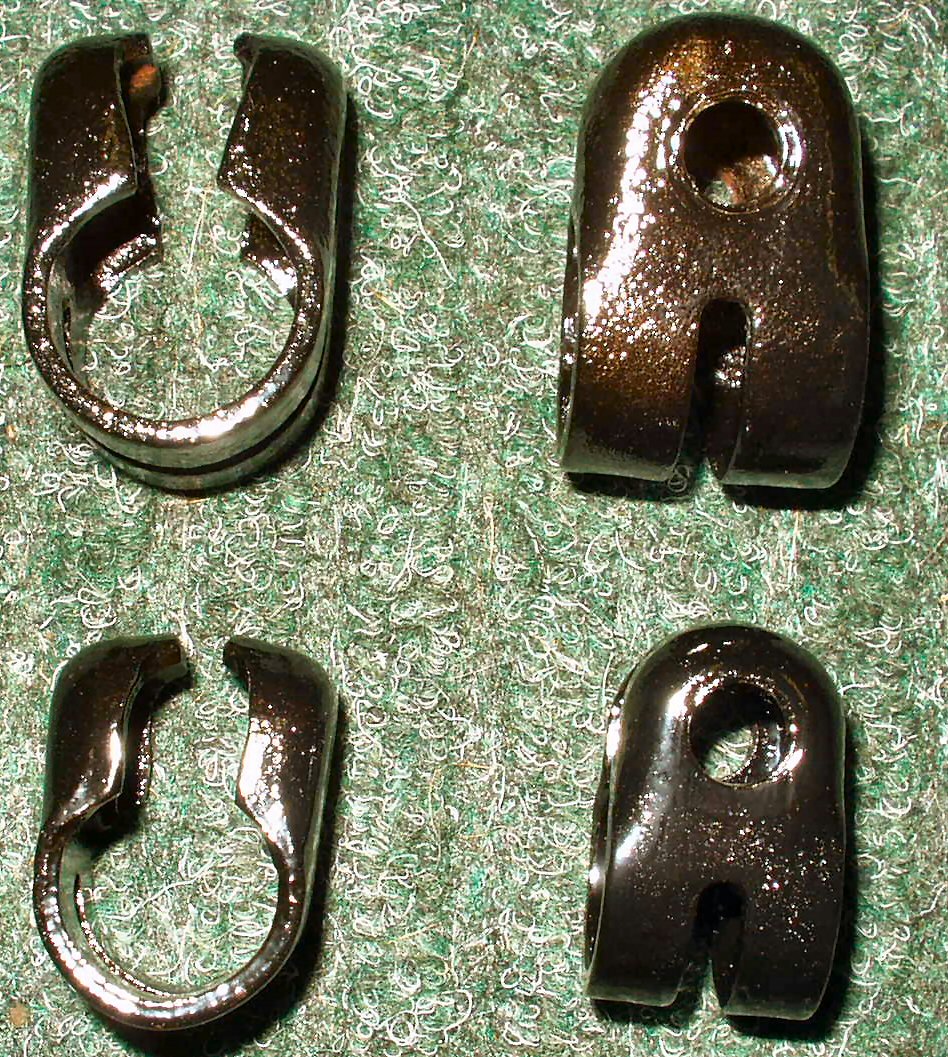
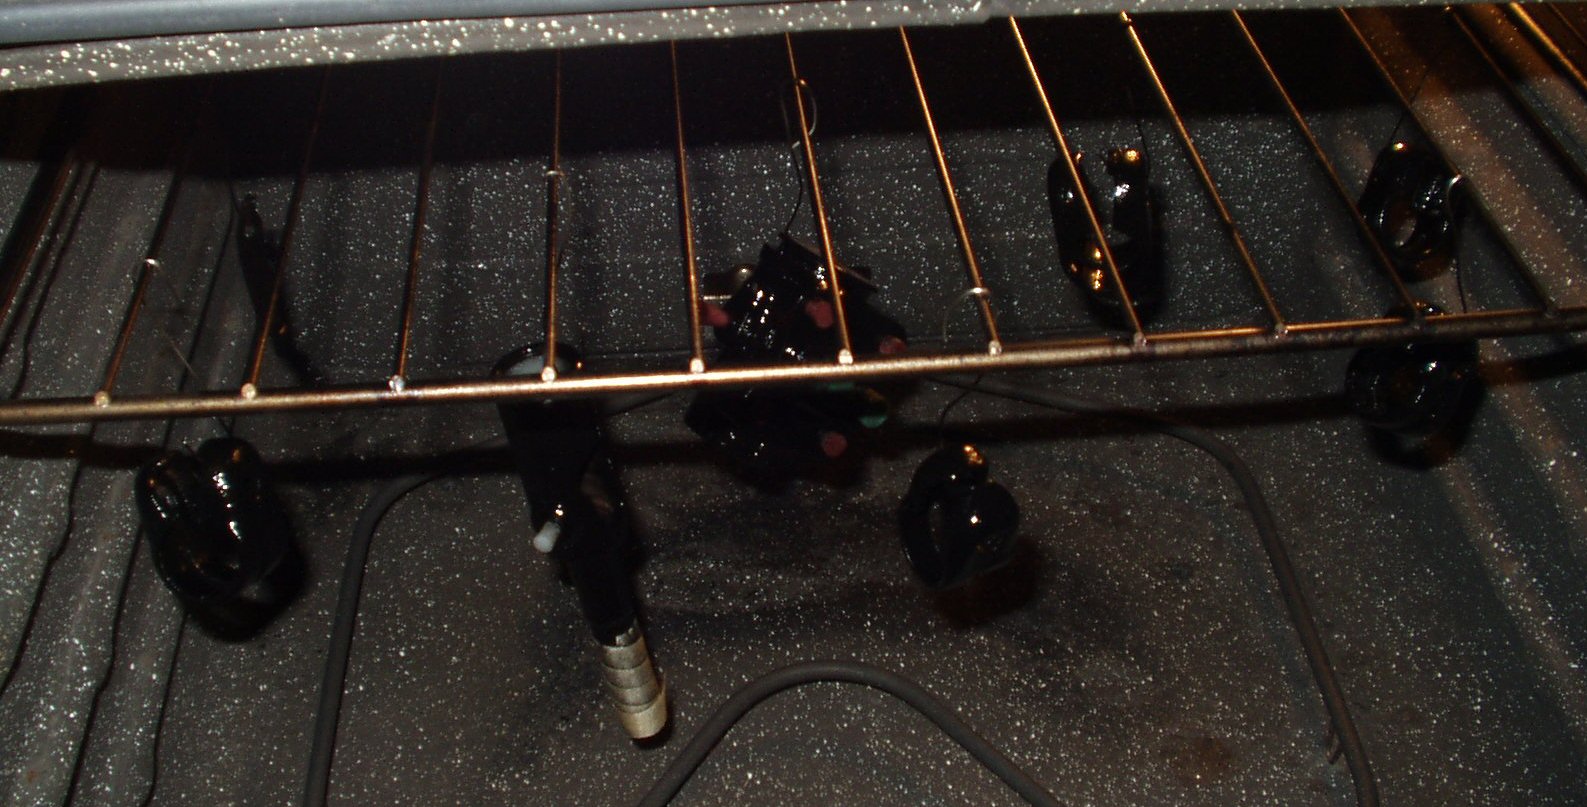
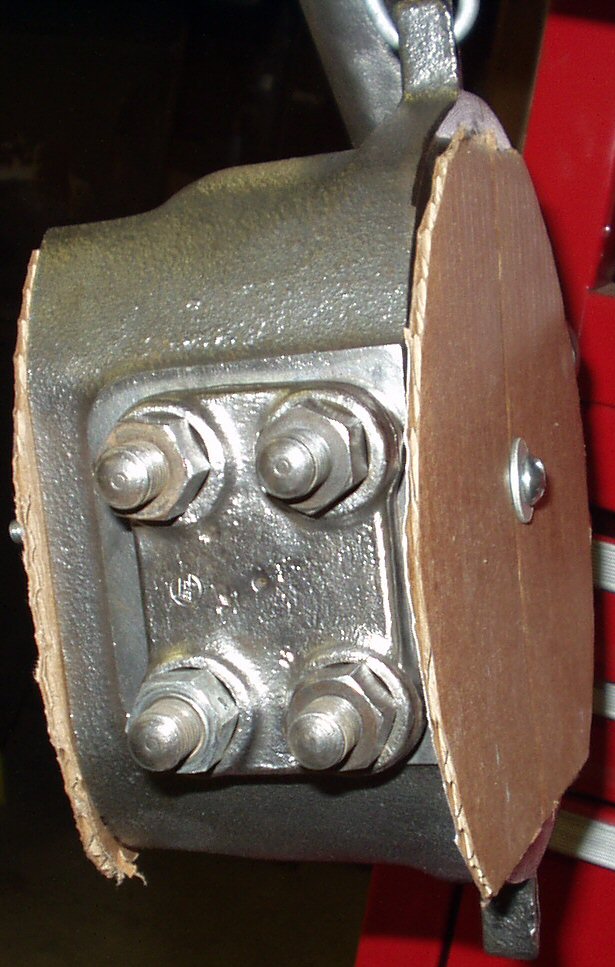
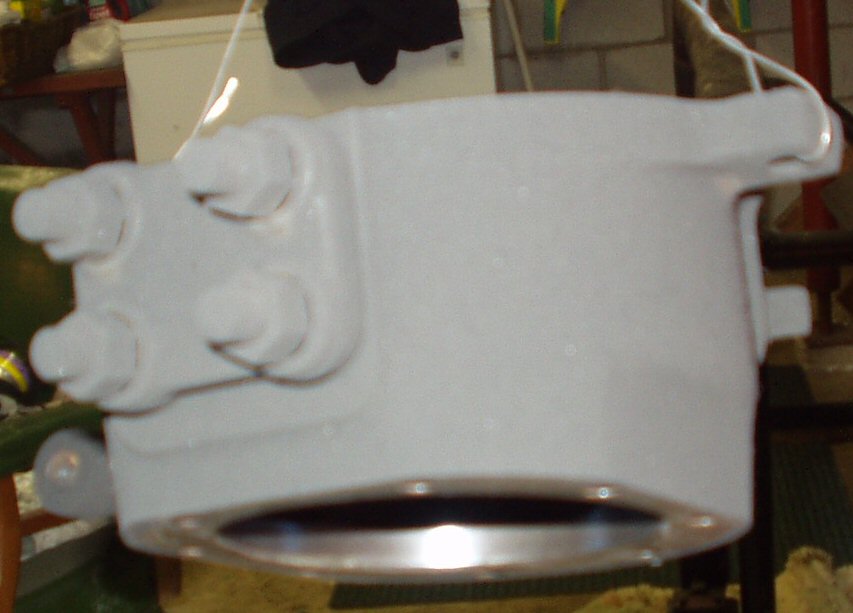
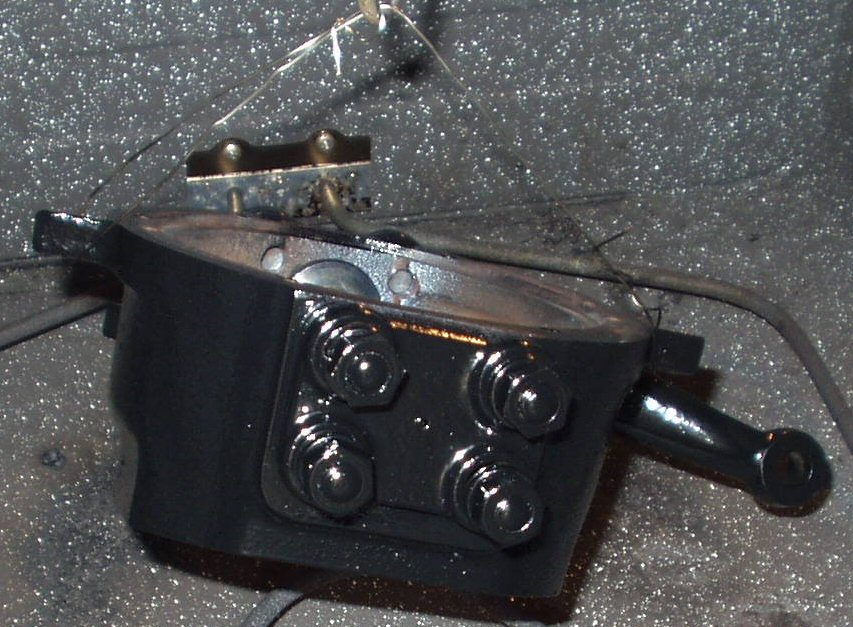
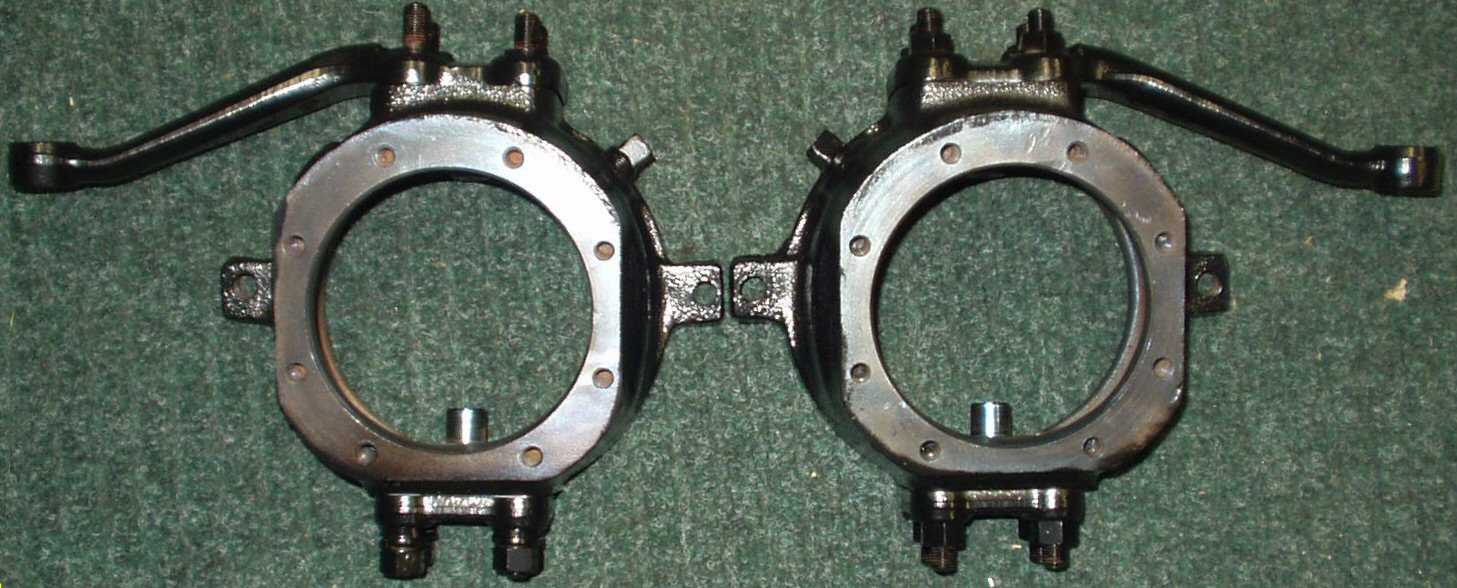

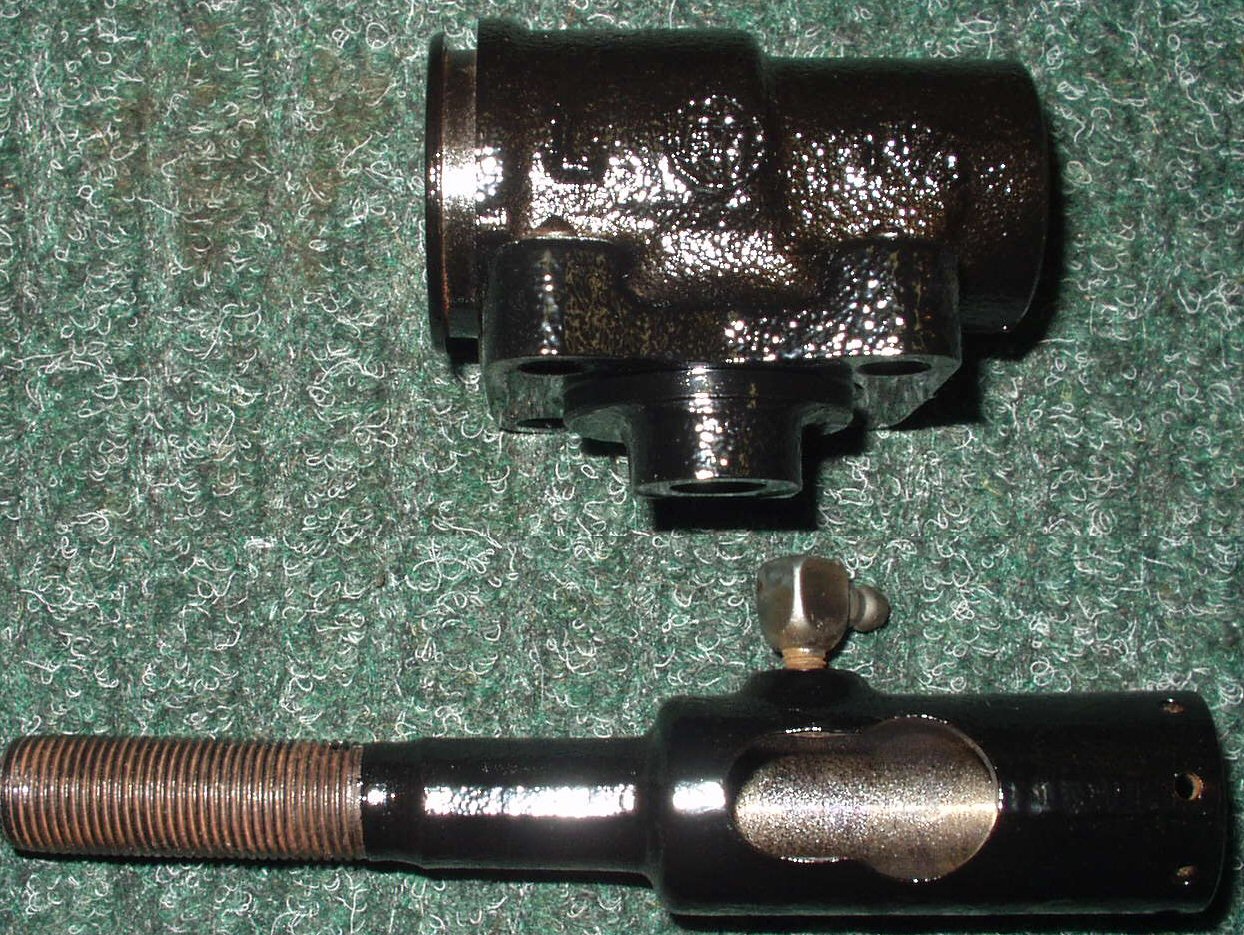
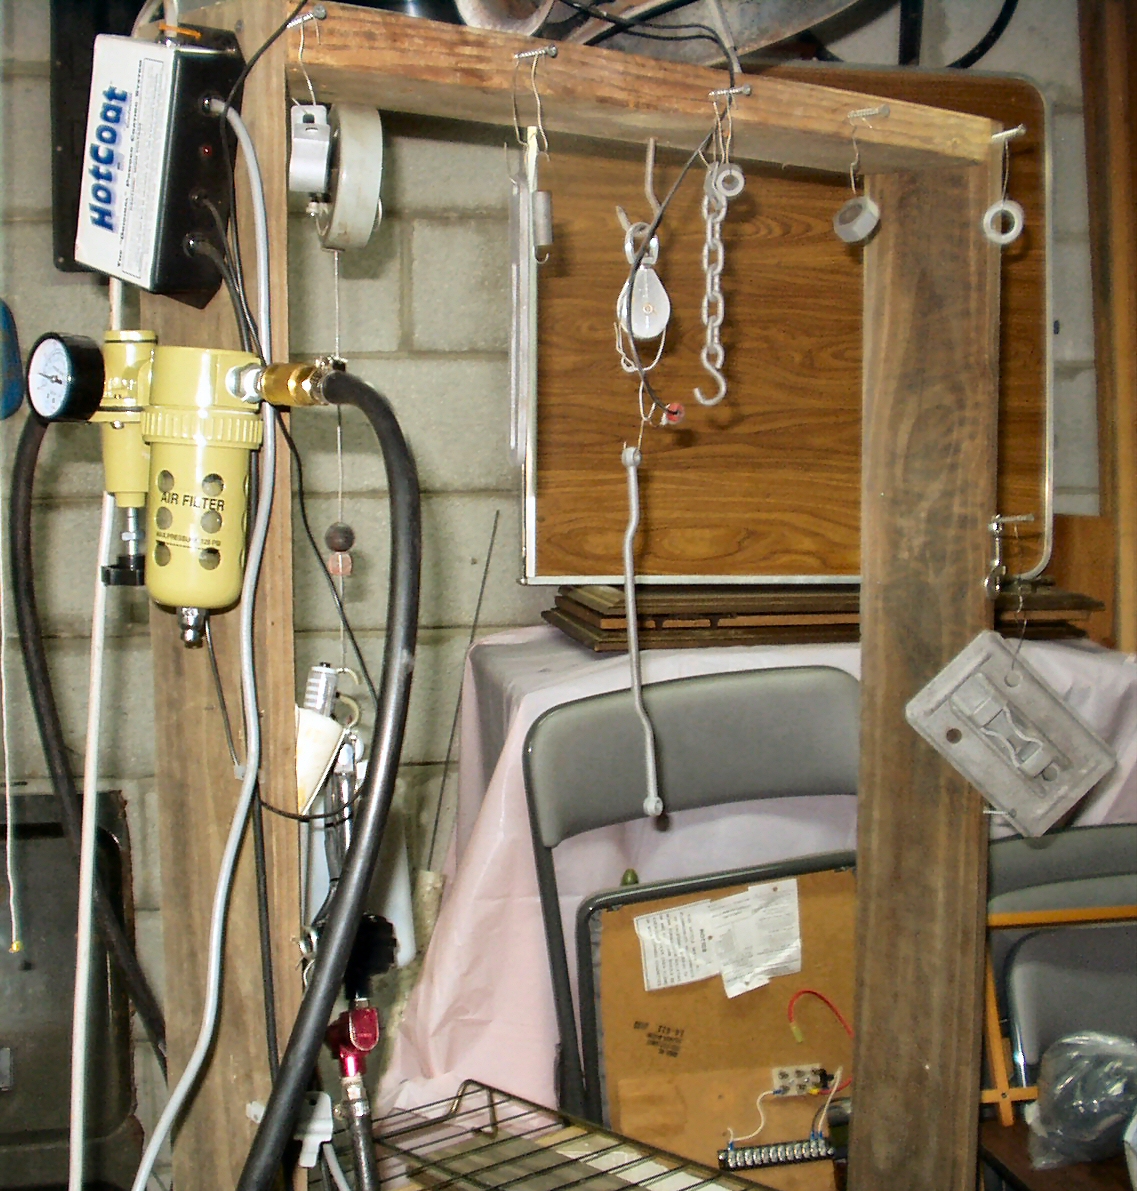
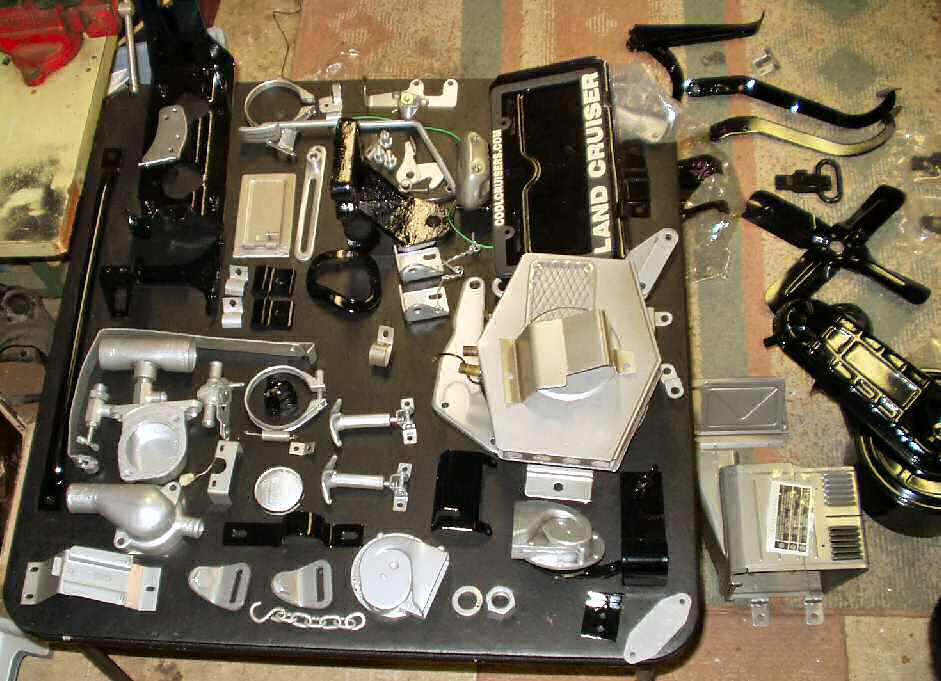
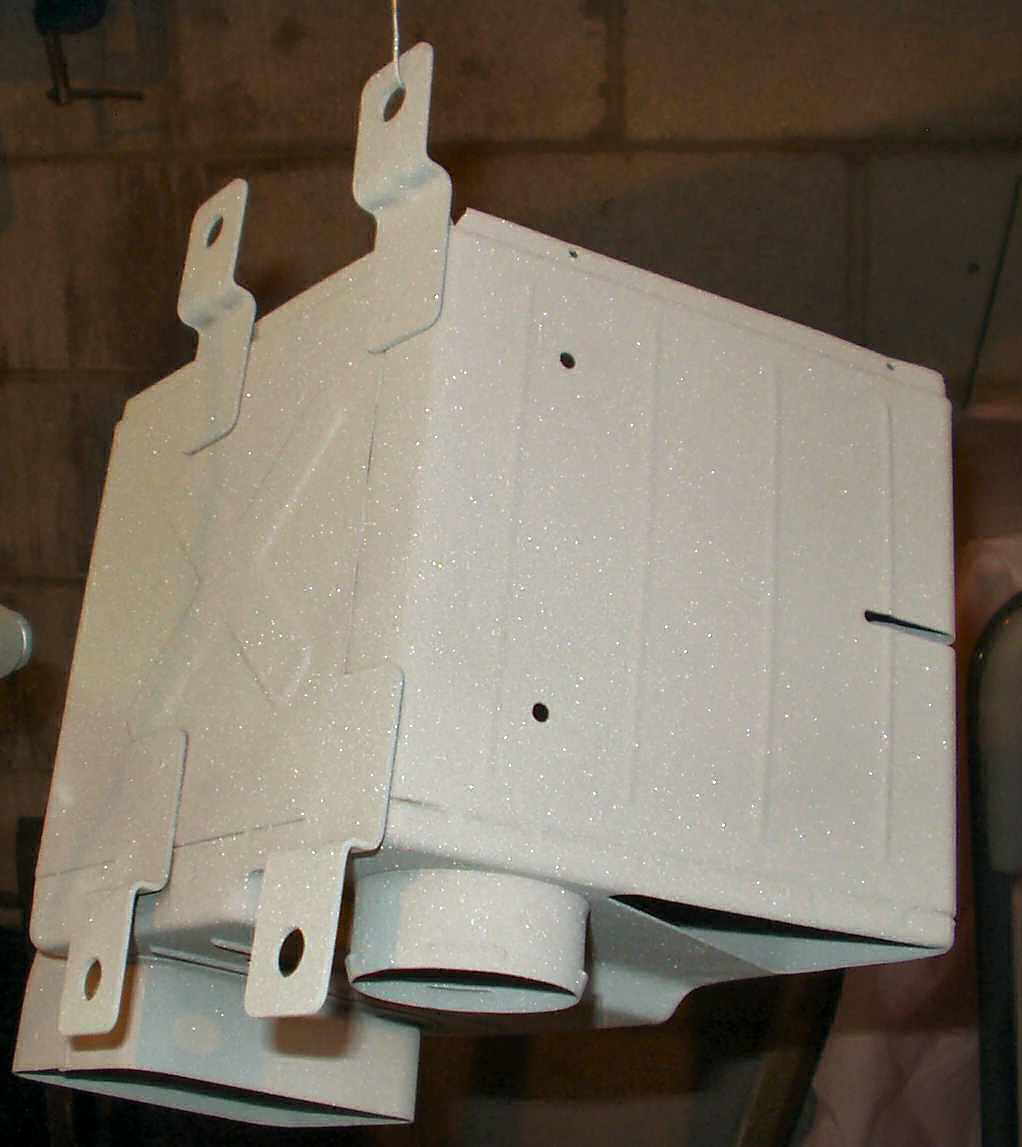

Fig. 11 shows the cardboard 'cover' I made to keep the powder out of the inside of the knuckle. I just cut two cardboard pieces to fit and used a 5" long 1/4" bolt pressed through small holes. I coated the part then carefully removed the bolt allowing the cardboard to slide off without damaging the powder.
The brake backing plates had to be done one side at a time because the oven was not tall enough to allow hanging it vertically. I used silicone plugs inserted into the knuckle bolt holes to hold it up off a cookie sheet. Coated one side, baked it, let it cool, flipped it over then coated the other side. This worked but resulted in some orange peel on the first side from the over spray.
In case you are wondering, I used high gloss black on most everything except the oil retainer ring , oil seal covers and brake lines. On those I used satin black.
In Fig. 17 you can see the coating bench I made from some scrap wood. It's an old bath vanity. There is a squirrel cage fan in the bottom that pulls air down through the cabinet into a pillow case to catch the majority of the dust. There is a large furnace fan mounted in the window that pulls any remaining dust to that end and exhausts it outside.
Fig.18 shows what a couple of days of sandblasting and powder coating will net you! Fig. 19 is the front heater box coated, ready to go in the oven.
The last photo shows a color I mixed up trying to duplicate the 'chromate' finish on some new parts. It did not quite work the way I thought it would! It turned out a greenish gold...
Fig. 21 New Toy |
Fig. 22 Chromed? Not! |
Fig. 23 Practising on Kitchen stuff! |
Fig. 24 Blasted Intake |
Fig. 25 First Coat of High Temp Silver |
Fig. 26 Second Coat of Chrome
|
Fig. 27 Rusty Bucket |
Fig. 28 Media Blasted |
Fig. 29 Powder coated |
Fig. 30 Adjuster shell |
Fig. 32 Shell Coated |
Fig. 31 Other Parts |
Fig. 32 Powder Frenzy 3 |
Fig. 33 T-Case Shell Blasted |
Fig. 34 T-Case Coated |
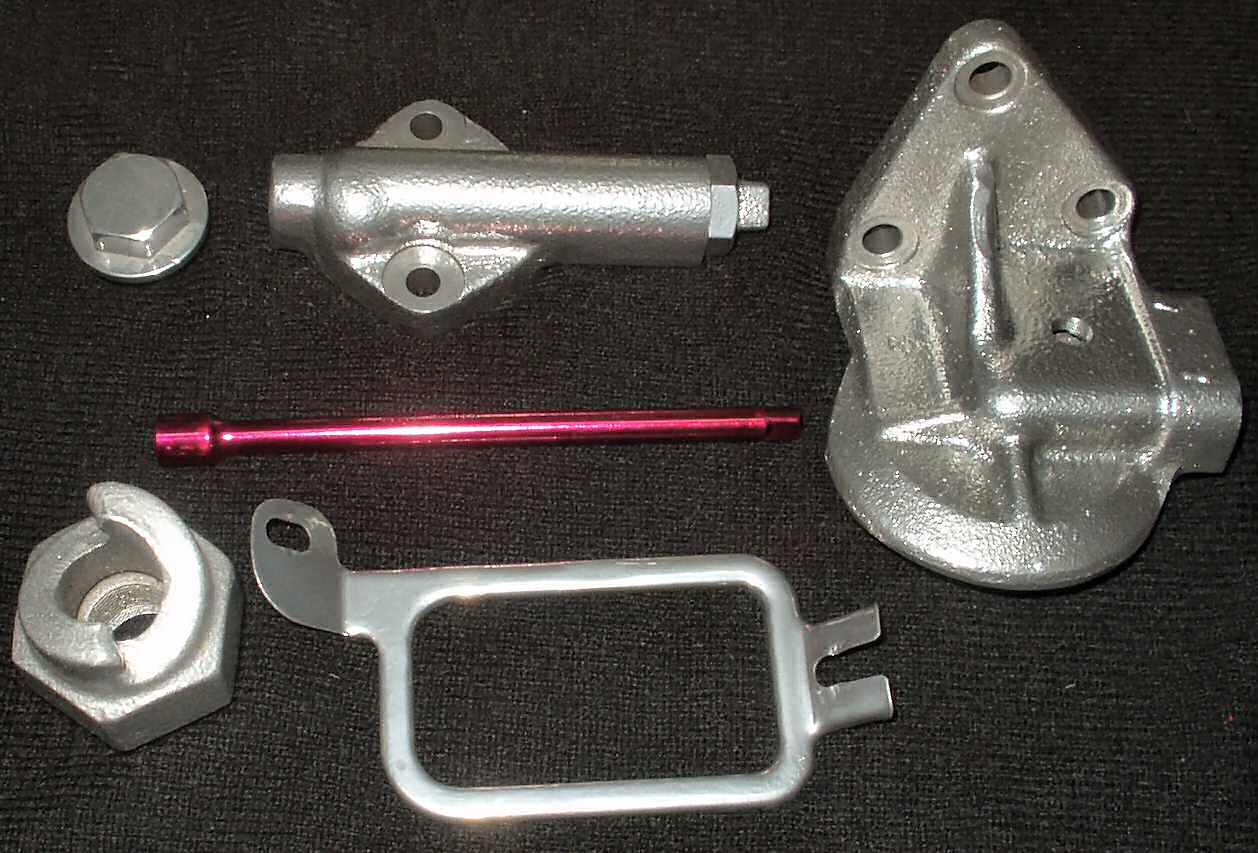

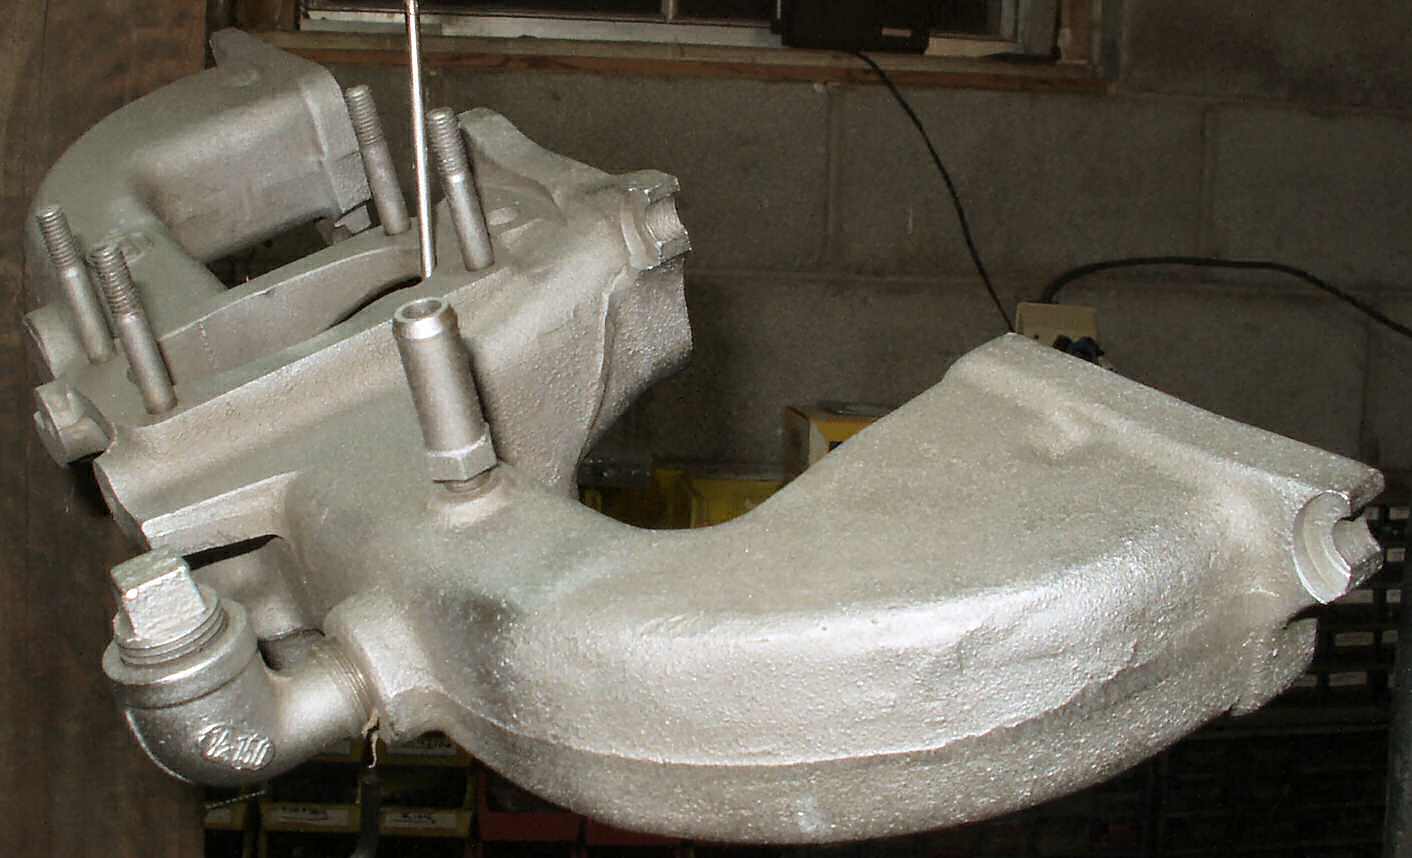
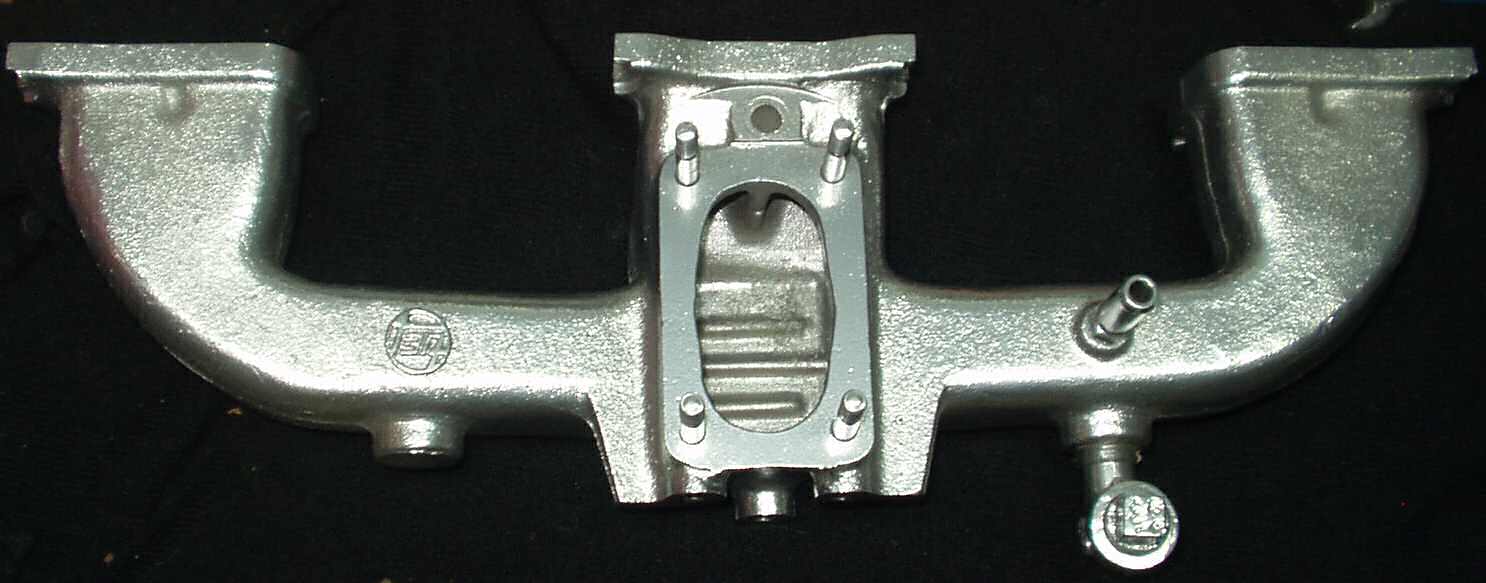
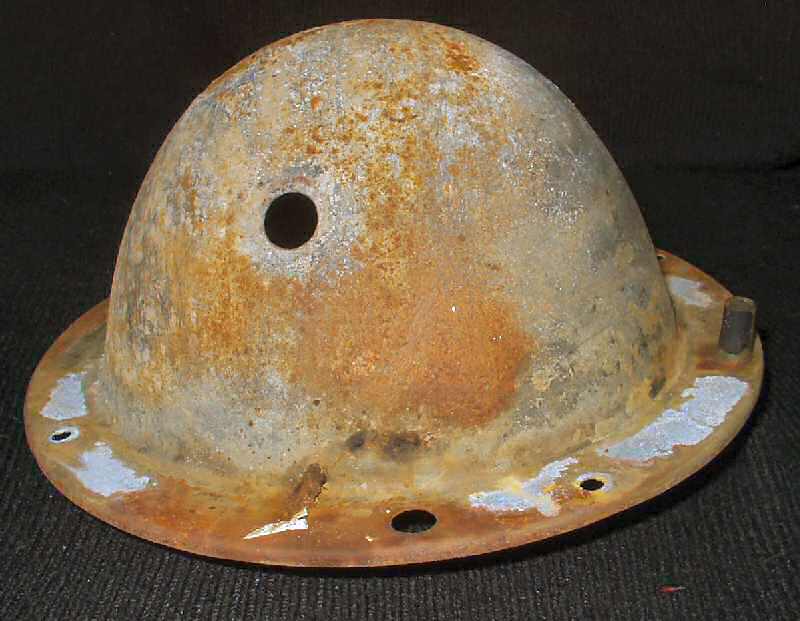
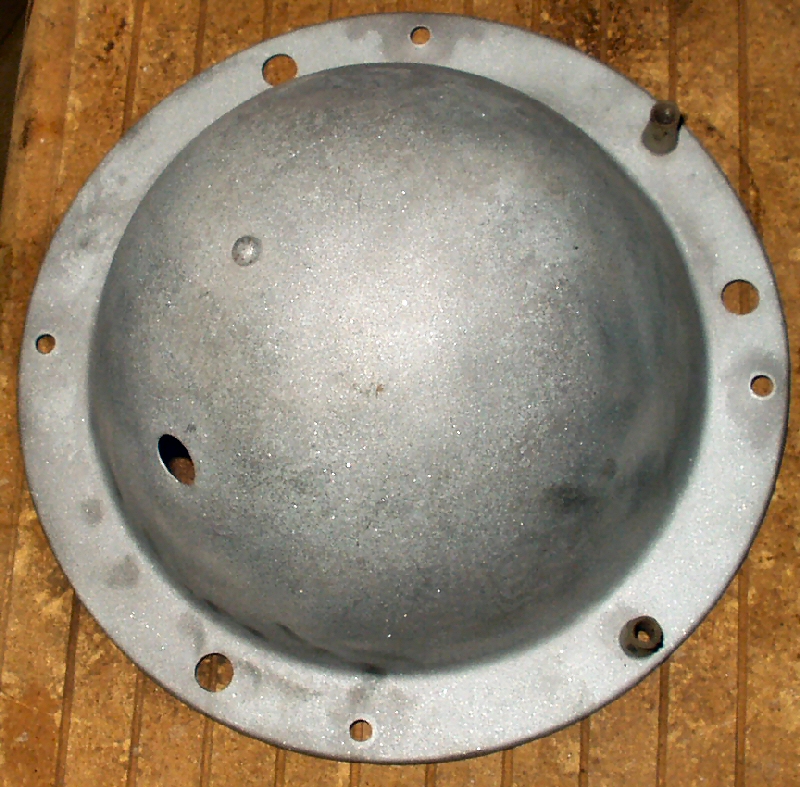
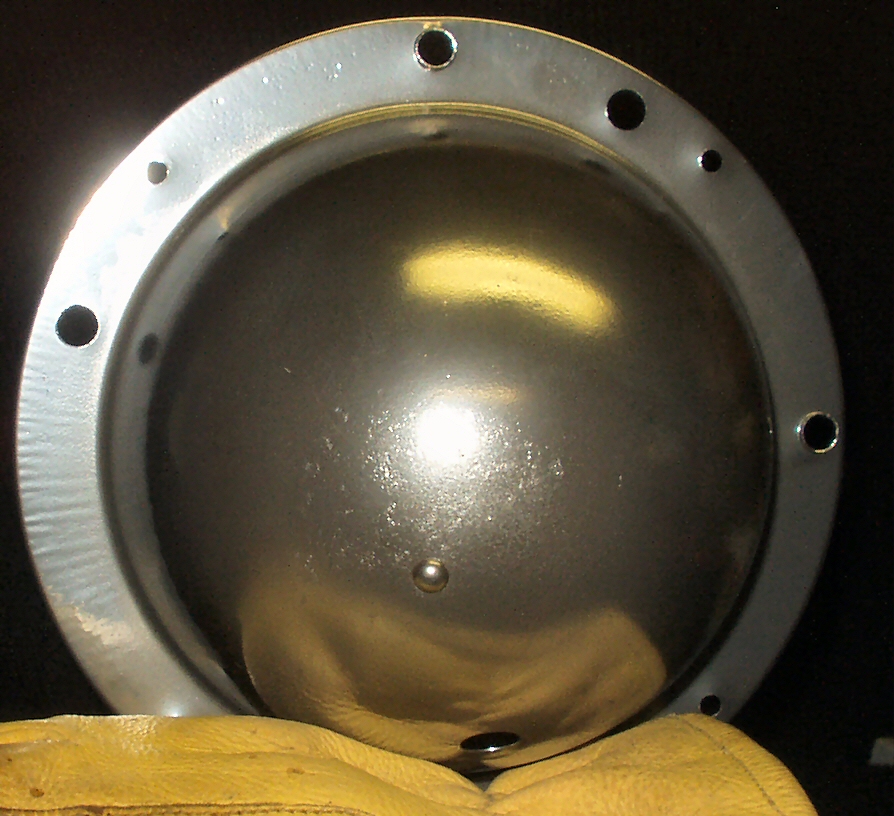
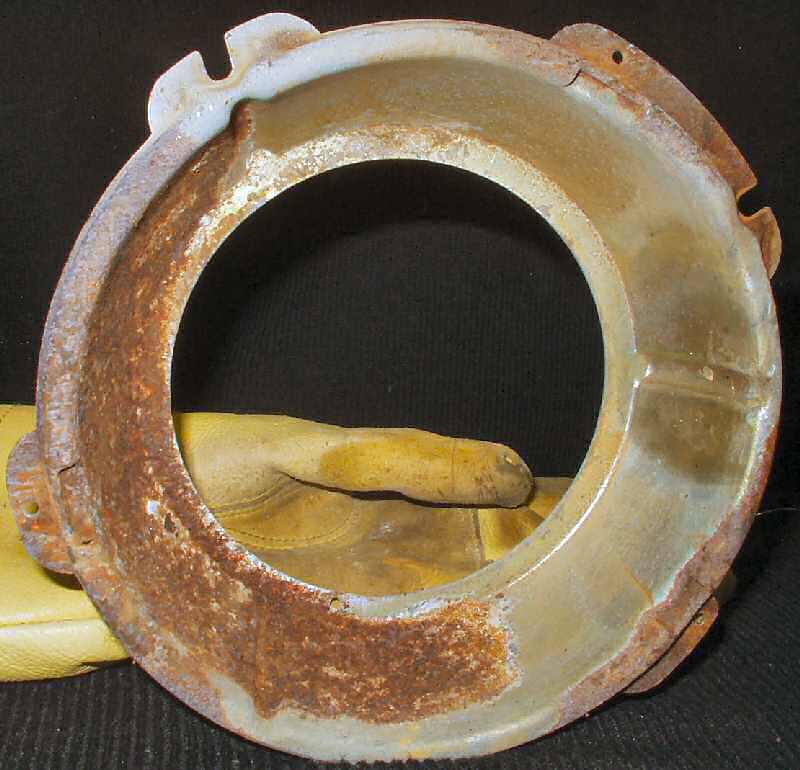
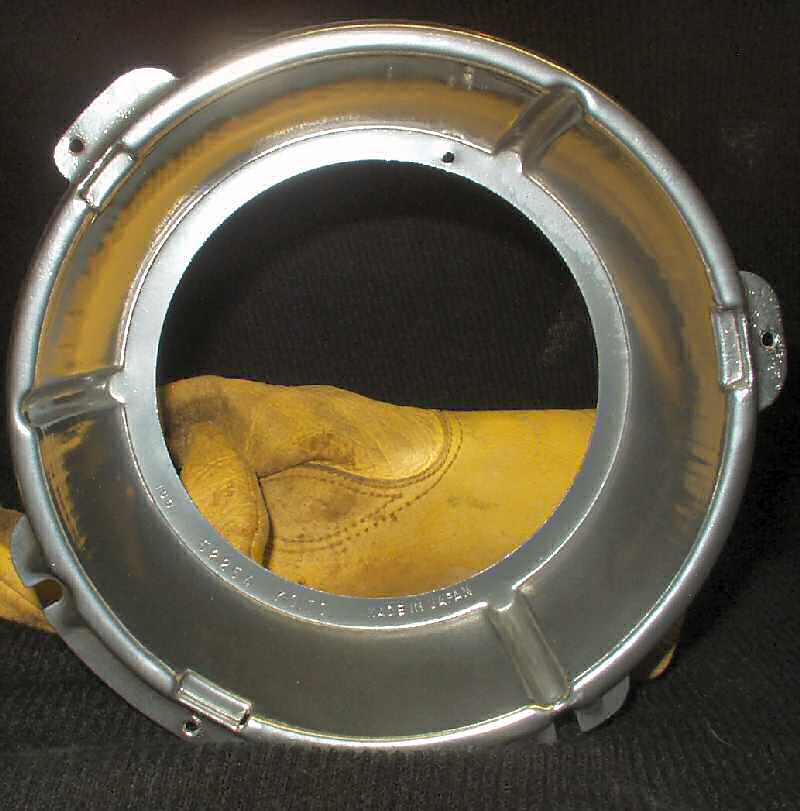
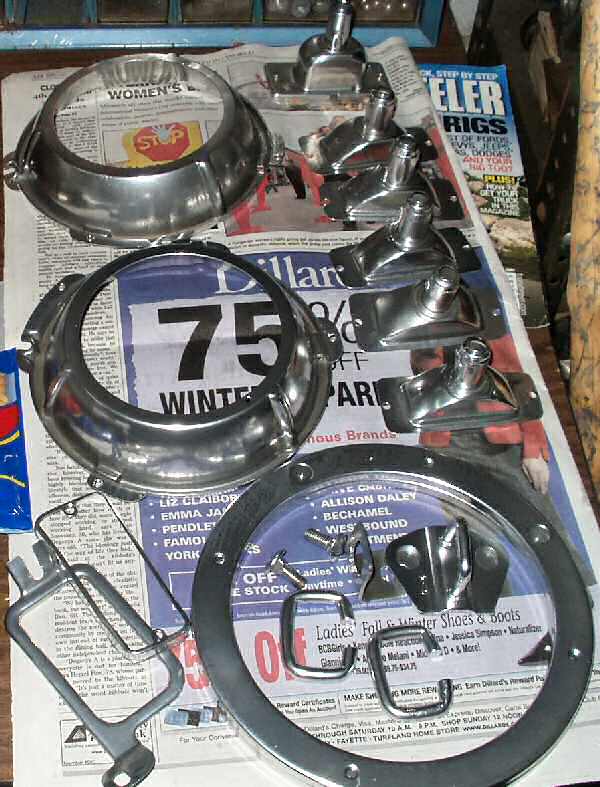
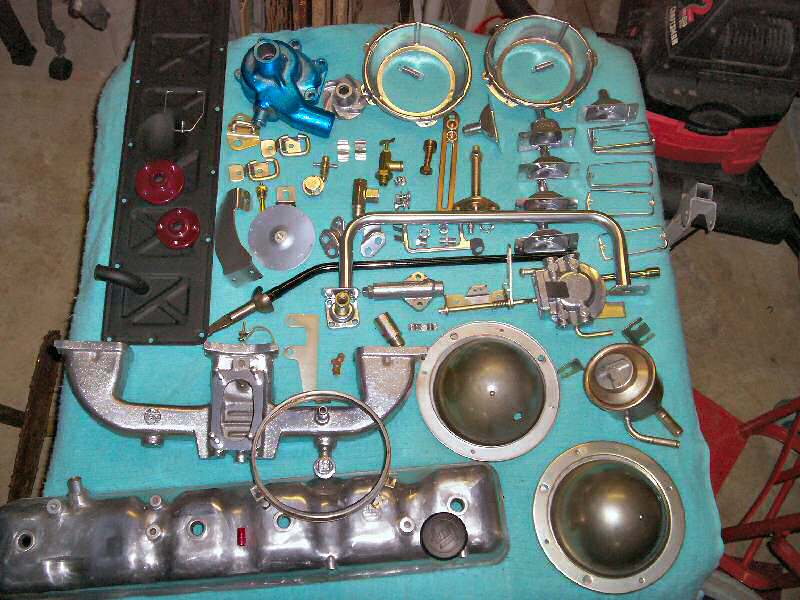

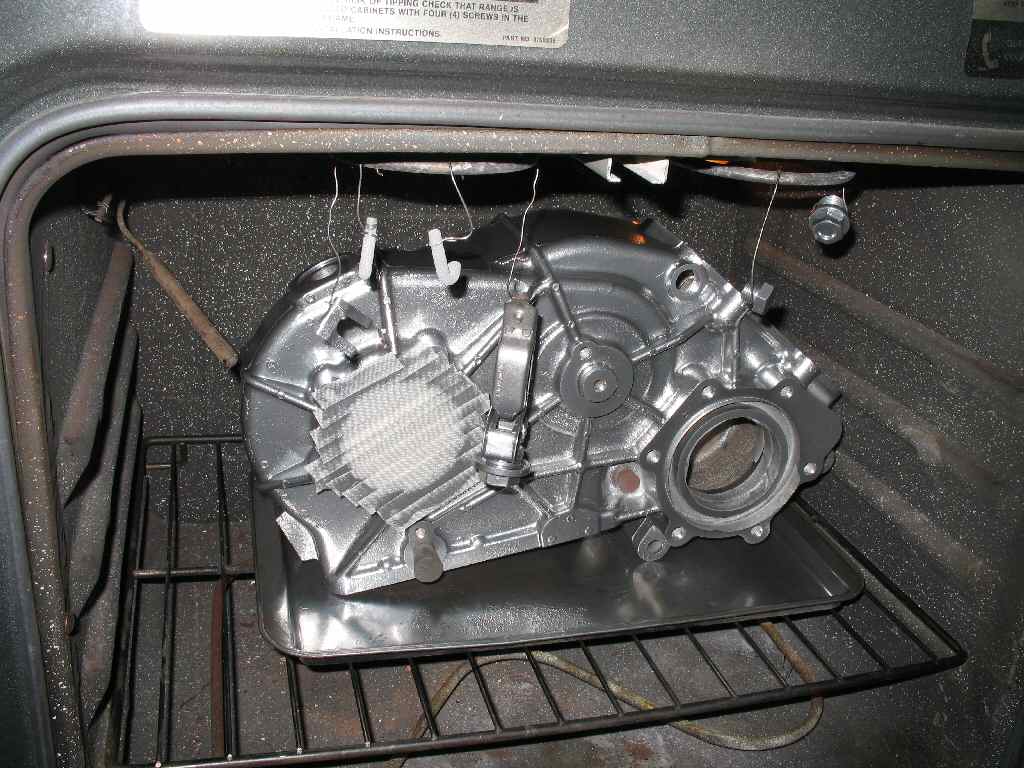
Fig. 21 shows my new toy. A Craftsman Infrared laser thermometer. Measures up to 1000 degrees! I use it to measure the temps of the parts to get a more accurate cure on them.
Fig. 22 shows parts done in a powder called extreme chrome (except for the red part). It is a nice powder! Fig. 23 got the wife a bit pissed. I raided her utensil drawer for stuff to practise my new translucent powders on. Christmas in March!
Fig. 25-26 are my intake manifold. First I media blasted it, then I coated it in a high temp silver and finally top coated it with Xtreme Chrome. I still have a couple of things left to do to it.
Fig. 32 shows round three of the powder coating. All the headlight parts from the bib, intake, misc. engine fittings, mini-power steering parts, marker light bodies and trim, backup light & trim, grab bar, 3 sp shifter, fuel filter housing, horn parts, drain plugs, hood latch, and misc brackets.
Fig. 33-34 Is the t-case shell. Yes, I sand blasted it, then powder coated it! Looks fantastic too!