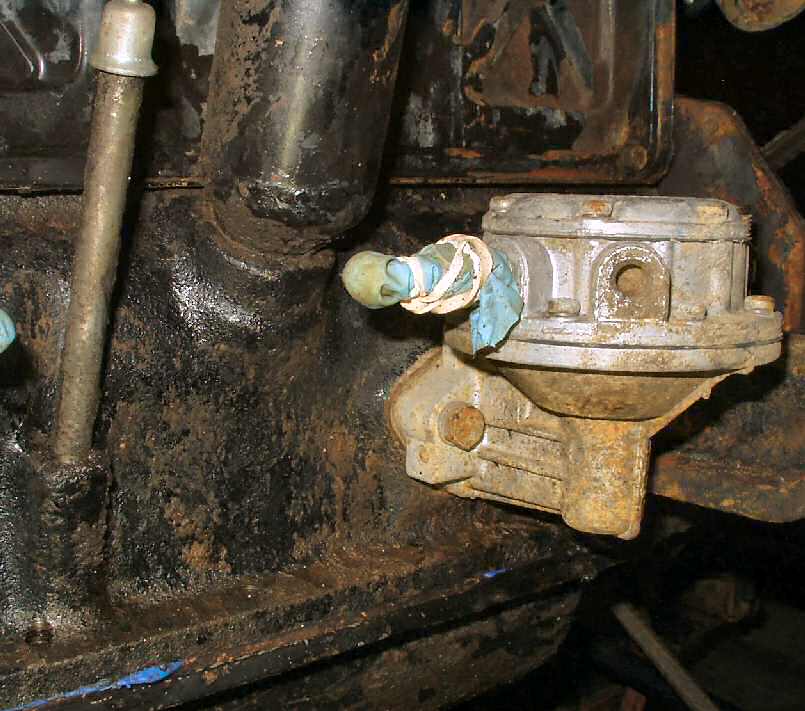
While stripping the engine of parts so I could clean and paint
the block, I decided to see what was inside the fuel pump. This is an
original 1971 pump so I expected it to be corroded and full of junk. First thing
I discovered was that the main spring on the lever that engages the cam was
broken! But the pump still worked... Hmmmm.... I'm sure the dealer will have
that in stock....
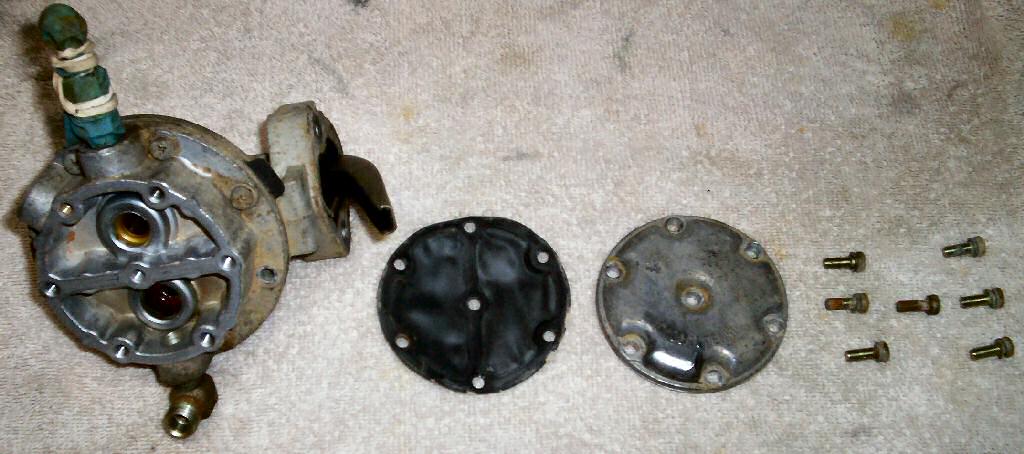
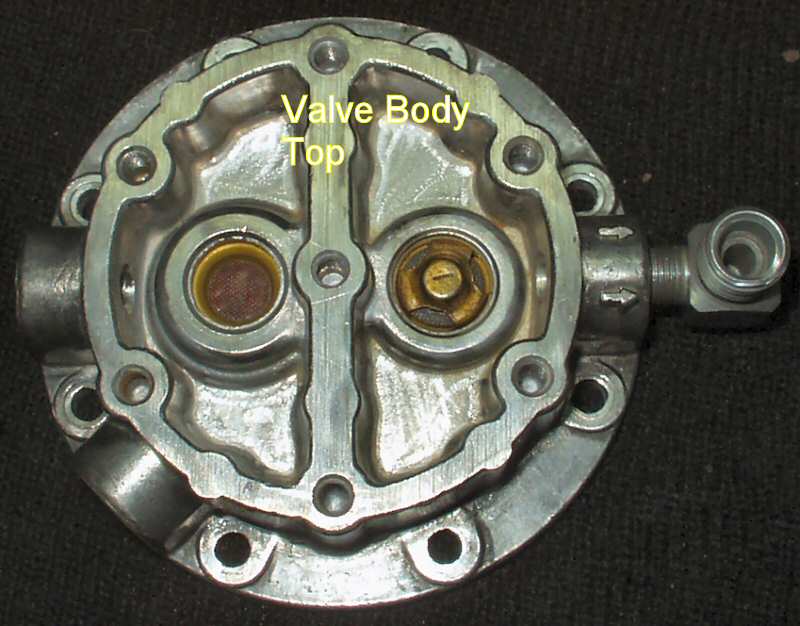
Ok so continuing on with the dismantling, I pulled the 7 phillips
screws out of the top valve body cover, and carefully removed the thin gasket.
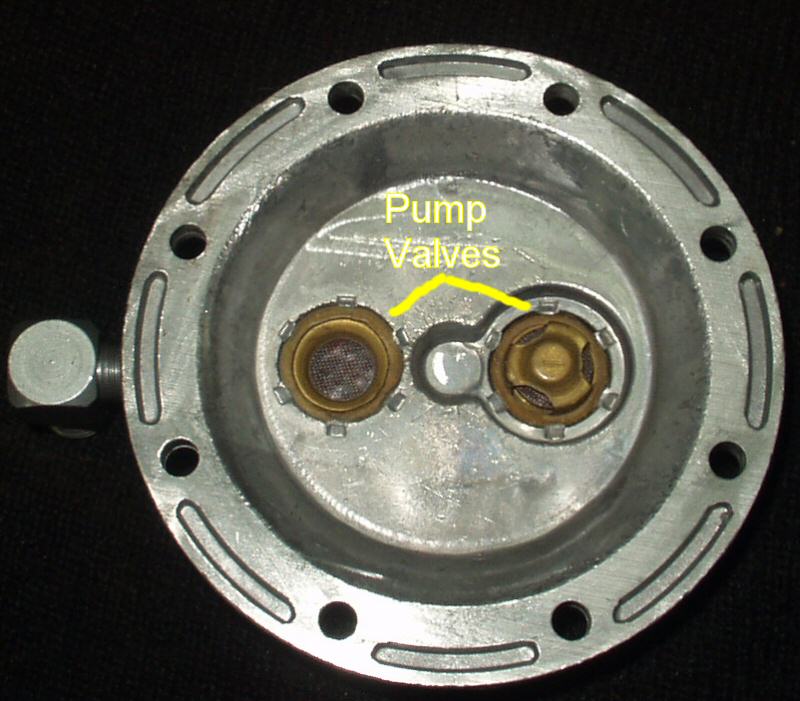
See Fig. 3. This exposed the pump valves. They
were pretty clean with no junk around them. I guess the PO's actually changed
fuel filters pretty often! See Fig. 4 and 5.
Fig. 4
Valve Body Bottom
Fig. 5
Valve Body Top
Fig. 6
Fig. 7
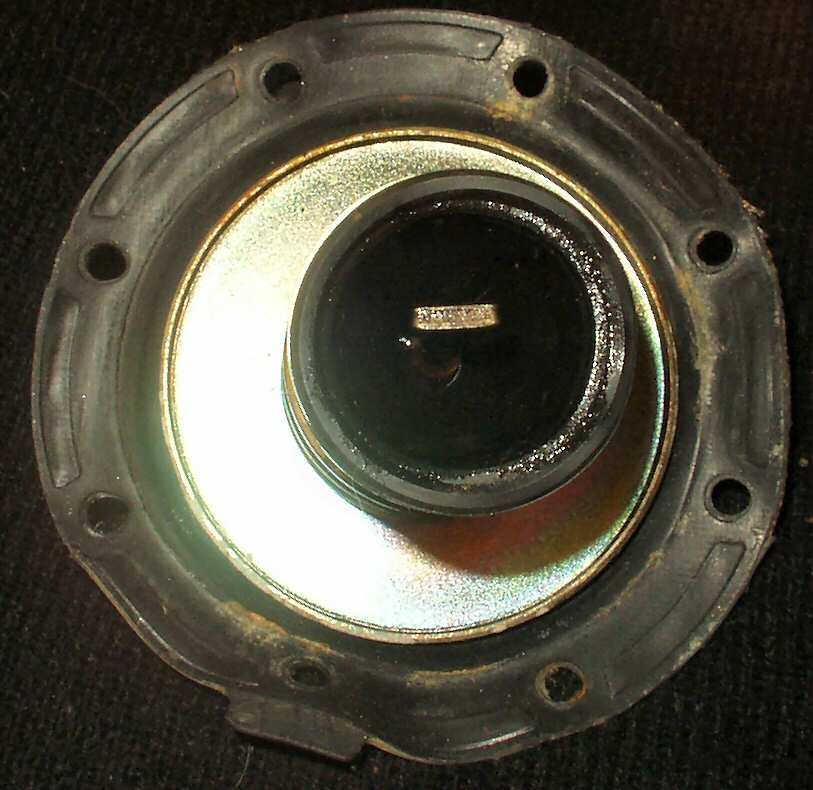
Fig. 8
Diaphram Top
Fig. 9
Diaphram Bottom
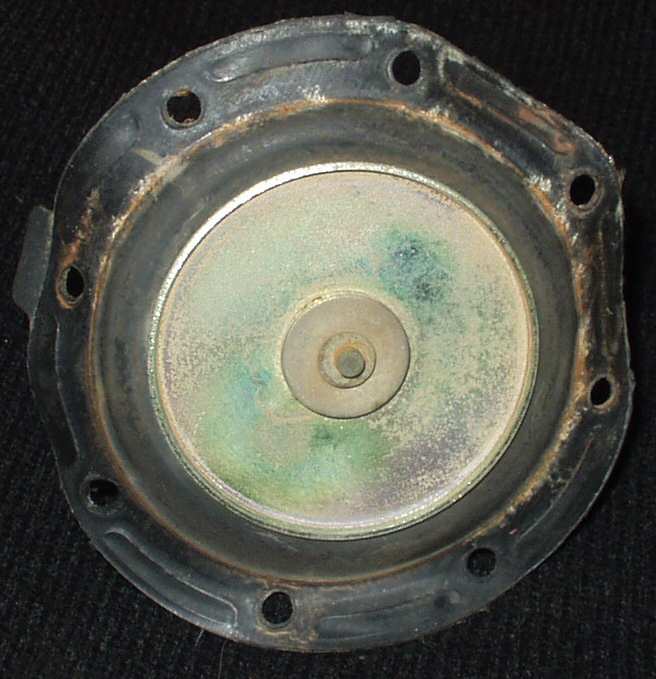
Fig. 6-7 shows the other 8 screws
removed and the valve body separated from the lower pump body with the diaphram.
The diaphram looked good with no cracks and little junk on it. See Fig.
8-9. The lower pump body was dirty so I cleaned it up with soap and water
then put it in my powder coat oven at 500 degrees for 30 minutes to burn all
the oil out and make it easier to finish cleaning.
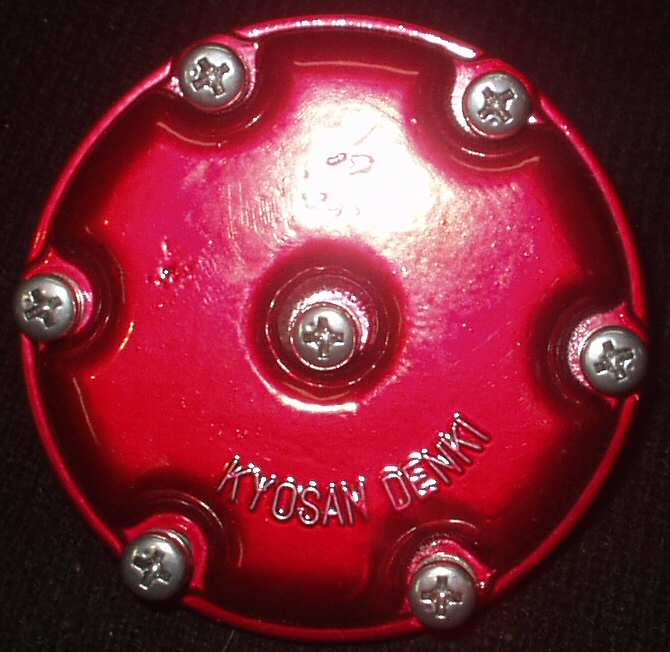
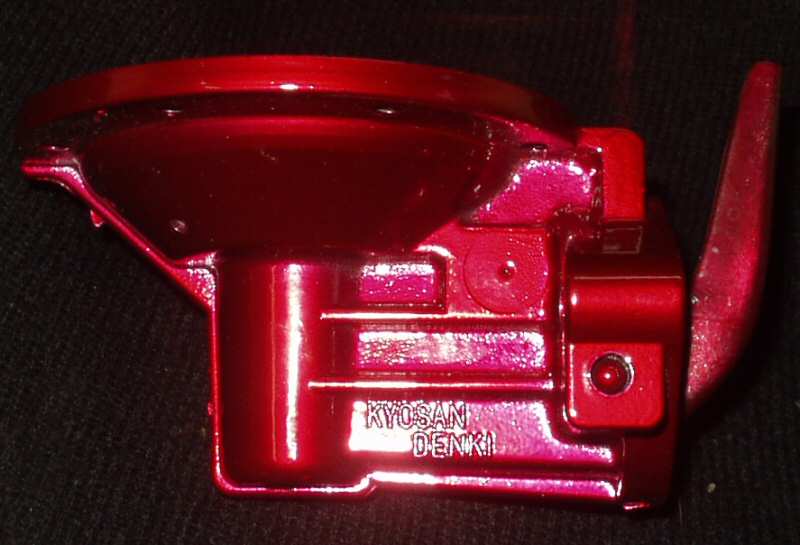
Using a Dremel tool with a wire brush I cleaned up the top cover,
the valve body and the lower pump body. I then used some polishing compound
on them to brighten them up a bit. Well, since they are so shiny, how about
a coat of translucent red on the polished top and bottom pieces to dress them
up a bit, and a coat of clear on the valve body since I can't bake it due to
the valves? Too much glam for the old F engine? Hell no!
Fig. 10
Fig. 11
See Fig. 10-11 for
the coated parts.
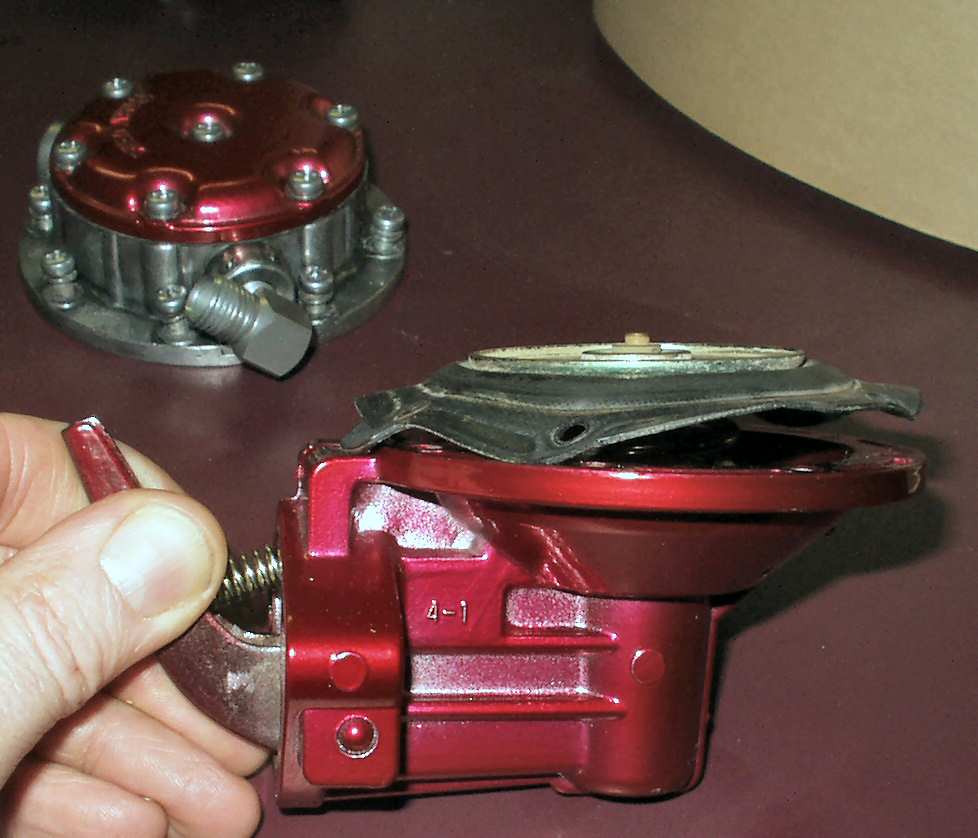
I then cleaned up the diaphram and closely inspected it for
cracks top and bottom. It looked good so I started putting it back together.
Fig. 12
Diaphram Installed
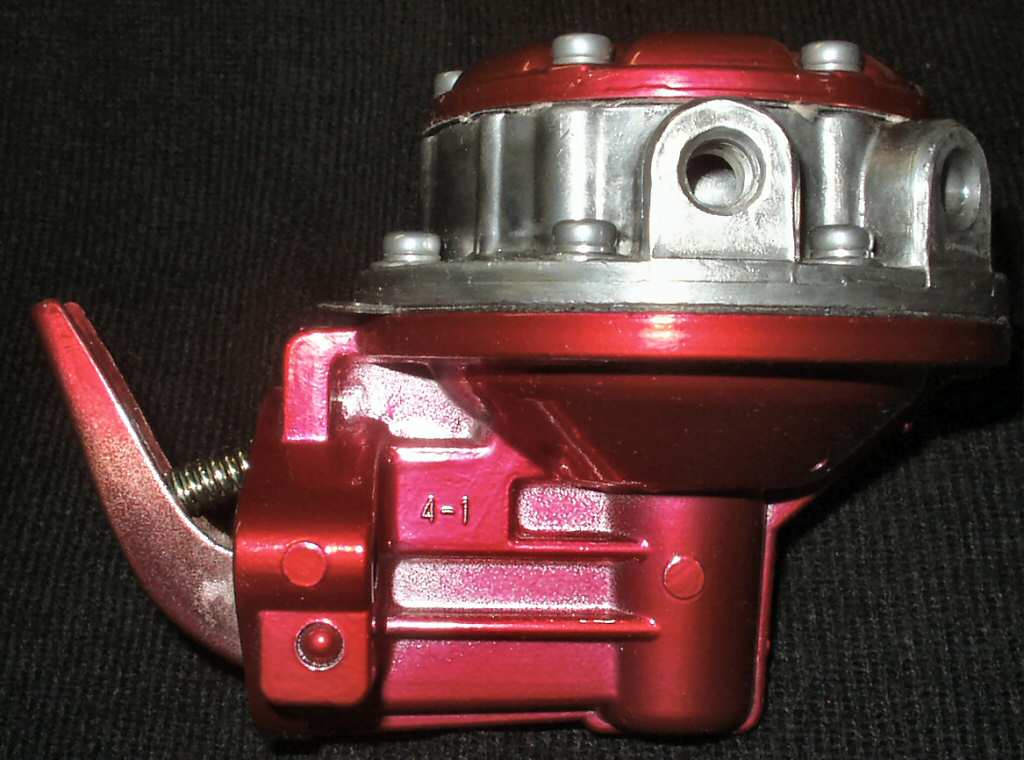
Fig. 13
Glam on!
Sometime back a fellow Mud member sent me a fuel pump that was
bad, but it had a good pump lever spring. Though it was a different brand, the
spring did fit with a bit of persuasion! One note about putting the pump diaphram
back in , IT'S A PAIN IN THE ASS!!! That spring is big and hard to compress
while lining up 8 holes and keeping the diaphram tang engaged in the pump lever
arm. See Fig. 12.
See Fig. 13 for the reassembled
unit... Sweet!
BTW there used to be a fuel pump rebuild kit out there for these
pumps but I think it has been discontinued. :(