Ok we left off with the engine
hanging on the stand covered in dirt and grease. So lets get it off. (The
dirt...)
Fig. 1
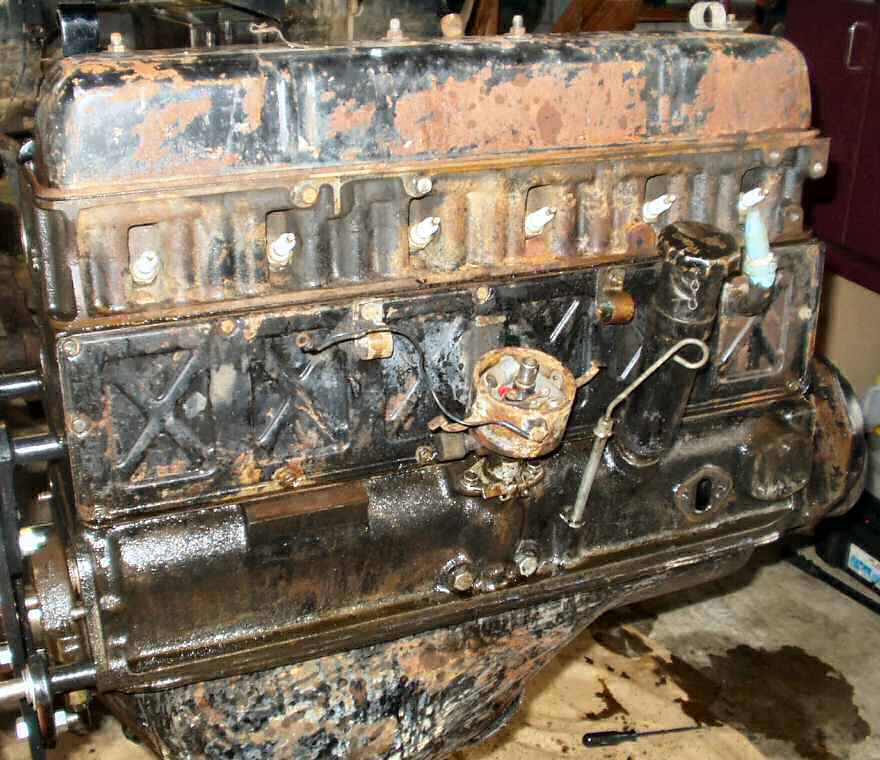
Drivers Side
Fig. 2
Passenger Side
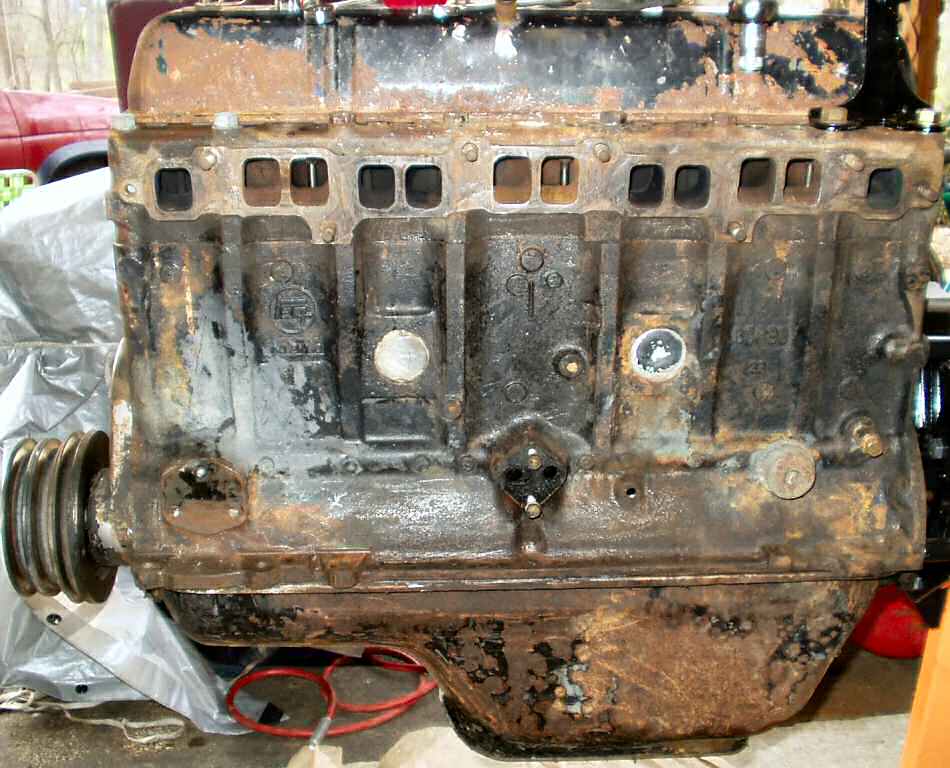
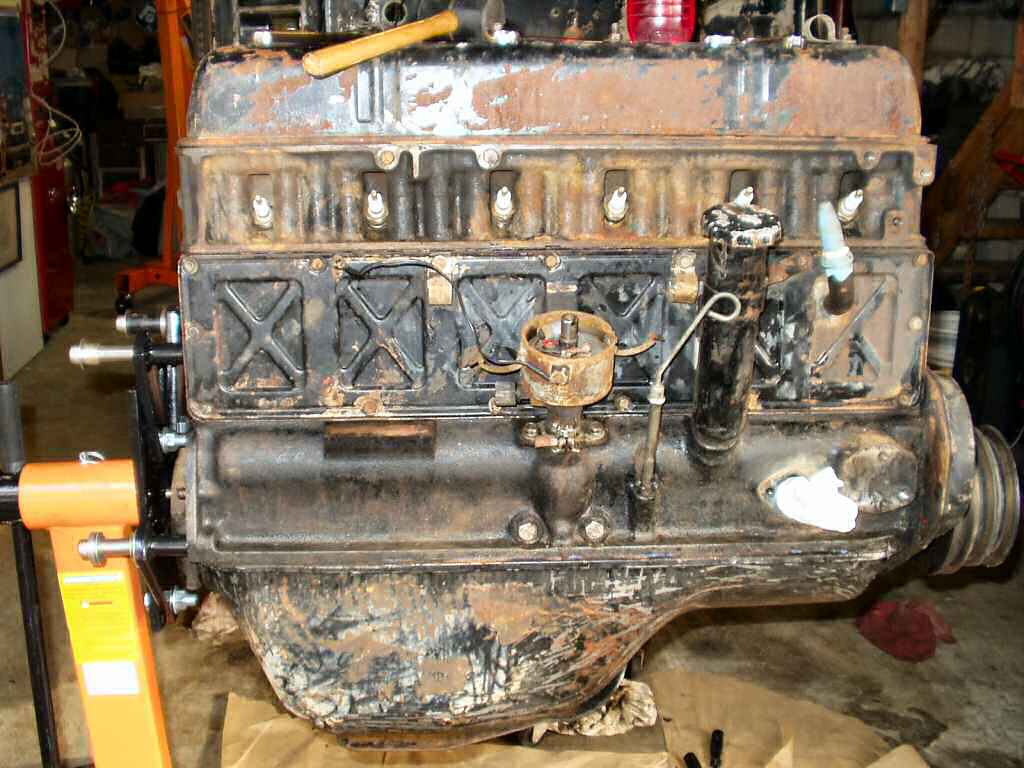
Before
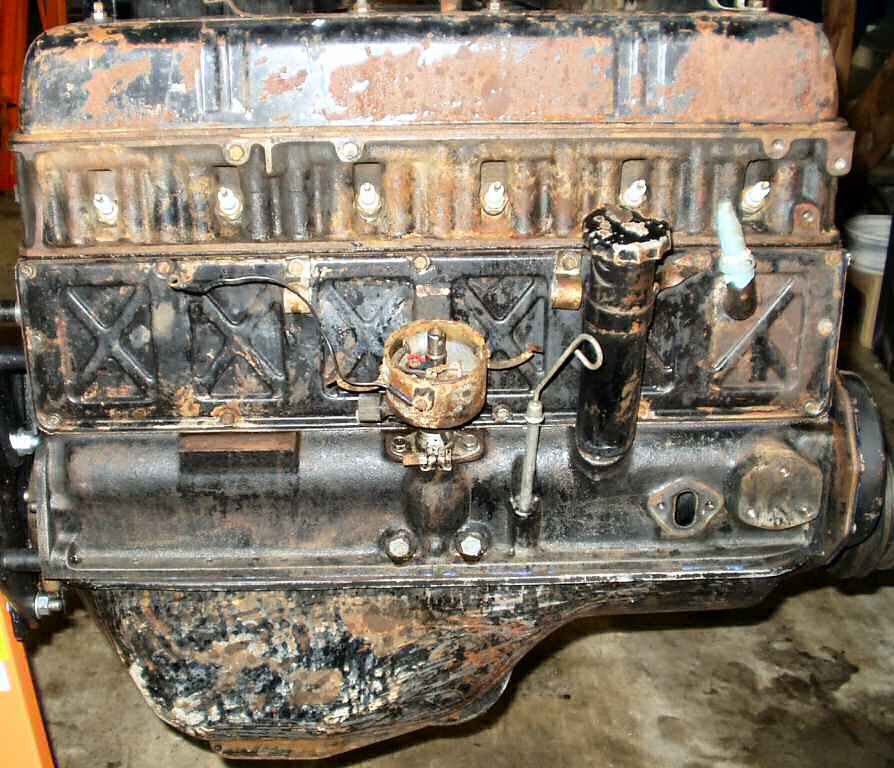
Figs. 1-2 show the engine
before anything was done to it. It was not nearly as dirty as some I have
seen,
it has very few oil leaks.
Fig. 3
Drivers Side
Fig. 4
Front
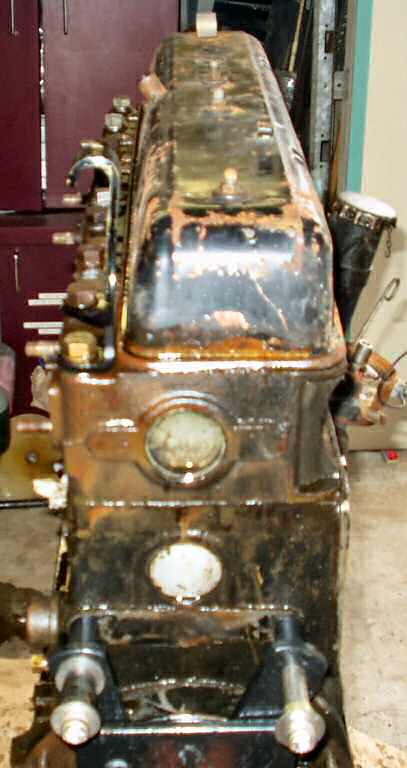
Fig. 5
Passenger Side
Fig. 6
Rear
Cleaning Round 1
I started by plugging up some holes then spreading some paper
under the motor to catch all the gunk.
Using a sharpened putty knife, an old screwdriver and some
dental picks I scraped off all the thick hardened grease/dirt.
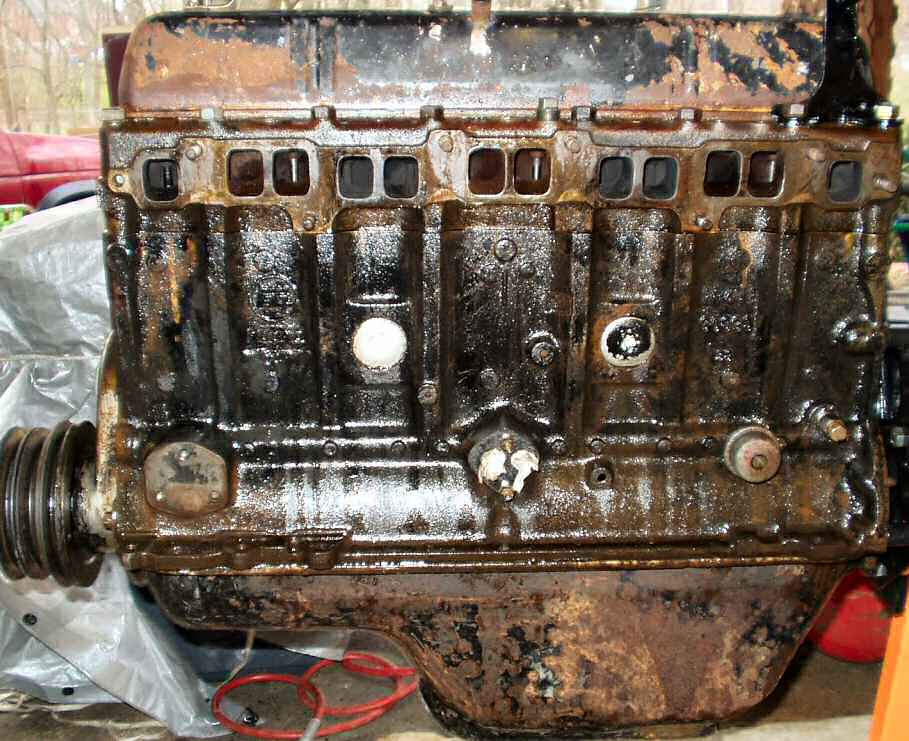
Next I soaked the whole engine with some purple cleaner
degreaser stuff. I allowed this to soak for a while then used small metal
wire brushes
to start scrubbing it down. See Fig. 3-6.
Fig. 7
Drivers Side
Fig. 8
Front
Fig. 9
Passenger Side
Fig. 10
Rear
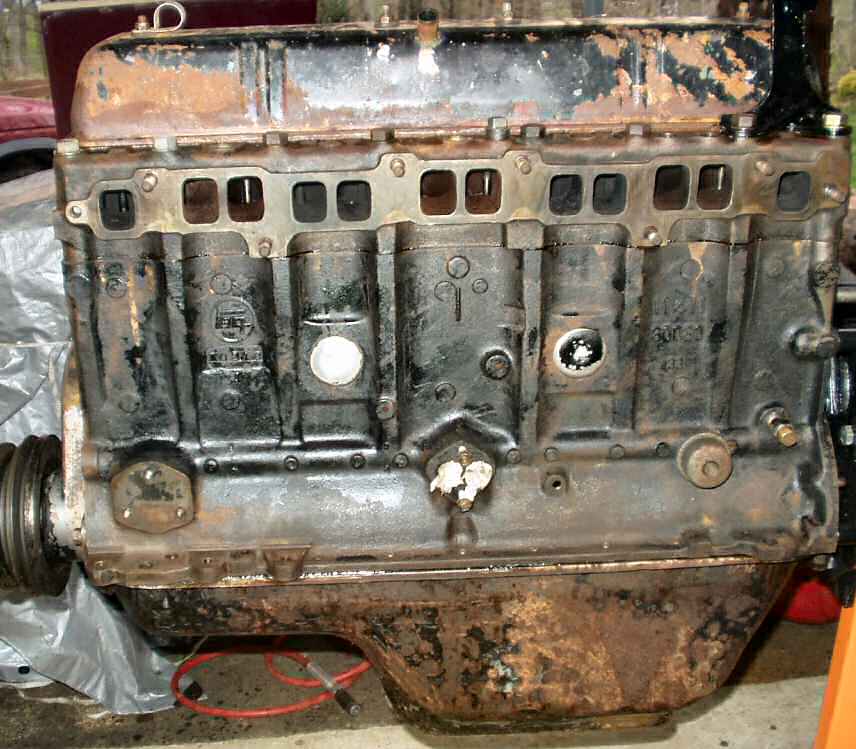
Cleaning Round 2
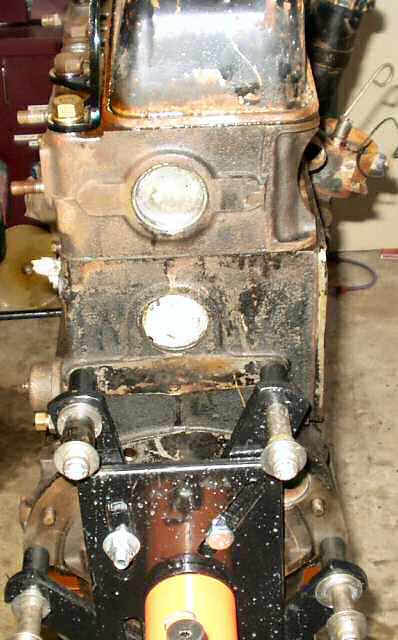
This continued for a couple of rounds each time the engine
getting cleaner and cleaner until finally I gave both sides a rinse and
wipe
down. See Fig. 7-10. Note: I left the old valve and side covers on while
doing this to keep crud out of the engine. They will be replaced with later
versions.
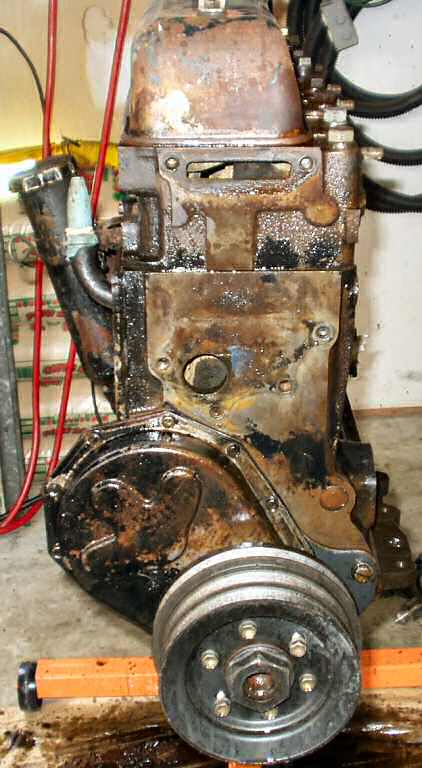
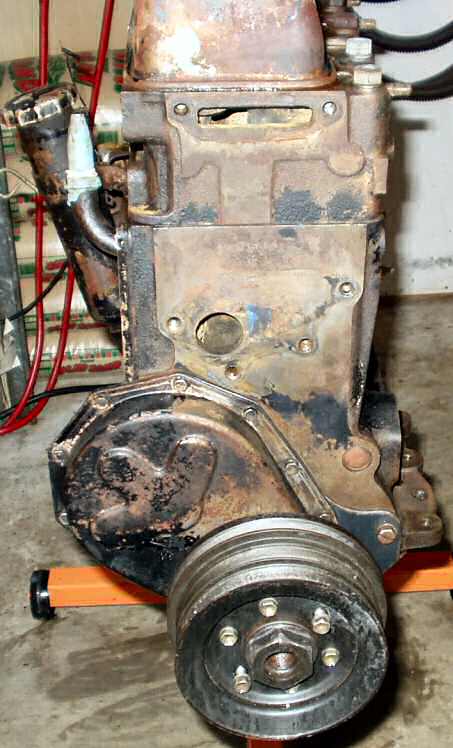
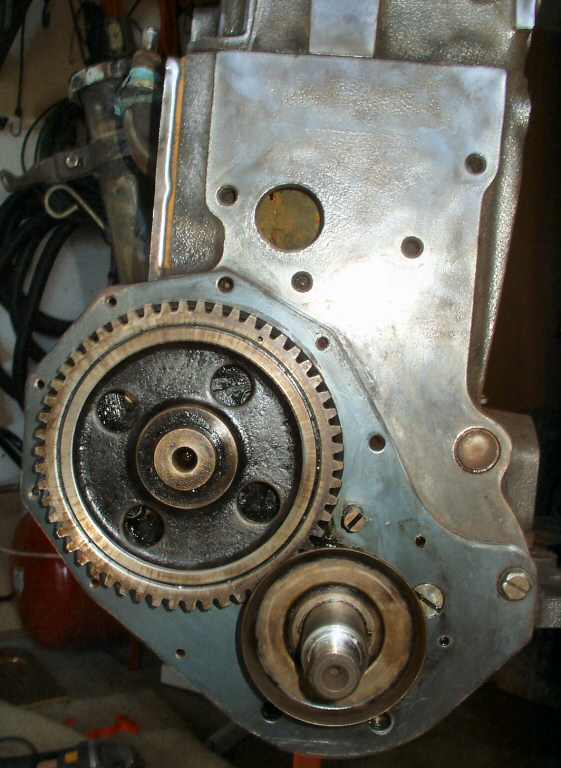
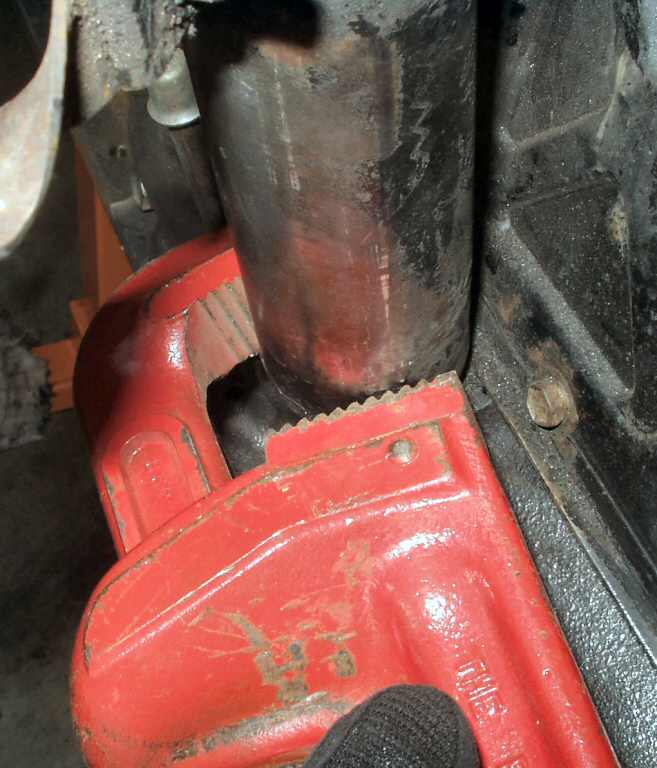
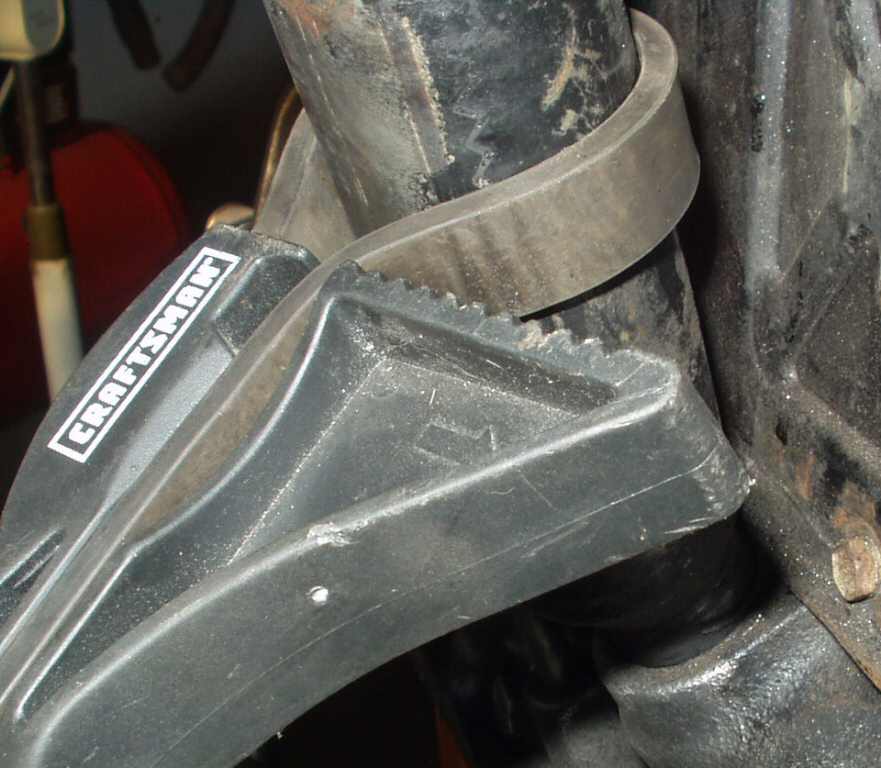
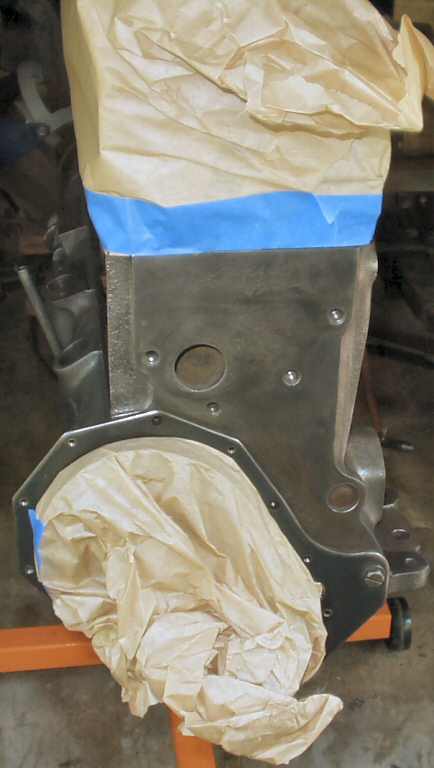
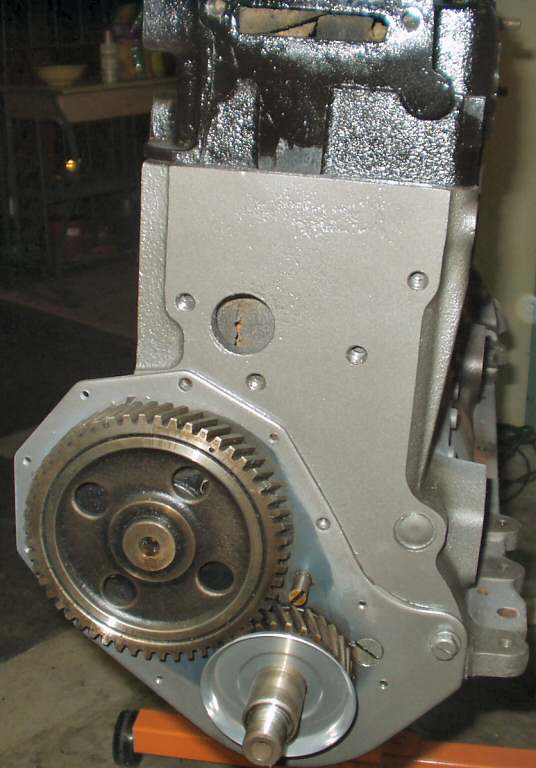
Next I removed the harmonic balancer, timing cover, distributor,
oil fill tube, and oil pan and set them aside to be stripped and powder
coated. See Fig. 11-14. Note: Removing the
oil fill tube can be a pain in the butt! I tried using a strap wrench first
but that alone would not remove it. I ended
up using a pipe wrench which of course marred the tube a bit. If your tube
is really stuck you could possibly collapse the tube if not careful! Get
the wrench as low down as possible as this is the strongest part of the
tube. Once the tube is loose THEN the strap wrench can be used to remove
it the rest of the way.
Fig. 11
Dizzy Removed
Fig. 12
Timing Cover Removed
Fig. 13
Removing Oil Fill Tube
Fig. 14
Strap Wrench
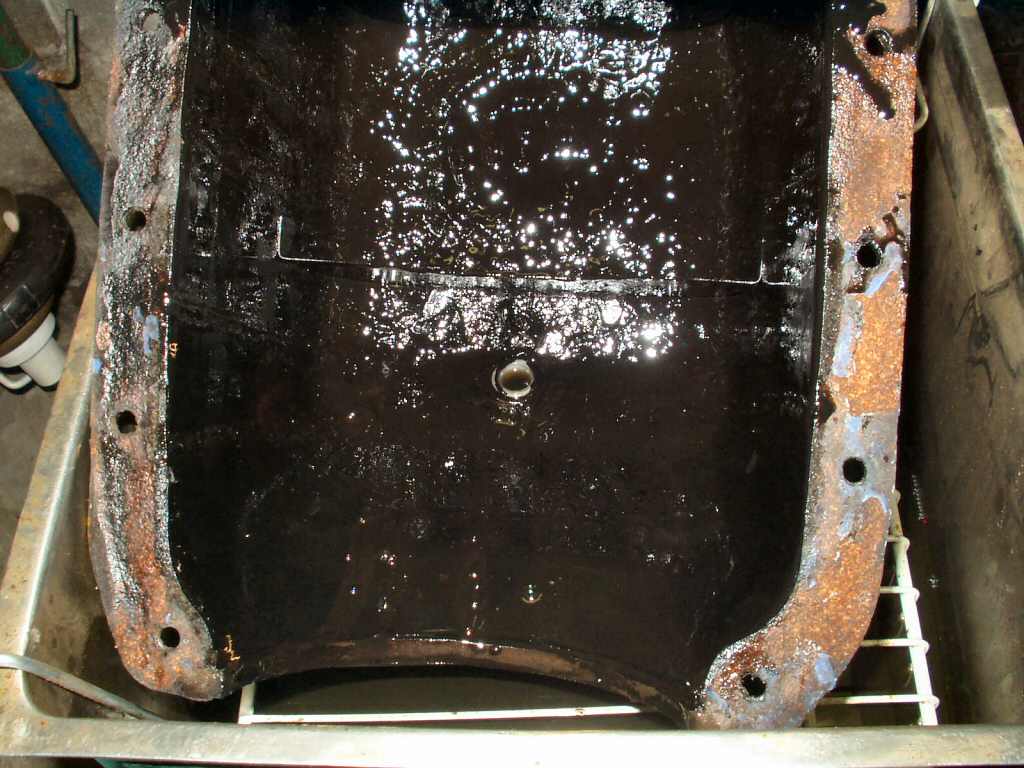
I had read many times that removing the oil pan can be
difficult but mine came off easily! The PO had used a coat of blue silicone
on
the
cork
gasket.
I just ran a putty knife around the edge after removing the bolts and it
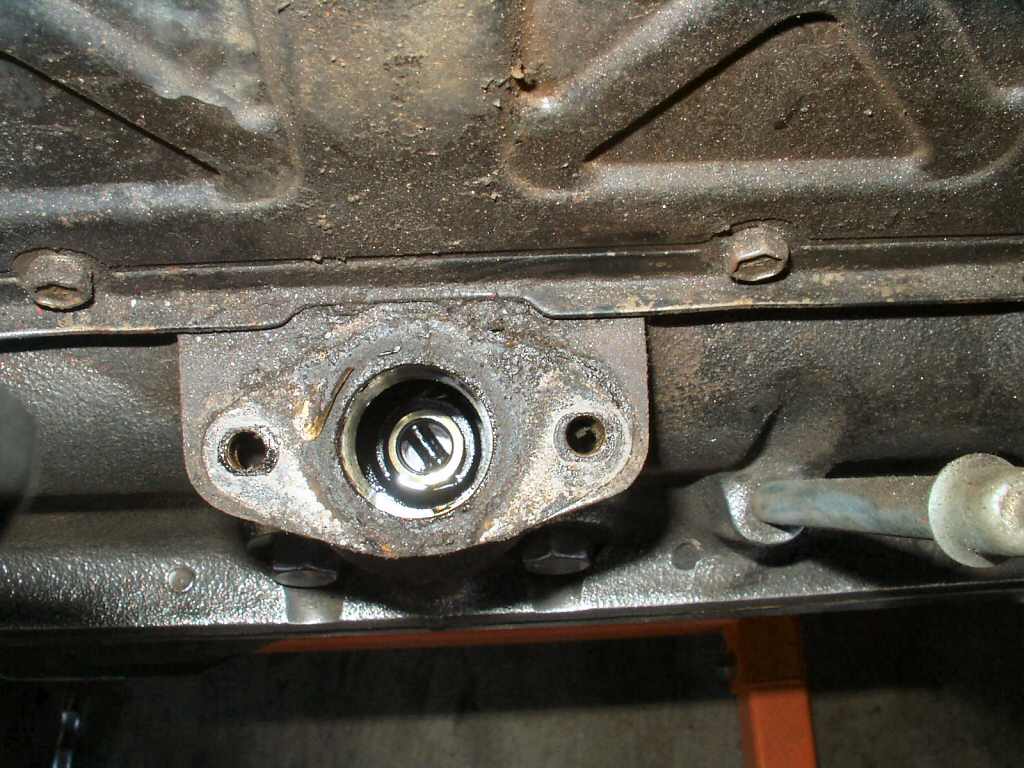
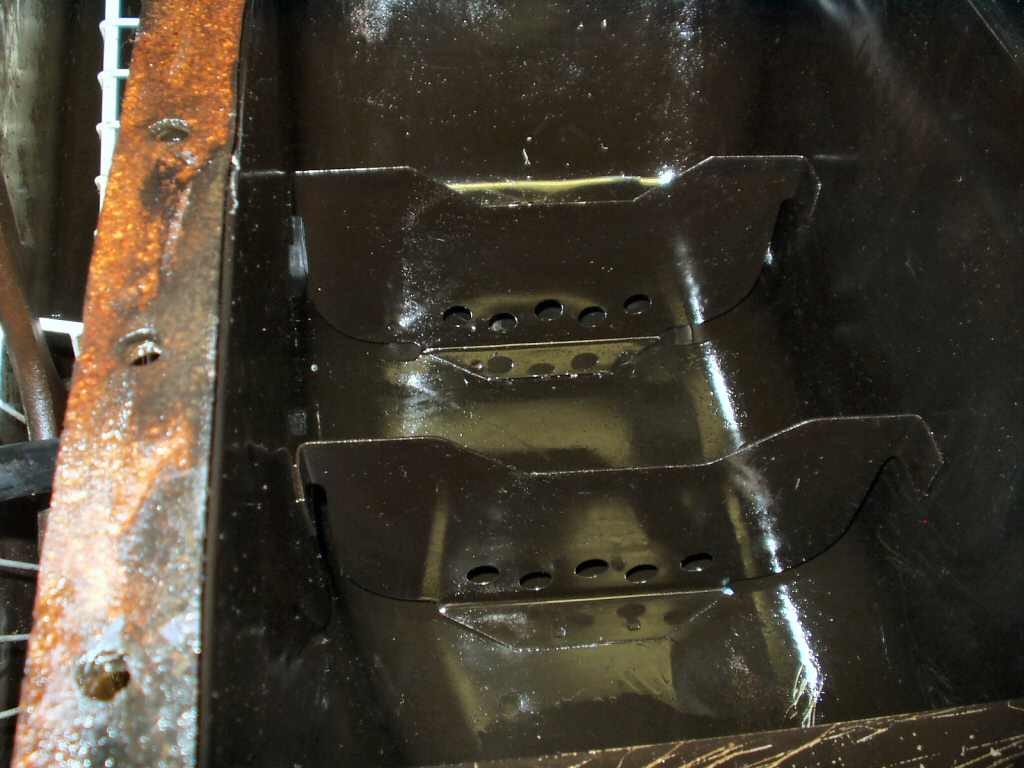
popped right off. What I was not prepared for was
the amount of crud in
the bottom of the pan! There was a large amount of sludge as seen
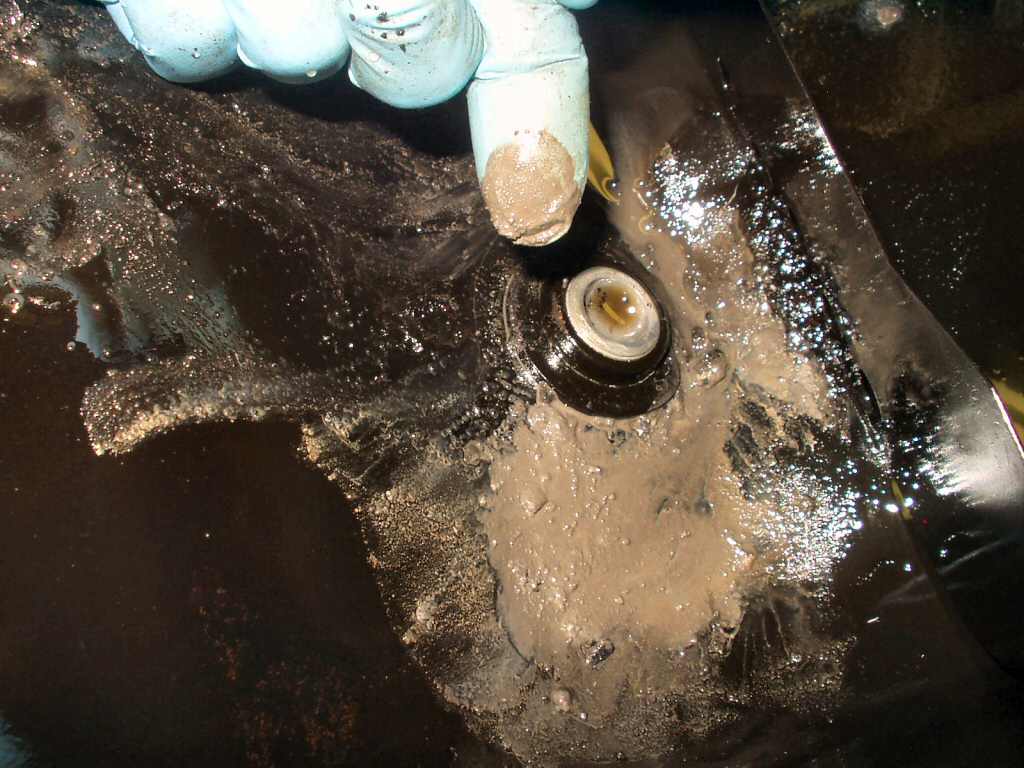
in Fig. 15 but the gray stuff around the drain
hole seen in Fig. 16 I have no idea what it
was. A magnet would not pick it up and it was not grainy like sand.
Any ideas? Fig. 17 shows the two internal
pan baffles. It will be cleaned up later and painted.
Fig. 15
Sludge
Fig. 16
Not Metal, Not Sand?
Fig. 17
Baffles.
Ready to Paint Engine
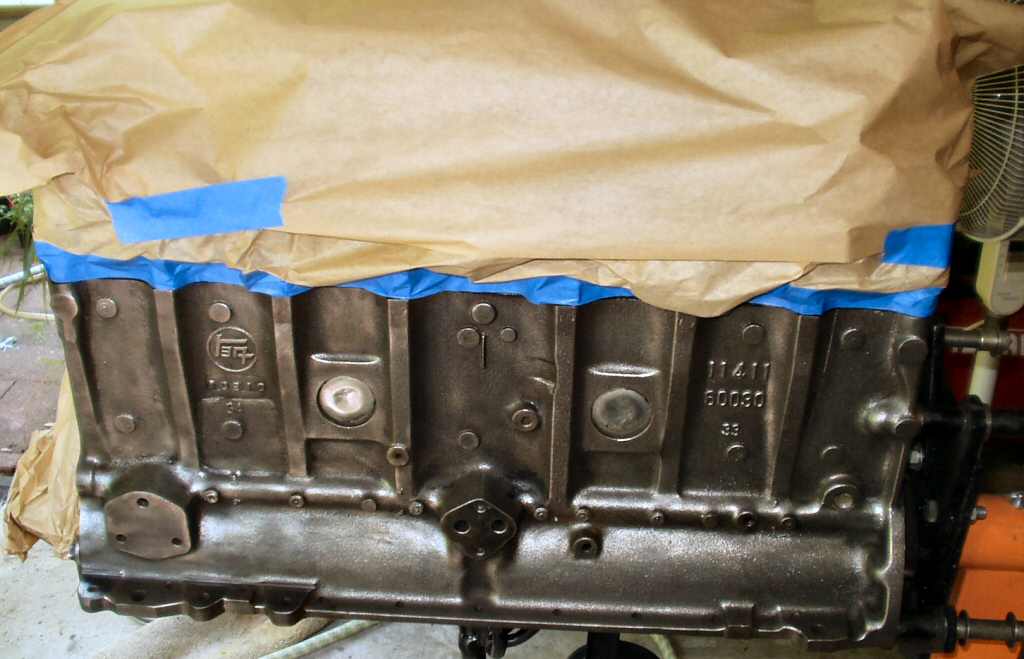
Finally I had a bare block to work with!
Now various wire wheels on the angle grinder, drill and Dremel tool were
employed
to knock off the rust and any remaining crud in preparation for painting.
This gave me the bare cast iron look. See Figs.
15-18. Don't
worry too much about crude dropping into the engine if you removed the
oil pan, otherwise stuff rags in all the holes while wire wheeling! See
Fig. 20-21.
Fig. 20
Cleaning the Block
Fig. 21
Cleaning the Block
Fig. 22
Side Cover Removed
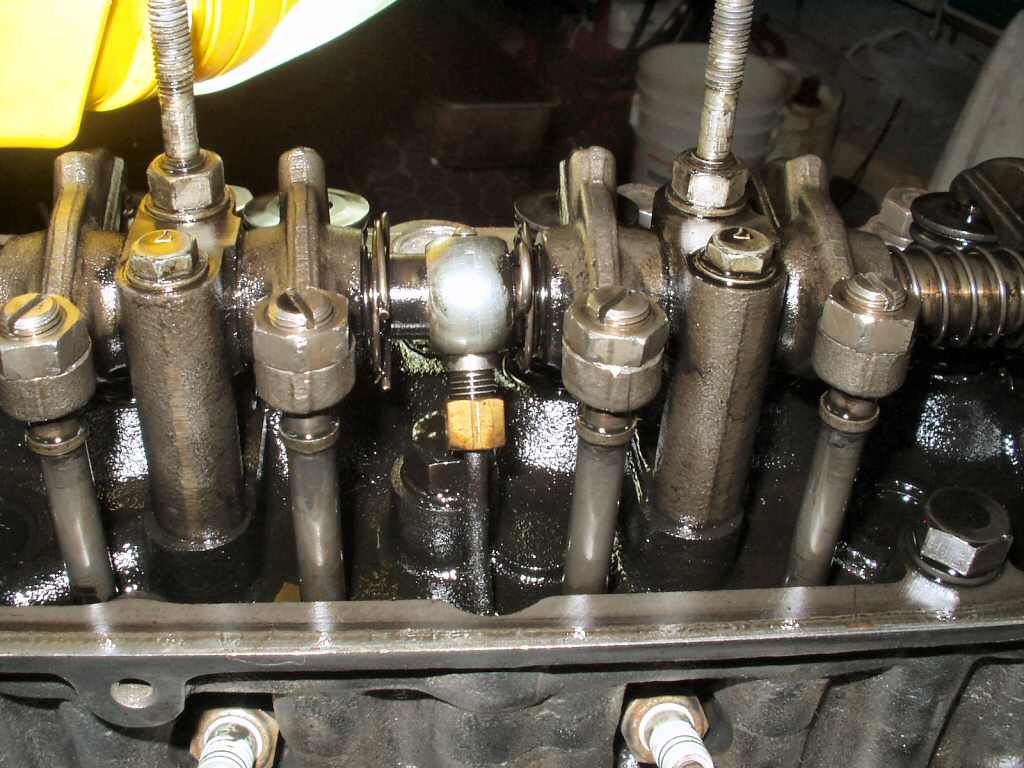
Fig. 22A
Rocker Oiler
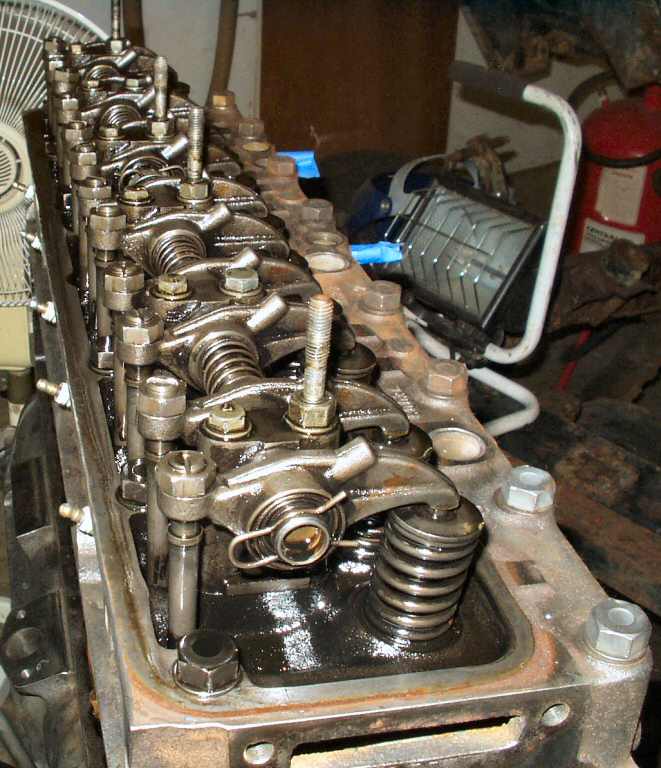
Fig. 24
Rocker Arms
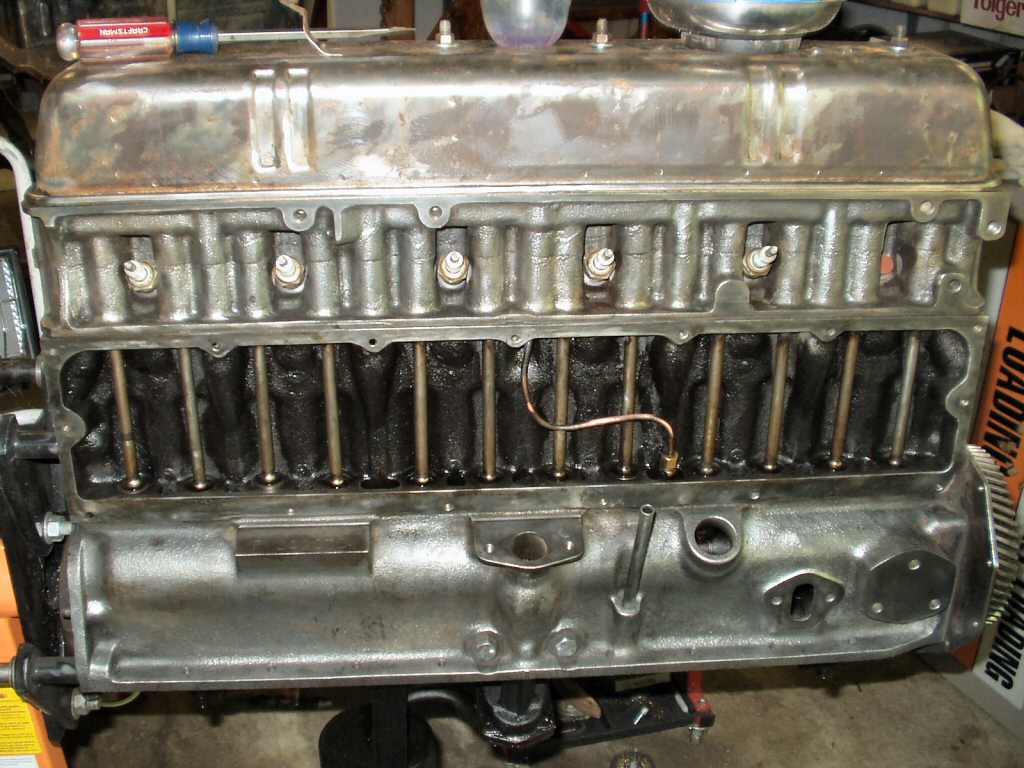
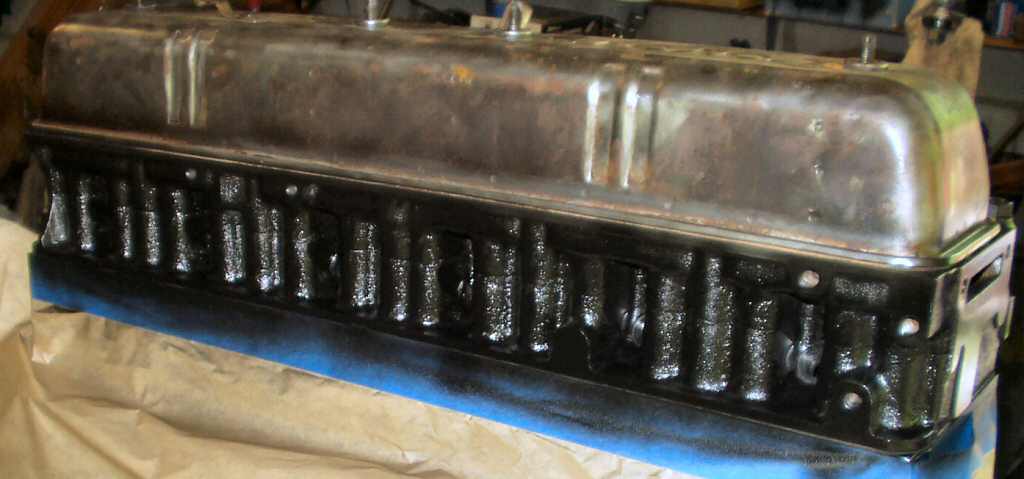
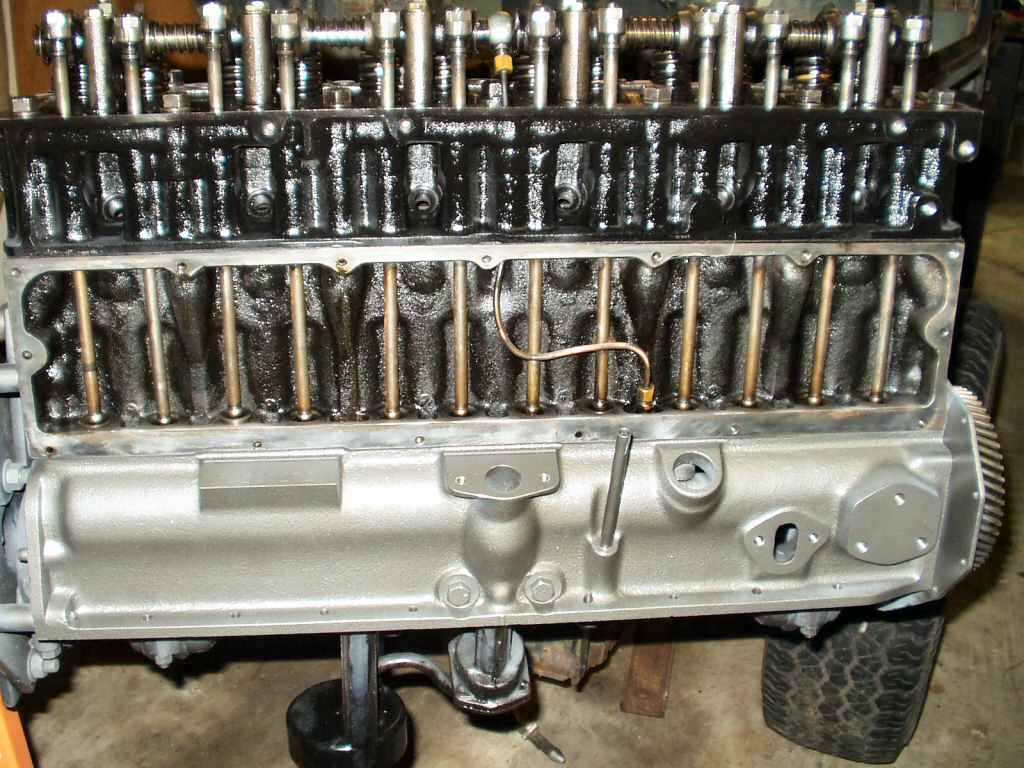
After wire wheeling I realized I would need to remove the
valve cover and side cover to get to the areas covered by the edges. This
was quickly done as seen in Fig. 22-23. You
can see the copper valve train oiling tube running from the oil pump to
the rocker arm shaft in Fig. 22. Fig.
22A shows where it connects to the shaft.
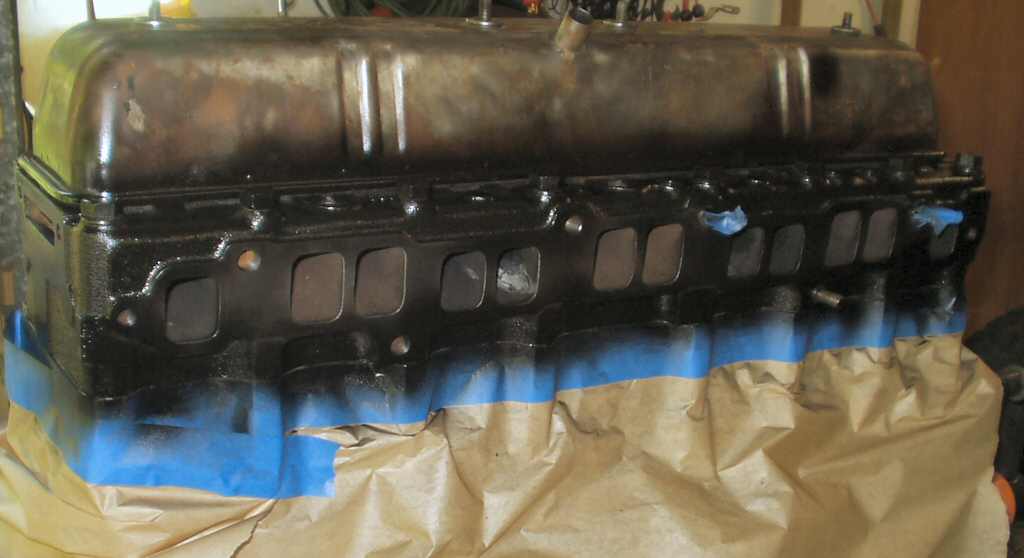
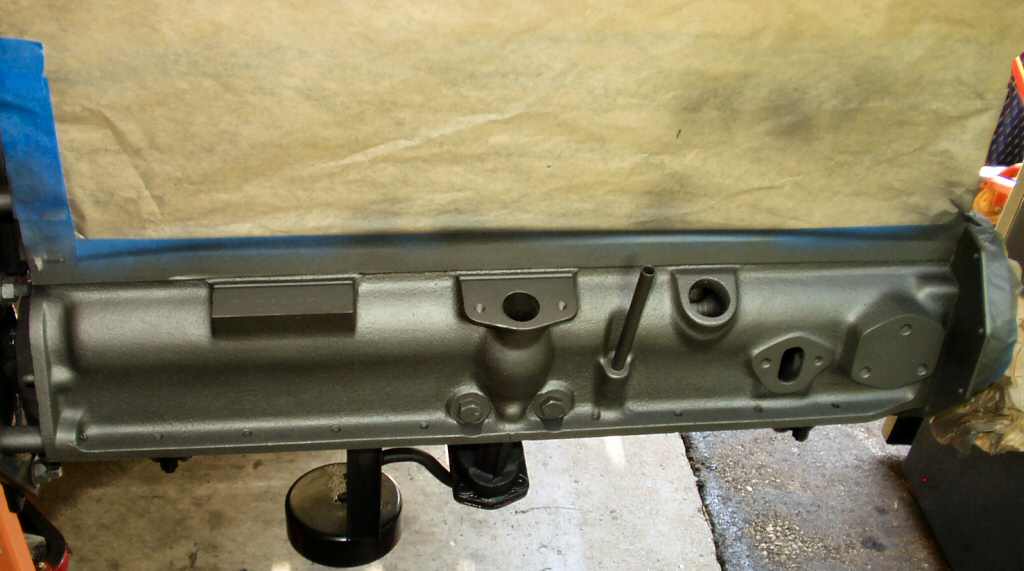
Ok so now the block is cleaned! I wiped down the whole thing
twice with Acetone and masked off the block to paint the head.
This was sprayed with 2 coats of Gloss Black engine enamel.
See Fig. 24-25. After about an hour I pulled off
the masking and masked off the head so I could paint the block. See Fig.
26-27.
Fig. 24
Head
Fig. 25
Head
Fig. 26
Block
Fig. 27
Block
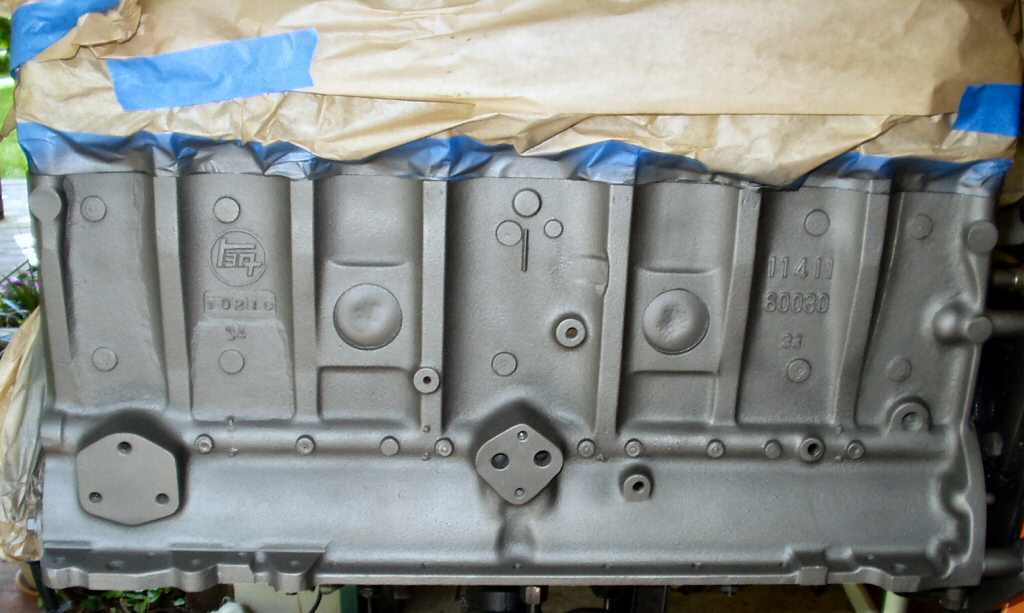
I sprayed the block with two coats of the cast enamel and
let it dry for 24 hours with the intention of spraying on a clear coat.
Fig. 28
Nice Block!
Fig. 29
Looking GOOD!
Paint Disaster
Ya know how you can get all excited about doing a paint job
and get in a hurry because you want to see the final results? Well a word
of advice, READ THE DAMN PAINT CAN! I had gotten the Dupli-Color Cast Engine
Enamel
and clear
coat
from
the auto
store. A friend on IH8Mud had recommended this particular type.
I figured since they were both enamels, one, I would not need
a primer, and two, I could spray the clear enamel on top of the gray after
the gray had setup for 24 hours. WRONG!!! I The instant I sprayed the clear
it lifted the damn base coat! I was so damn mad I was about to just torch
the whole project... I THEN read on the can that an enamel primer MUST be
used
and any top coat must be applied within ONE HOUR of the base coat or wait
7 DAYS! So I get to strip the whole damn block and do it all over again...
I'll write more when I calm down.
Update: 6-26-07
Ok I have calmed down and have stripped the engine,
primed it with the proper primer then laid down the top and clear coats all
within 1 hour like the can said to... Came out pretty good actually! See
Fig. 30-32.