Choose a page to see here!
Introduction
Rust Removal via Electrolysis
Home Powder Coating
Getting it to move/start
Body: Tool Box removal/repair
Body: Floor pan repair
Body: Making a new center channel
Body: Repairing the mid bed
Body: Making a new rear Sill
Body: Cargo Floor Replacement
Body: Wheel Well Replacement
Body: Quarter Panel Replacement
Body: Cowl Vent
Body: Overall Tub Repair
Body: Front Fender Repair
Body: Tail Gate
Body: CCOT Wheel Well Support
Body: Spare Tire Carrier
Body: Rear Hatch Handle Repair
Body: Windshield:Stripping/Glass Removal
Body: Windshield Rust Removal
Brakes: Master Cylinder Rebuilding
Brakes: Mini-Truck Booster swap
Brakes: Wheel Cylinder Rebuilding
Brakes: Assembling the Brake Backing Plate
Brakes: Making Your Own Brake Lines
Brakes: Bleeding Brakes 101
Cooling: Water Pump Replacement
Cooling:Radiator Assembly Restore
Drive Train: Rebuilding the 3sp T-case
Drive Train: 3 Sp to 4 sp Conversion
Drive Train: Marfield axle Tack
Drive Train: Installing Flywheel/Clutch
Drive Train: Clutch Master/Slave Cylinder
Drive Train: Pinion Flange Problem
Drive Train: Knuckle rebuild
Electrical: Carb Cooling Fan
Electrical: Schematics
Electrical: Wiring Color Codes
Electrical: Wiring Harness
Electrical: Amp Meter Science
Electrical: Turn Signal Switch
Electrical: Turn Signals/Marker Lights
Electrical: 71 to 74 Tail Lights
Electrical: FJ60 Dizzy/Igniter Install
Electrical: Dizzy FAQ
Electrical:Wiper Science 301
Electrical: Gauge Light Mod
Electrical: Horn: How it works
Electrical: Rebuilding the F/2F Starter
Electrical: F/2F Alternator Rebuild
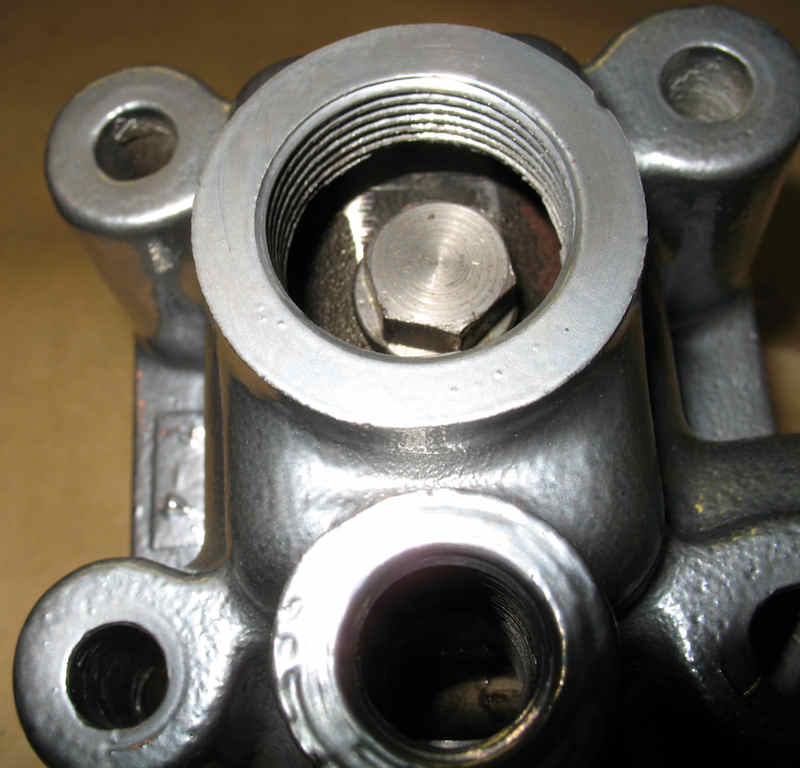
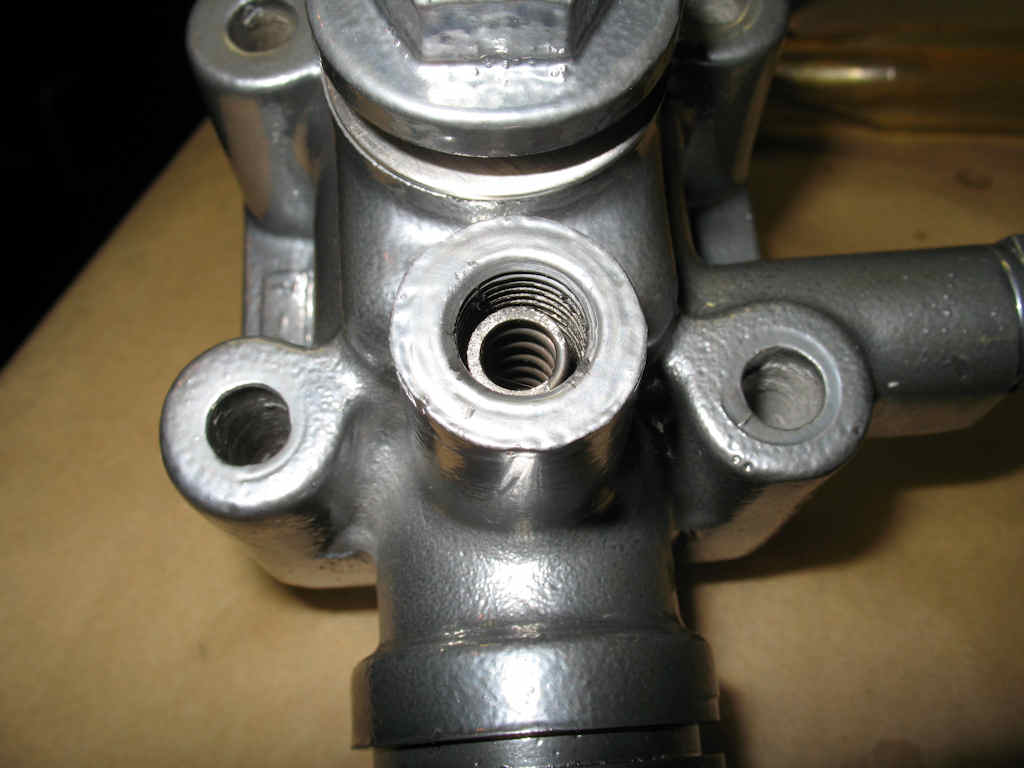
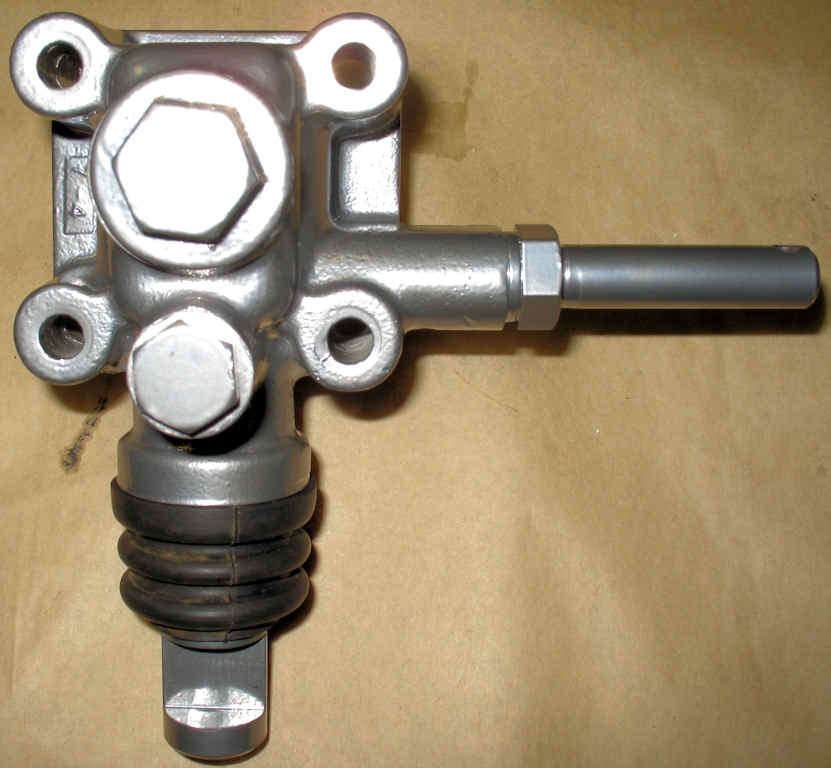
Engine: Oil Pressure Regulator Renewal
Engine: Removal, Frame Blasting
Engine: FJ Crank Pulley Repair
Engine: Cleaning, Painting Engine
Engine: Reassembly 1
Engine: Reassembly 2
Engine: Installing in Frame
Fuel: Carb FAQ
Fuel: Gas Tank Repair
Fuel: Pump Renewal
Fuel: My 1971 Carb
Fuel: Marine Filter Upgrade
Fuel: Making Fuel Lines
Frame: 71 to 74 rear cross member swap
Frame: Sand Blasting/Rust Bullet
Gasket Identification
Heater: Front Heater Weirdness
Heater: Rear Heater Repair
Restoring: Restoring Horn
Spring Pack Restore/Mod
Steering: Tie Rod Replacement
Steering: Steering Box Rebuild
Steering: Center Arm Rebuild
Steering: Mini-Truck Power Steering
Steering: Drag Link Rebuild
Seats:Front
Seats:Rear
Windshield Wiper Maintainence
Windshield Washer Motor Replacement
Windshield Wiper Replacement
Ed's Red : Make your Own!
Making SST's
Choose a page to see here!
Introduction
Rust Removal via Electrolysis
Home Powder Coating
Getting it to move/start
Body: Tool Box removal/repair
Body: Floor pan repair
Body: Making a new center channel
Body: Repairing the mid bed
Body: Making a new rear Sill
Body: Cargo Floor Replacement
Body: Wheel Well Replacement
Body: Quarter Panel Replacement
Body: Cowl Vent
Body: Overall Tub Repair
Body: Front Fender Repair
Body: Tail Gate
Body: CCOT Wheel Well Support
Body: Spare Tire Carrier
Body: Rear Hatch Handle Repair
Body: Windshield:Stripping/Glass Removal
Body: Windshield Rust Removal
Brakes: Master Cylinder Rebuilding
Brakes: Mini-Truck Booster swap
Brakes: Wheel Cylinder Rebuilding
Brakes: Assembling the Brake Backing Plate
Brakes: Making Your Own Brake Lines
Brakes: Bleeding Brakes 101
Cooling: Water Pump Replacement
Cooling:Radiator Assembly Restore
Drive Train: Rebuilding the 3sp T-case
Drive Train: 3 Sp to 4 sp Conversion
Drive Train: Marfield axle Tack
Drive Train: Installing Flywheel/Clutch
Drive Train: Clutch Master/Slave Cylinder
Drive Train: Pinion Flange Problem
Drive Train: Knuckle rebuild
Electrical: Schematics
Electrical: Carb Cooling Fan
Electrical: Wiring Color Codes
Electrical: Wiring Harness
Electrical: Amp Meter Science
Electrical: Turn Signal Switch
Electrical: Turn Signals/Marker Lights
Electrical: 71 to 74 Tail Lights
Electrical: FJ60 Dizzy/Igniter Install
Electrical: Dizzy FAQ
Electrical:Wiper Science 301
Electrical: Gauge Light Mod
Electrical: Horn: How it works
Electrical: Rebuilding the F/2F Starter
Electrical: F/2F Alternator Rebuild
Engine: Oil Pressure Regulator Renewal
Engine: Removal, Frame Blasting
Engine: FJ Crank Pulley Repair
Engine: Cleaning, Painting Engine
Engine: Reassembly 1
Engine: Reassembly 2
Engine: Installing in Frame
Fuel: Carb FAQ
Fuel: Gas Tank Repair
Fuel: Pump Renewal
Fuel: My 1971 Carb
Fuel: Marine Filter Upgrade
Fuel: Making Fuel Lines
Frame: 71 to 74 rear cross member swap
Frame: Sand Blasting/Rust Bullet
Gasket Identification
Heater: Front Heater Weirdness
Heater: Rear Heater Repair
Restoring: Restoring Horn
Spring Pack Restore/Mod
Steering: Tie Rod Replacement
Steering: Steering Box Rebuild
Steering: Center Arm Rebuild
Steering: Mini-Truck Power Steering
Steering: Drag Link Rebuild
Seats:Front
Seats:Rear
Windshield Wiper Maintainence
Windshield Washer Motor Replacement
Windshield Wiper Replacement
Ed's Red : Make your Own!
Making SST's
Hosted by Global
Software, Inc.
©1998 - 2023 Mark C. Baker Web Designer
Please: No part of this web site may be used without express
permission... email mbaker@globalsoftware-inc.com for permission.