Electrical
Finally! An area I know something about! Having gotten the Cruiser running and mobile (though to this day still not legal), I decided that the next step was to make sure all the lights, switches and relays were working.
I have a factory manual, a Haynes manual and had downloaded a 1971 schematic from the web. None of them agreed on anything! I spent most of one Saturday just digging through this material and comparing it to what was on the Cruiser. Though my brother and the other previous owner had added a lot of 'extra' wiring, the stock harness was 99% intact. I found that after removing all the extra crap I could actually make sense of the factory stuff ..
Side Marker Park Lights
When I pulled the head light switch to park, not one single park light came on .. I started with the front park lights, pulled the lenses off and removed the bulbs. One was bad the other good. The sockets had a touch of corrosion. I used a Dremel tool with a small wire brush and cleaned them up. I replaced the bad bulb, turned them back on and ... nothing. Hmmm ... meter out the hot wire and I have power to the socket base. Check the ground and there is none! Clean the ground connector, screws and nuts and bingo! Lights! I repeated this on the rear park lights then decided to use a reflective paint from Eastwood Company to make the lights brighter. I removed all four lights from the truck, wire brushed them and sprayed then with the aluminum paint. After putting them back together I was amazed at the difference! I would highly recommend this to anyone wanting brighter lights.
Update: 3-8-2007
I am now doing a full frame off and the marker lights have been sand blasted and powder coated with a reflective chrome. See pics below.
Fig. A Ready to Blast |
Fig. B Purdy! |

In Fig. A you can see where I had painted the lights with a reflective paint and they were already rusting! (I admit I did not prime them...) They had been INSIDE in my basement! I stripped the wires from them again and sand blasted them. Next I powder coated them Extreme Chrome. Fig. B shows them coated and ready for install.
Front Turn Signals
I knew these were going to be a pain. I remember once before helping my brother try to get these to work. After turning the key to IG, I tried to move the turn signal lever and it wouldn't move. After figuring out the 'quaint' coupling method from the lever to the switch I used a pair of pliers and was able to finally get it move though it was very stiff. I would deal with this later. No lights, no click click no nothing. Sigh ..
Where to start? Well I looked at the schematics and figured the best place was the fuse box. One look at it and I got the Dremel and wire brush out. See Fig. 1.
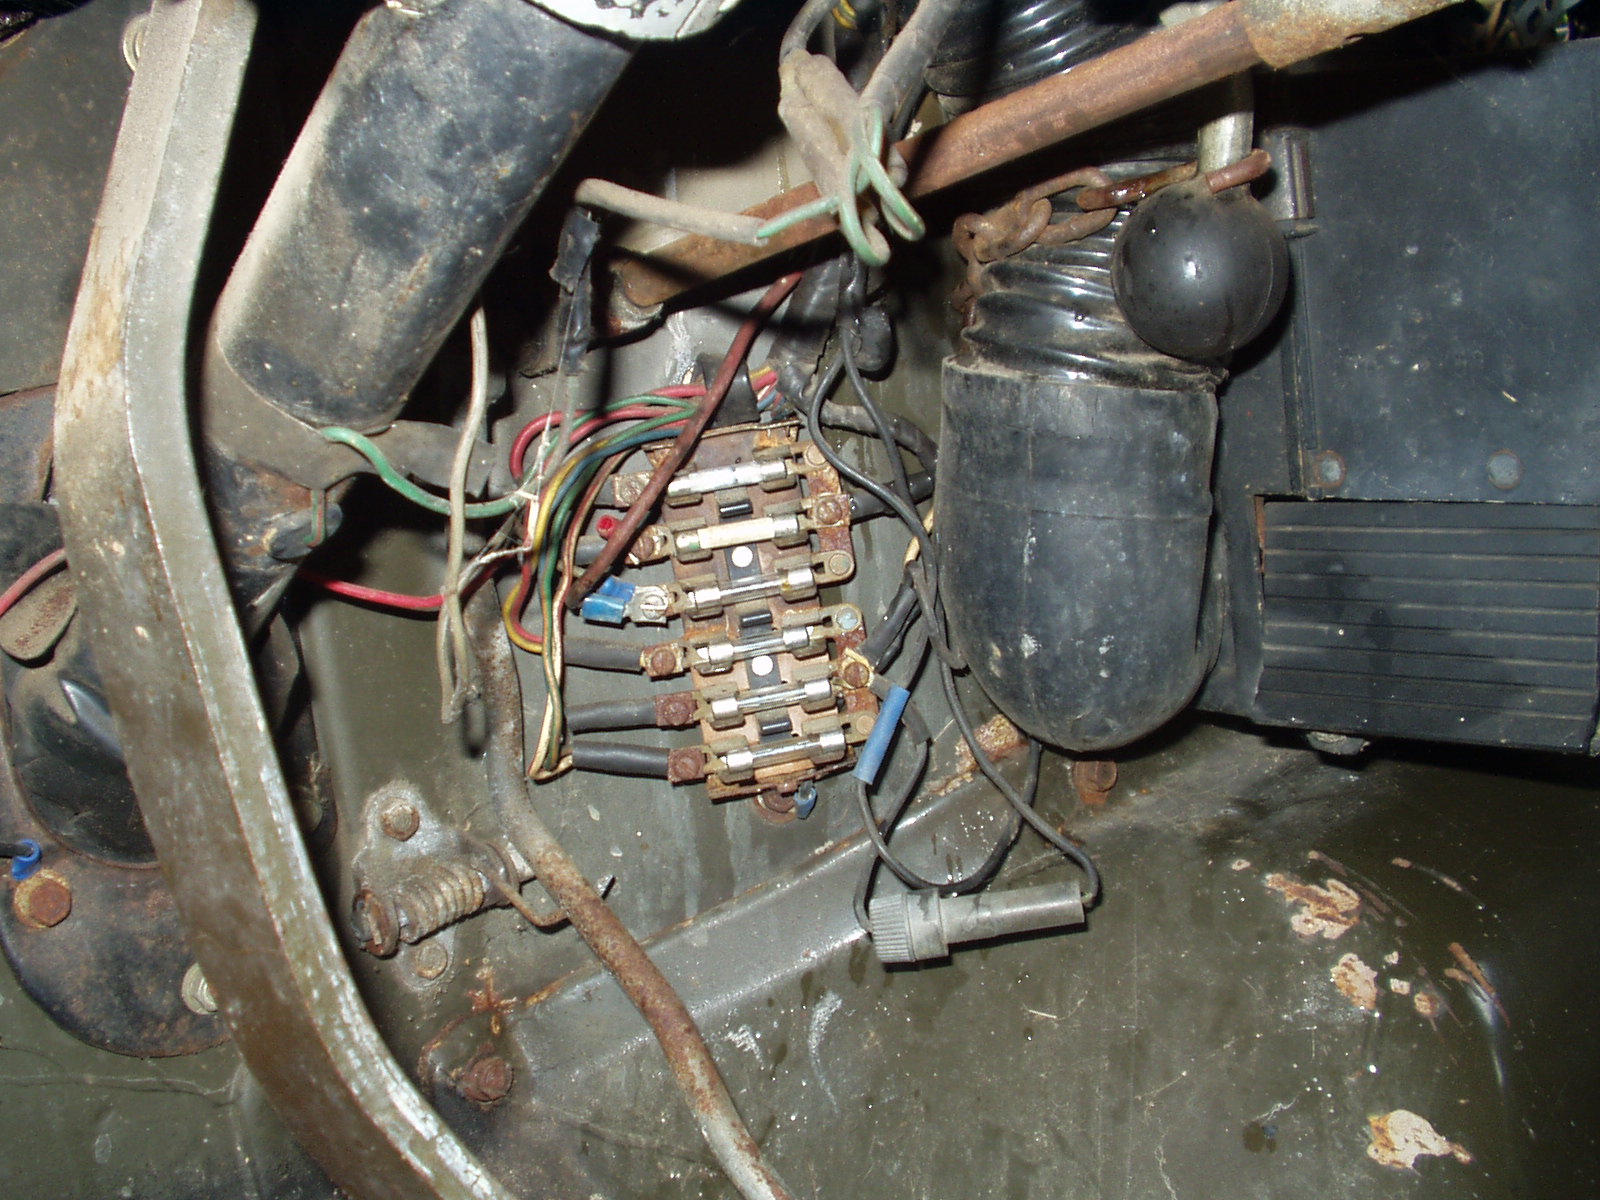
Fig. 1
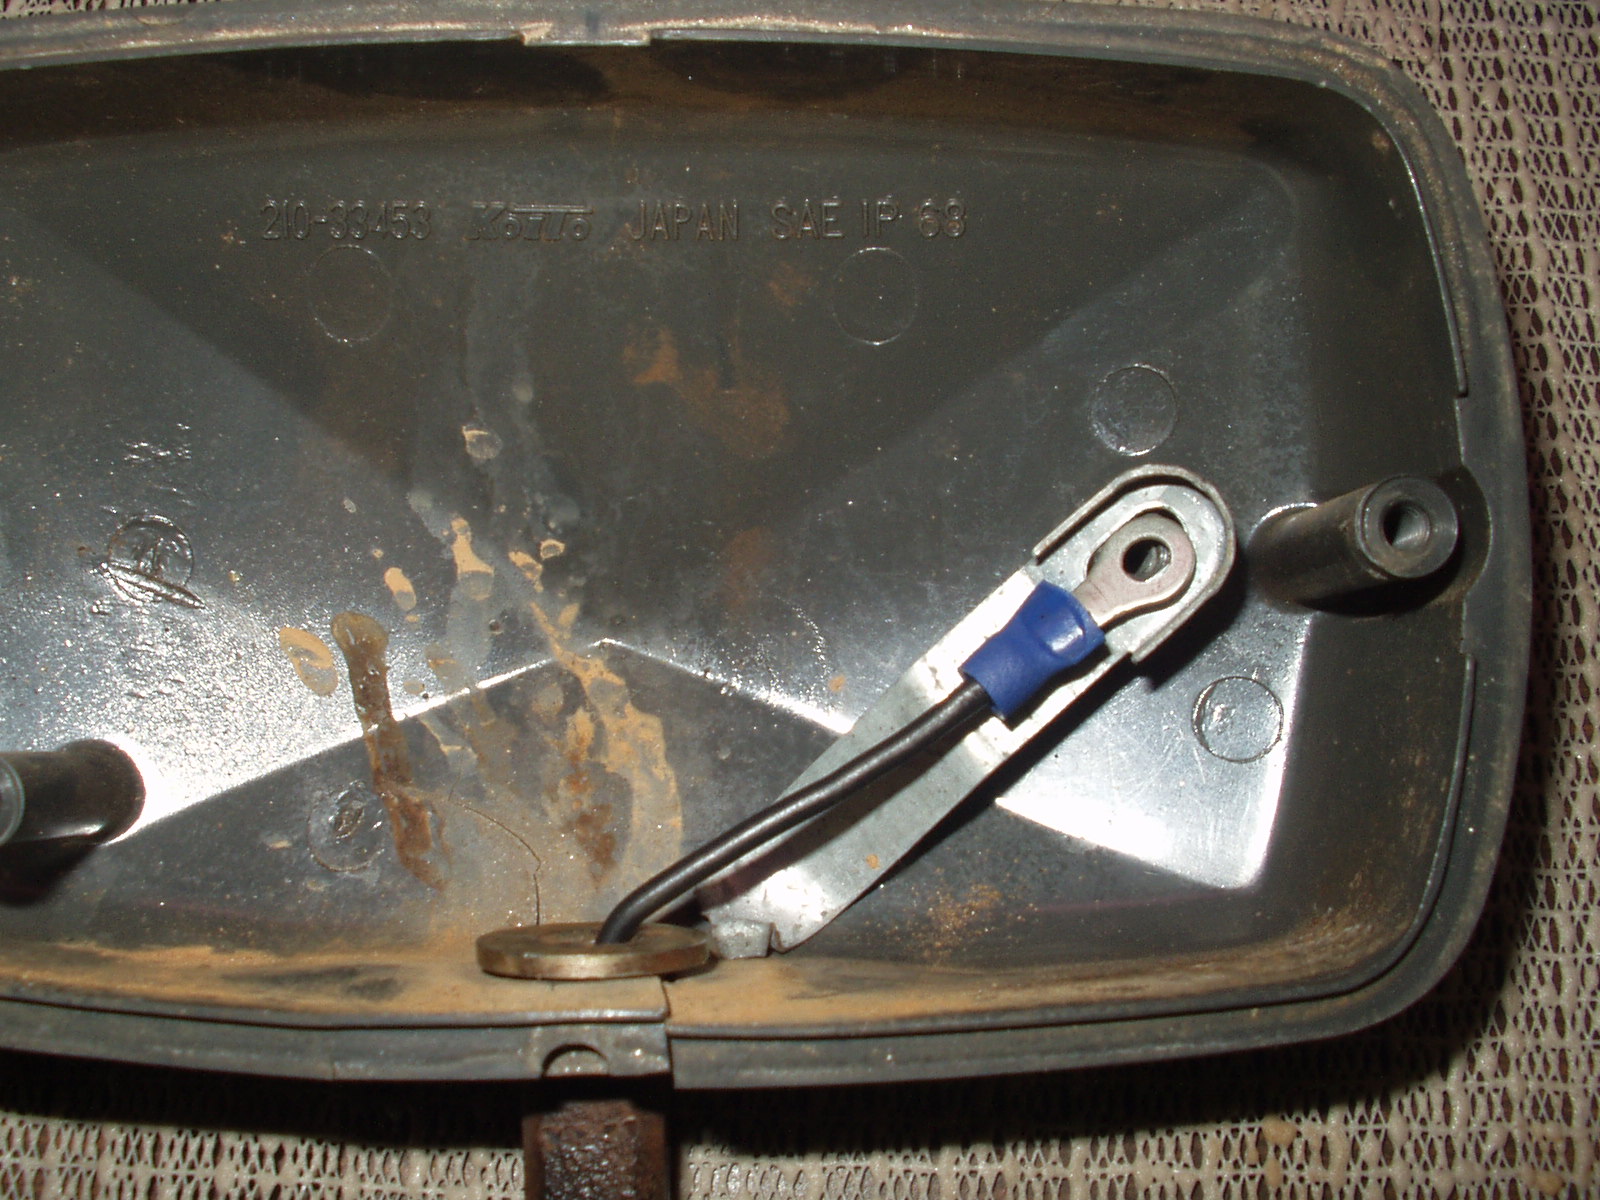
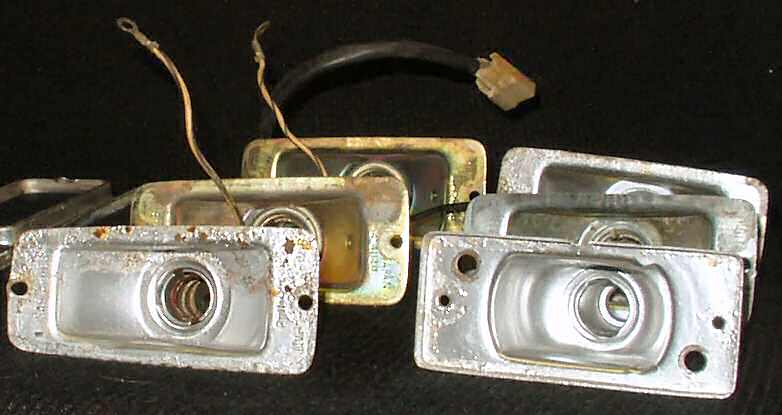
I pulled out each fuse and used the wire brush to clean each clip. Using a pair of needle nose pliers I gently bent the clips inward a bit to hold them more tightly. As the fuses were old I cleaned the ends of them also. That got me a single click each time I forced the lever to move but no lights or indicators. Next I removed the gauge cluster and removed the lamp holders for the indicator lights. Both bulbs were good but the sockets were corroded and the spring clips that hold the lamps in the lamp holders were rusted and not making good contact. Dremel time! After cleaning the bulb bases, spring clips and lamp holders I had indicator lights! Still just one click .. On to the signals themselves .. Since there were no rear lights at this time I started at the front :-) After removing the lenses I found that the left one was so corroded that the mounting stud actually broke off when I was removing the lense! :-( Hmmm ... looks like a trip to E-bay is in store!) I disassembled both sides, cut the wires and took all the guts to the shop. There I disassembled the sockets, cleaned all the corrosion off then sprayed them with the Eastwood reflective paint. The pic in Fig. 2 is an old one I had lying around I painted for this pic. I polished the ones I actually installed in the truck and took a little more time with the painting! This mod really makes a BIG difference in the light output of the signals. Couple that with polishing the outer lense with rubbing compound and the lights are very bright for a 1971...
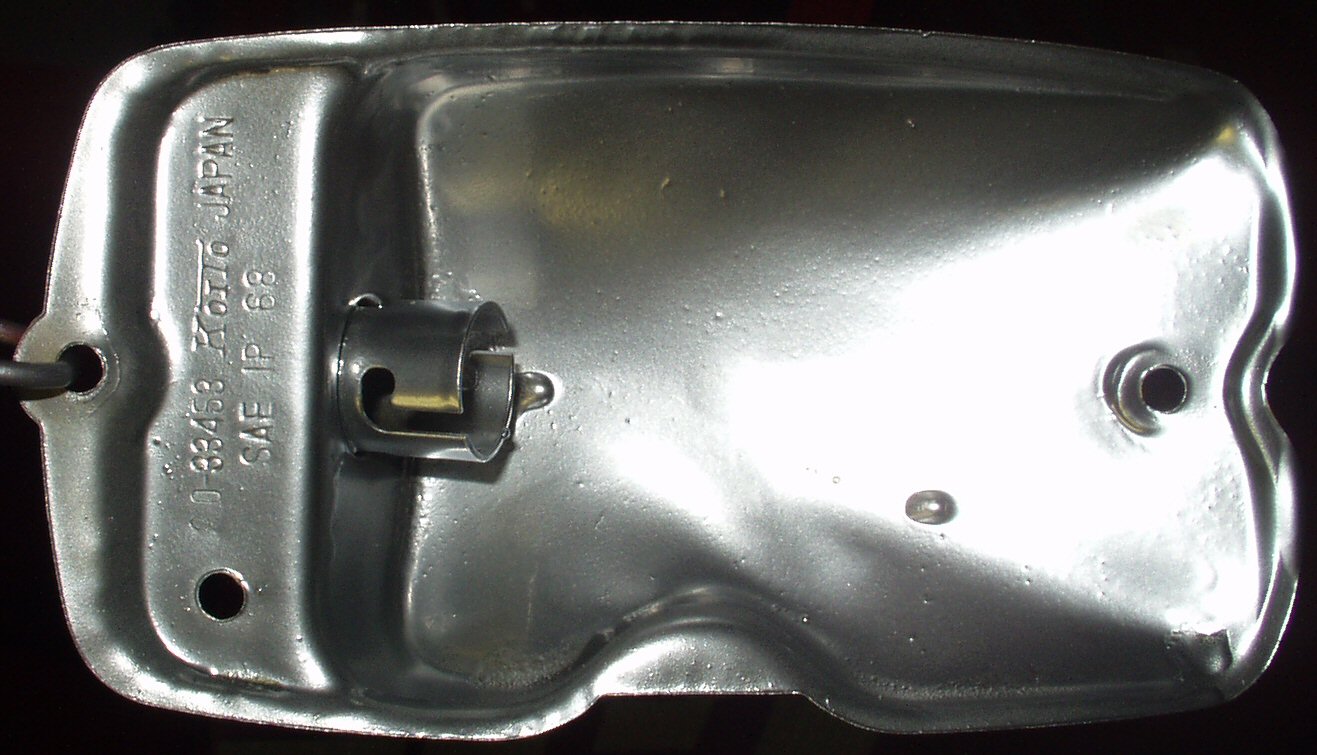
Fig. 2
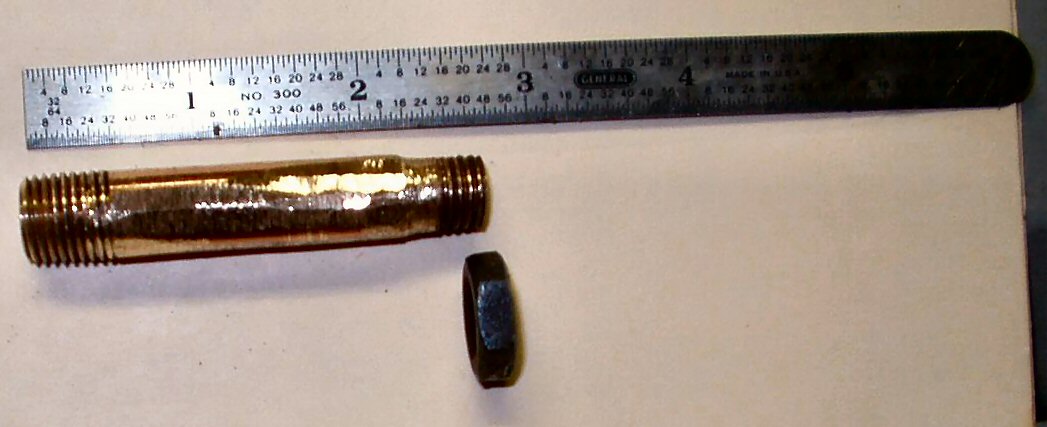
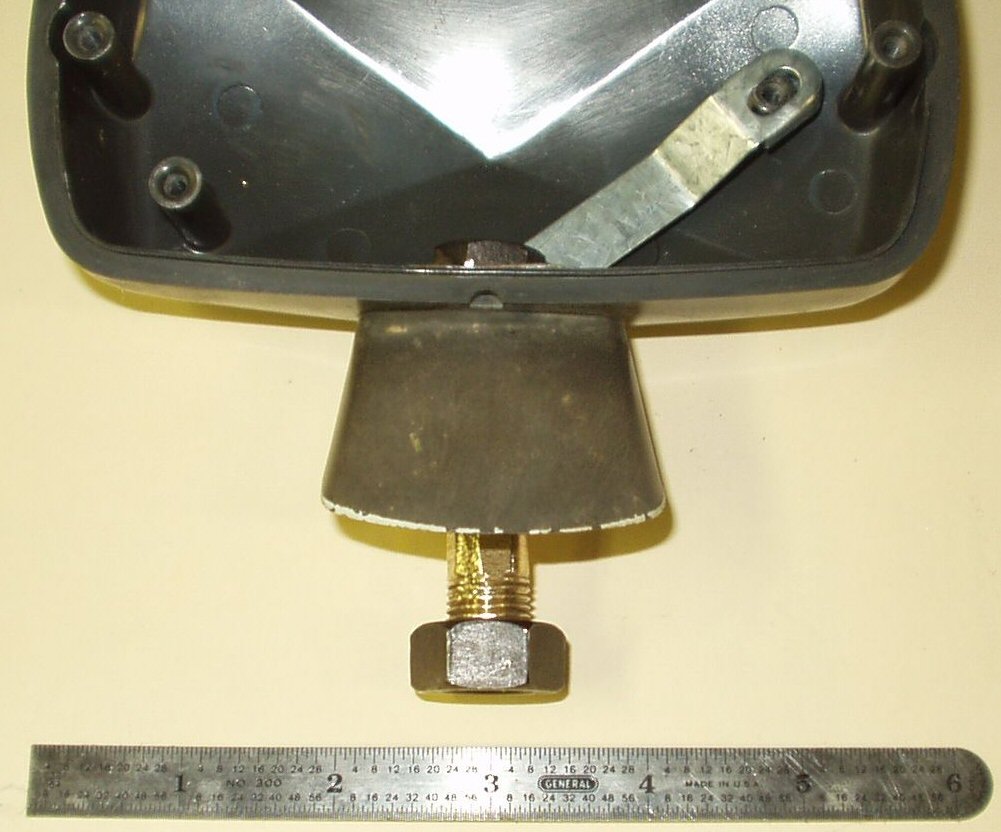
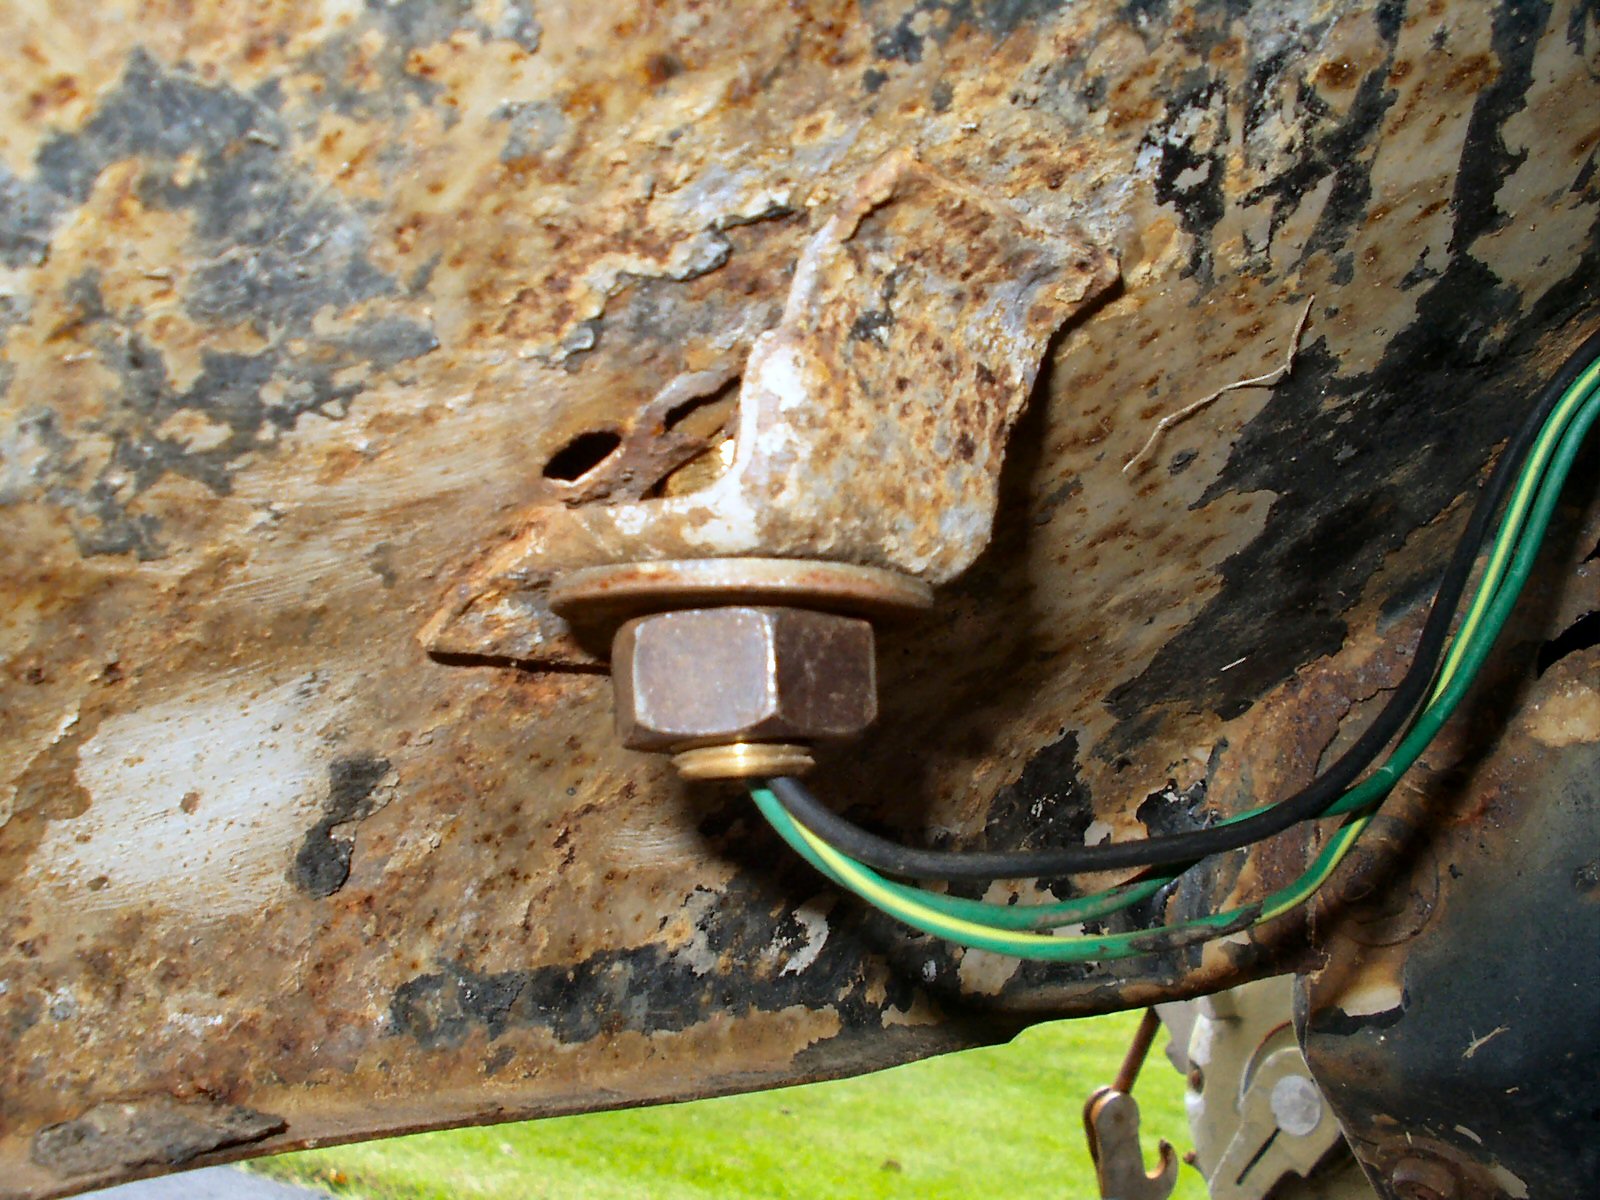
Now I had to address the broken mounting stud. I looked at just buying replacements, but as I am on a very tight budget, I just fixed it.
Here is what you need: