Rear Heater Fun
When I first started messing with getting !Oy running, one thing that I knew I would have to locate was a rear heater. I always thought the rear heater was one of those cool things that Toyota had put in the cruisers. I started looking on the web, and finally found a set of rear hard lines on E-Bay. I ordered them, and though they were for a 1978, they fit perfectly. Next I found a rear heater that was advertised "as is", and ordered that. When it arrived, the box it was in was crushed. When I inspected it, the fan did not turn, and the core header was split. Time to get to work ...
Taking it apart
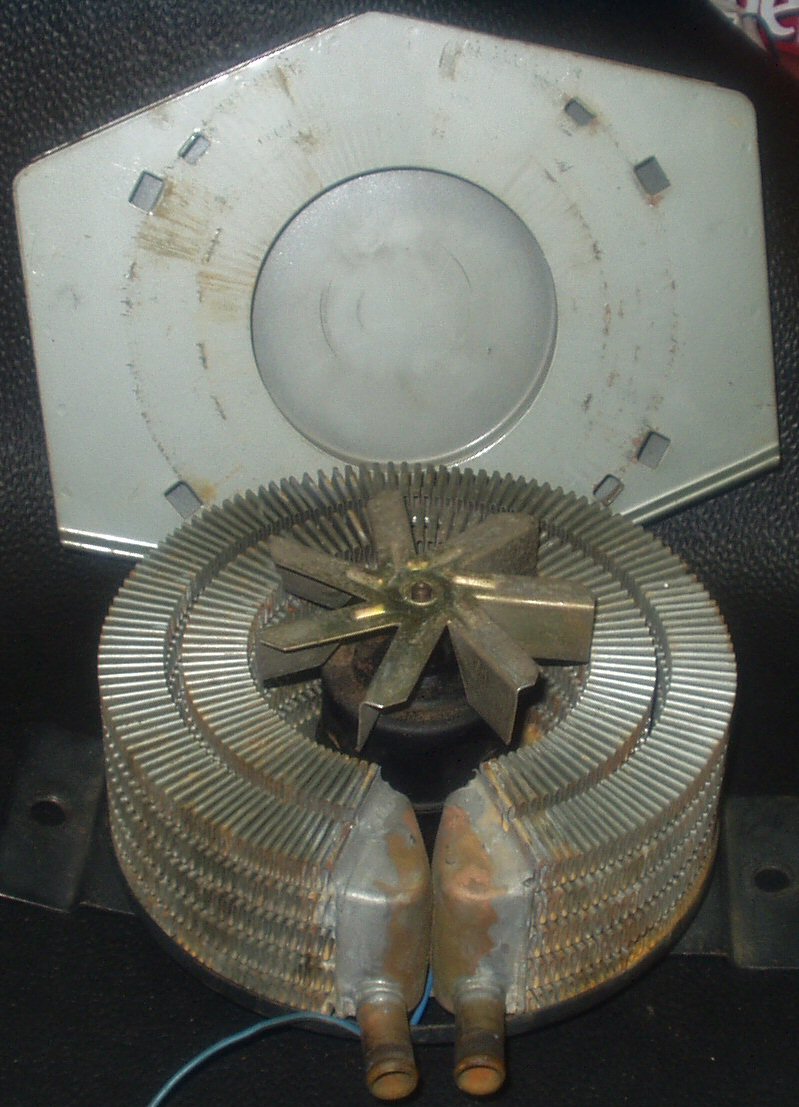
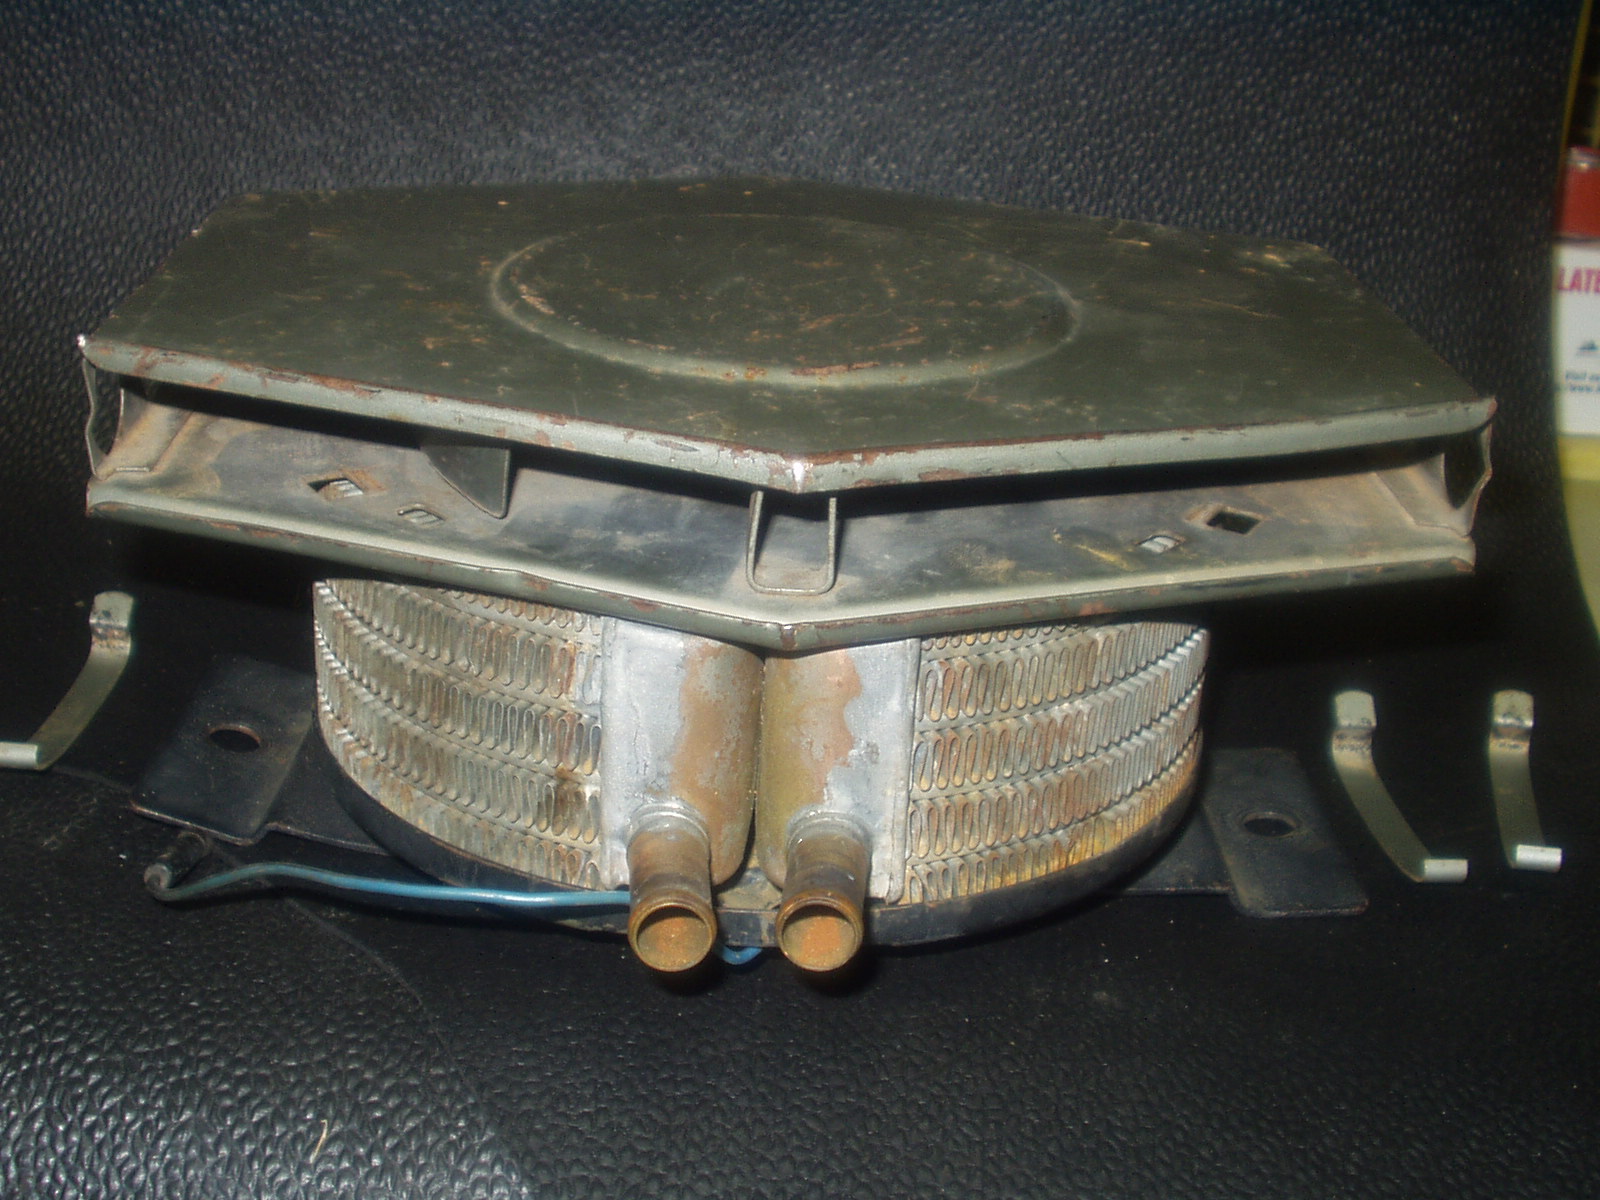
Fig. 1
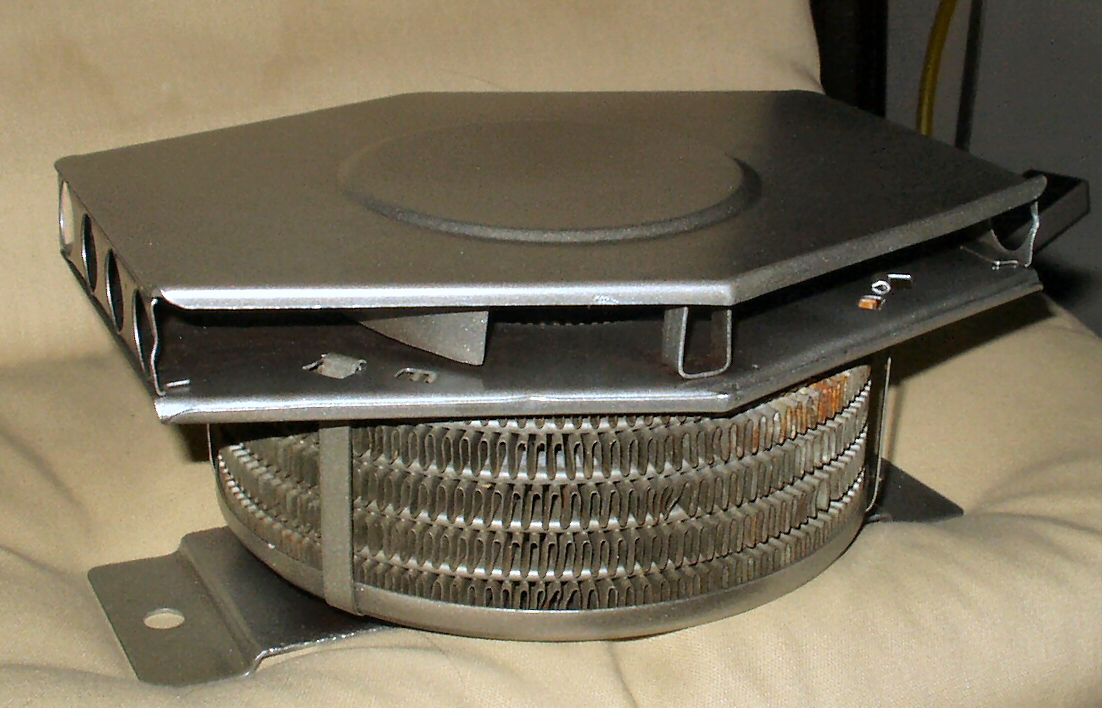
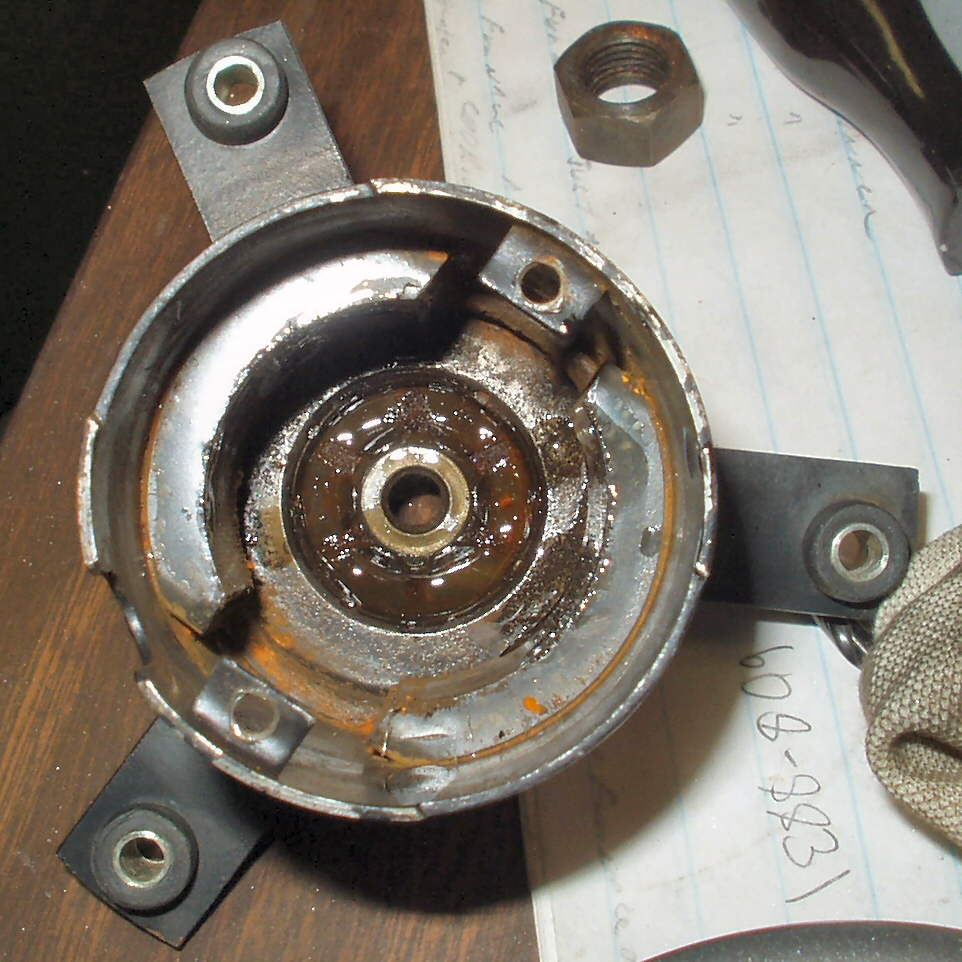
As you can see in Fig. 1-2 the heater was in good overall condition. I pulled the unit apart and started with the motor. The motor would turn but very slowly.
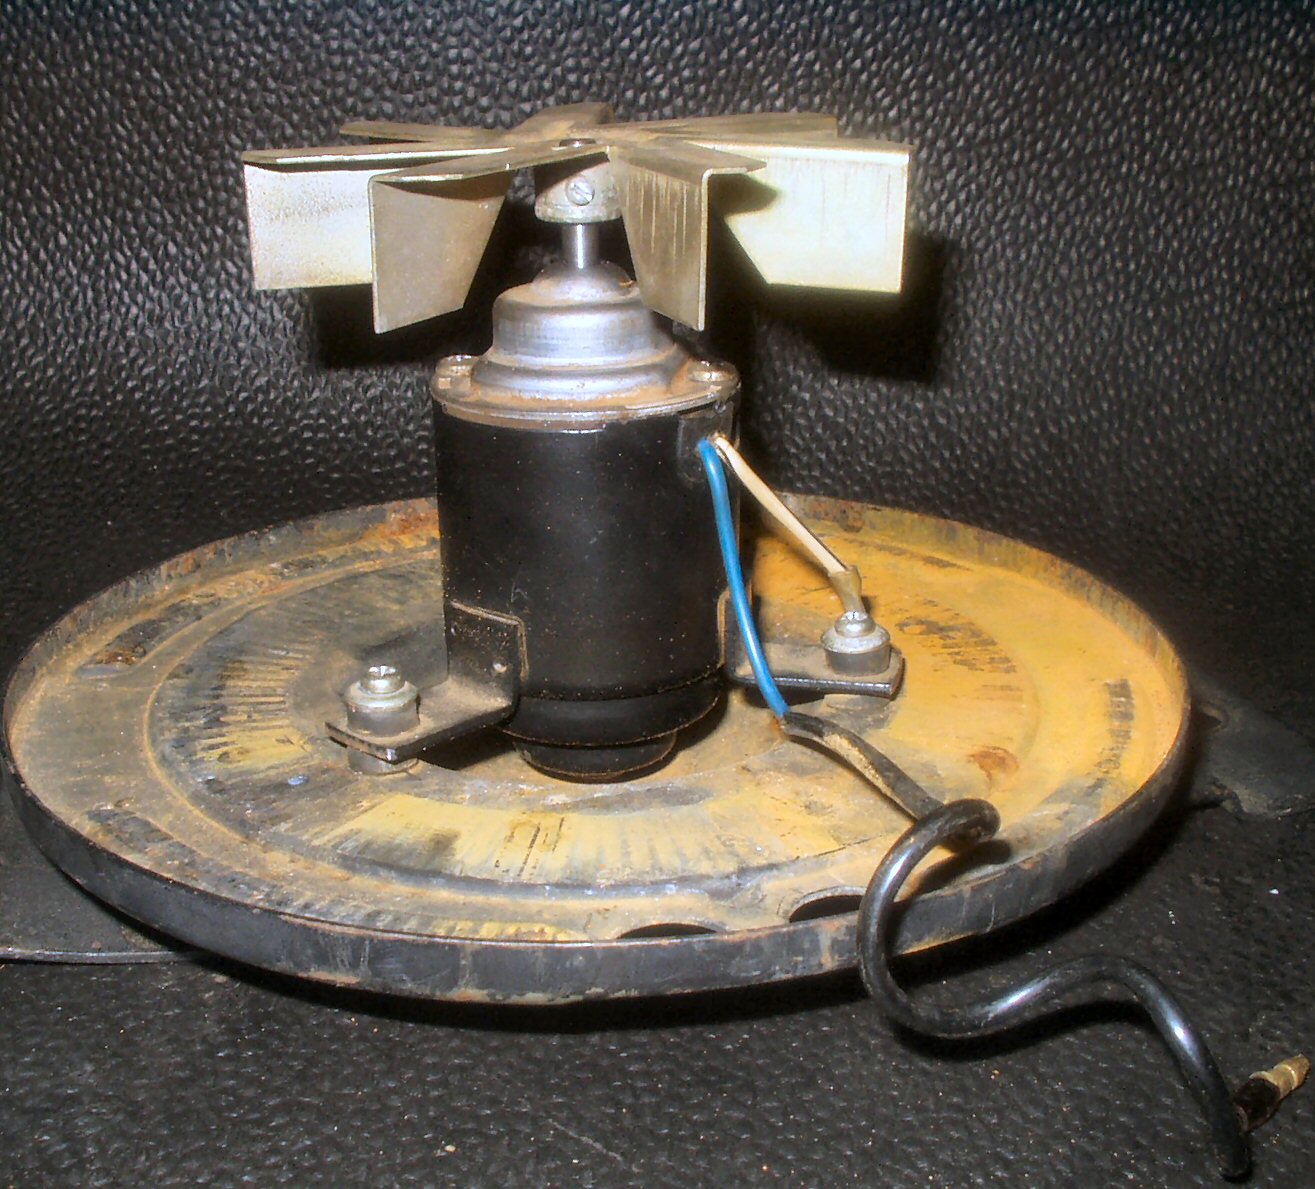
Fig. 2
I removed the fan blade by taking the small screw holding it onto the shaft loose, and laid it down on a piece of glass to help determine which blades were bent. Just lay the fan on the glass, and you can see which blades do not touch the glass. Bend them down until all blades touch equally. Next I took the two screws out of the top of the motor, and pulled the rotor out. See Fig. 3.
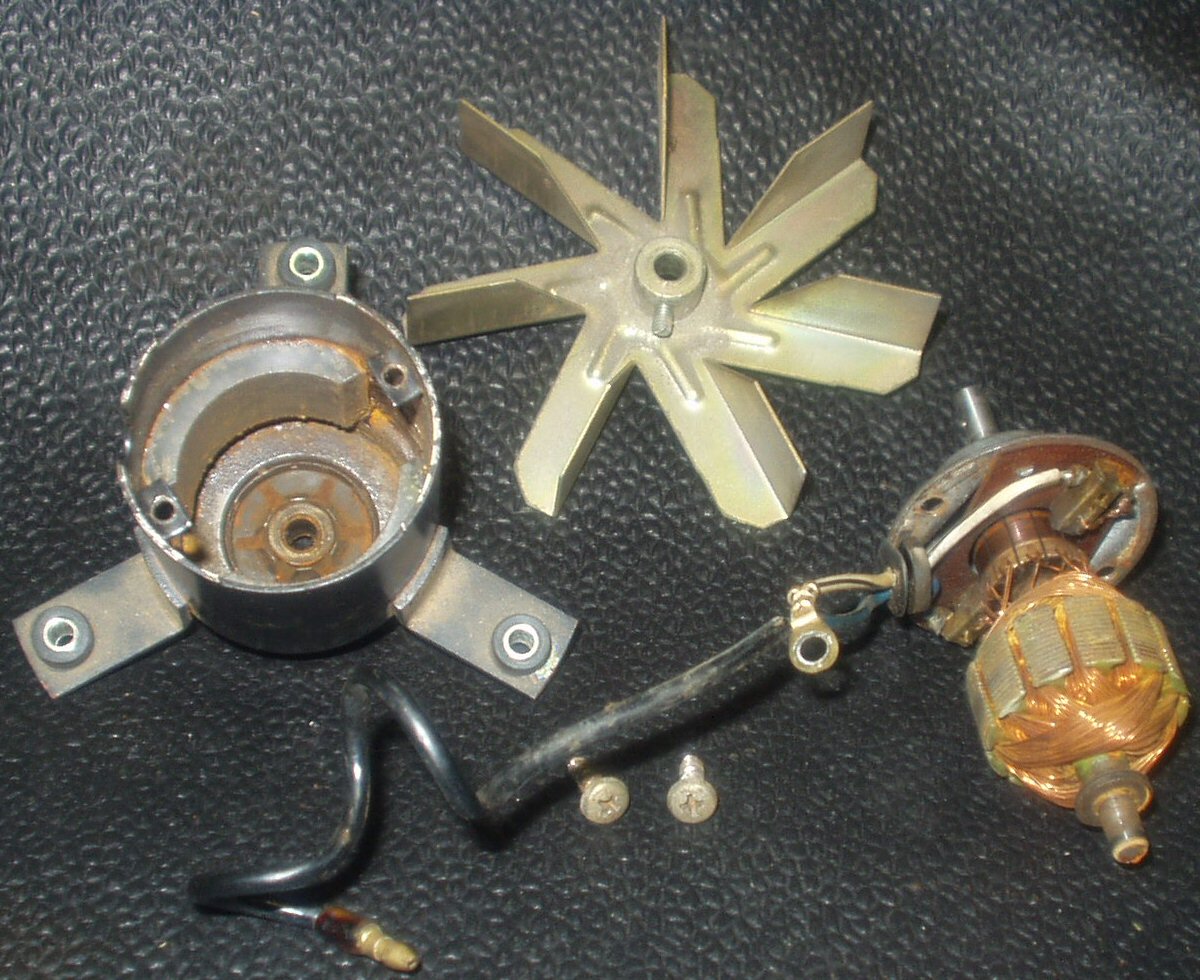
Fig. 3
There was evidence of coolant in the motor. I guess when the core header split, it dowsed the motor pretty good ...
I cleaned out the rust, then pulled the top of the motor containing the brush assembly. The brushes were in good shape. See Fig. 4.
Fig. 4 |
Fig. 4A |
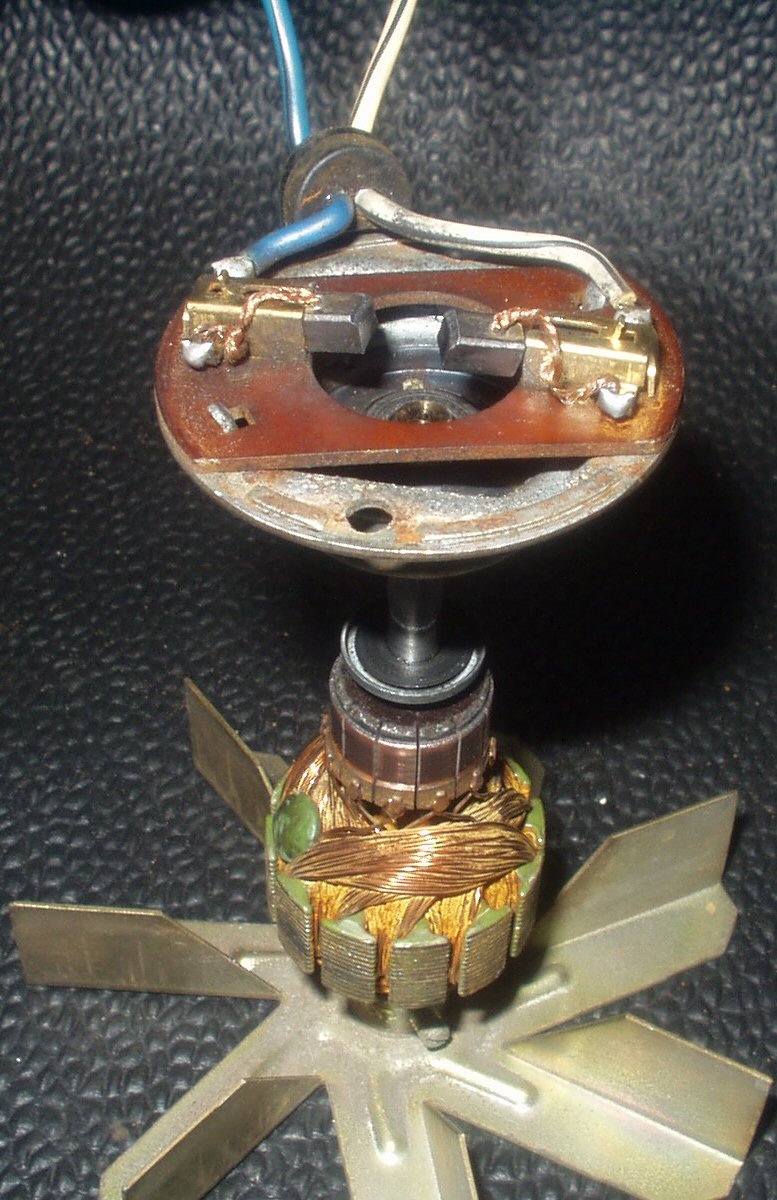
I used a nylon contact cleaning tool to clean the shafts, commutator and brush faces. Next I oiled the bearing felts in the top and bottom assemblies with 30 weigh motor oil. See Fig. 4A. After re-assembly, the motor really moved some air!
Fixing the Core
When I first looked at the core (See Fig. 5.), I decided that I would take it to a shop and have it fixed. Both headers that collect the coolant were split almost all the way around! I believe that this core was in a truck that was overheated to the point of failure. Based on that thinking, I thought I would attempt to seal it up enough to see if any of the tubes had ruptured, rendering it harder to repair.
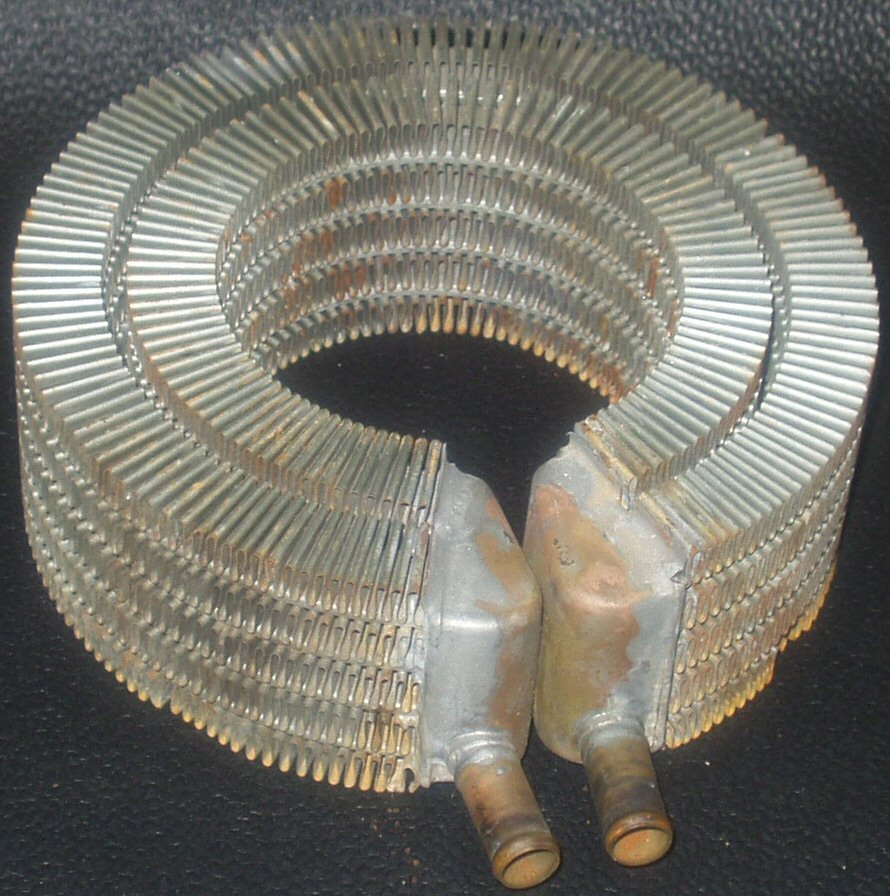
Fig. 5
I'm no expert with soldering, but I applied all the things I knew. First I heated the joints up till the old solder flowed out. Then I used a Dremel tool with a stainless wire brush to clean the mating surfaces. Next I applied a good acid flux, and used a good plumbers solder to fill in the gaps. It took five attempts to find all the little leaks around the header, but it held. No leaking tubes! Plus.... I saved a lot of money ... See Fig. 6 for the repair result.
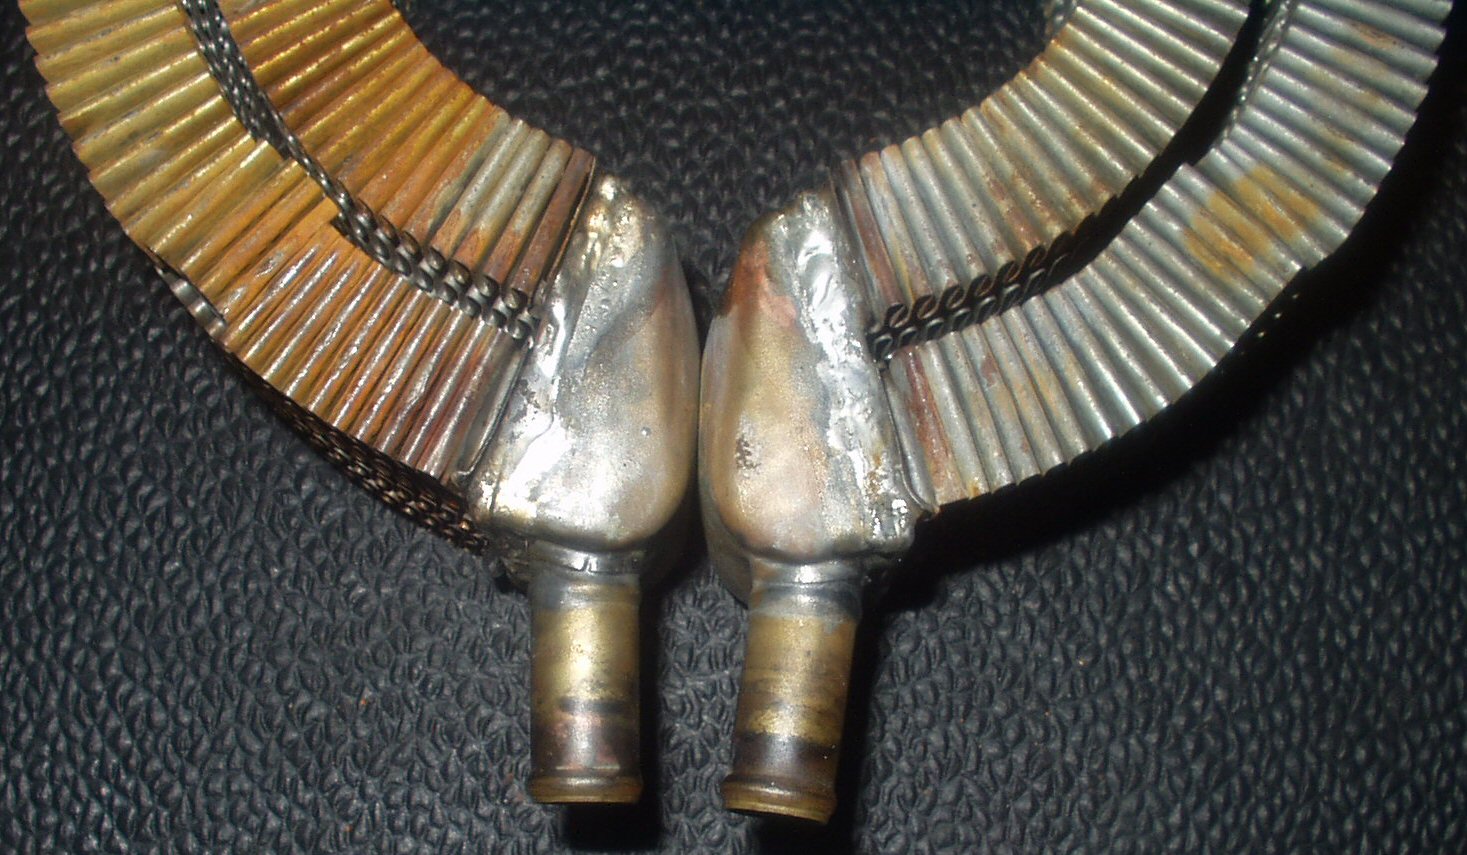
Fig. 6
See Fig. 7 for
the repaired unit ready to put back into service ... and Fig.
8 for the powder coated unit ready to install!
Fig. 7 |
Fig. 8 |