Fig. 1
Custom Shackles
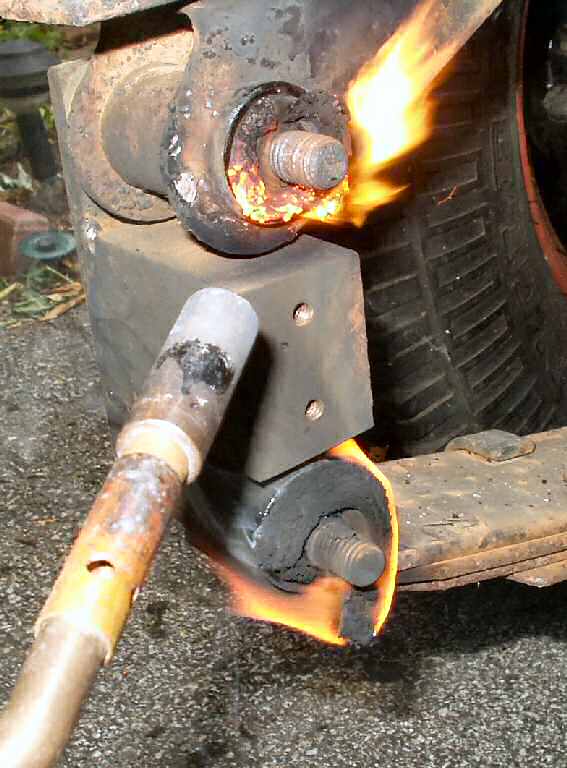
Fig. 2
Playing with FIRE!
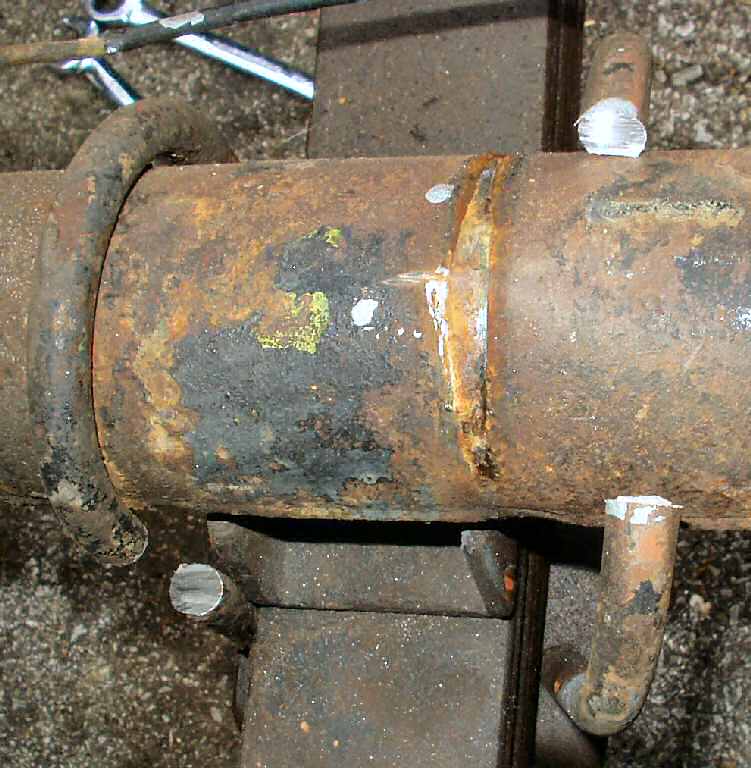
Fig. 3
Cutting off U-Bolts
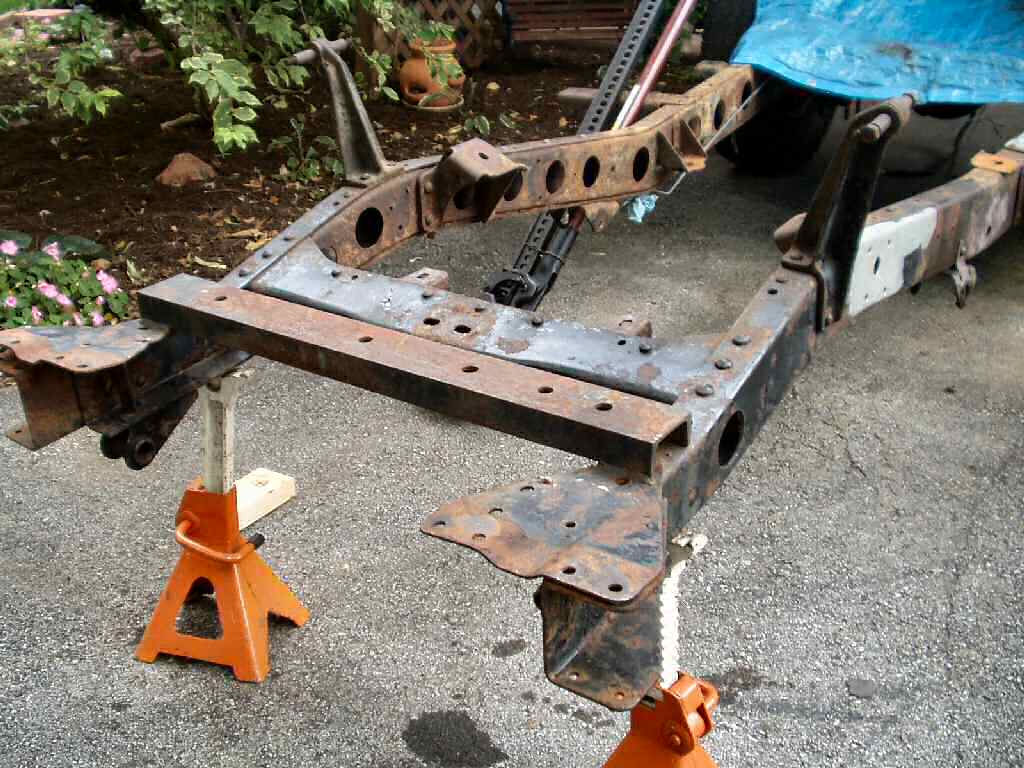
Fig. 4
Ready to Blast
I have worked on the frame off and on throughout the project as I exposed different pieces of it while doing body work. The decision was reached in late 2006 to just admit that this was a full blown restoration and finally to just remove the entire body and do the frame right.
See here for what followed.
Ok, so the body is off, hanging from the garage ceiling, and the frame/drive train can be rolled outside. This led to deciding to pull the drive train and rebuild the t-case, install a 4 sp tranny and spruce up the engine a bit with paint and such which actually led to me buying a complete 2F Engine with 4 sp tranny and t-case!
Ok all that left me with the body hanging from the ceiling, F engine on a stand, t-case on the bench to be rebuilt and a complete 2F motor/tranny/t-case under a tarp on a trailer! The madness never ends...
Fig. 1 Custom Shackles |
Fig. 2 Playing with FIRE! |
Fig. 3 Cutting off U-Bolts |
Fig. 4 Ready to Blast |
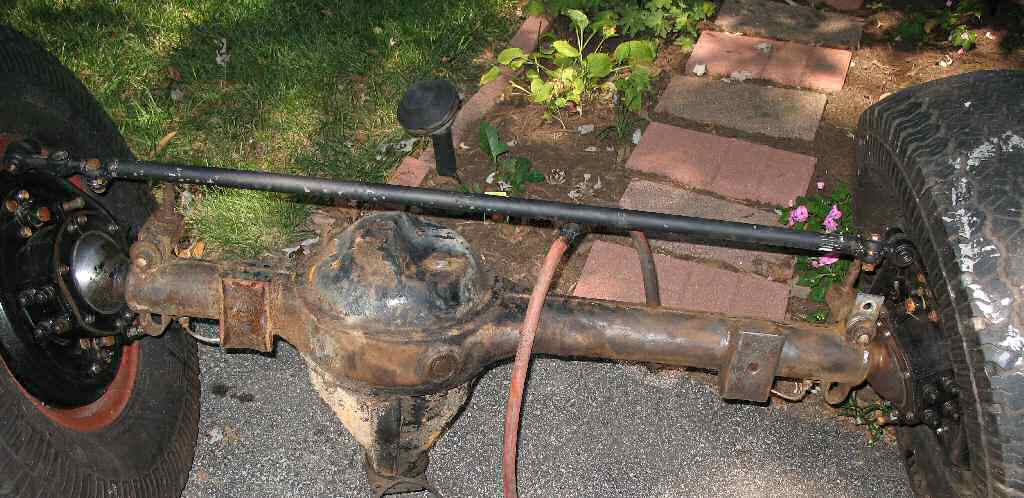
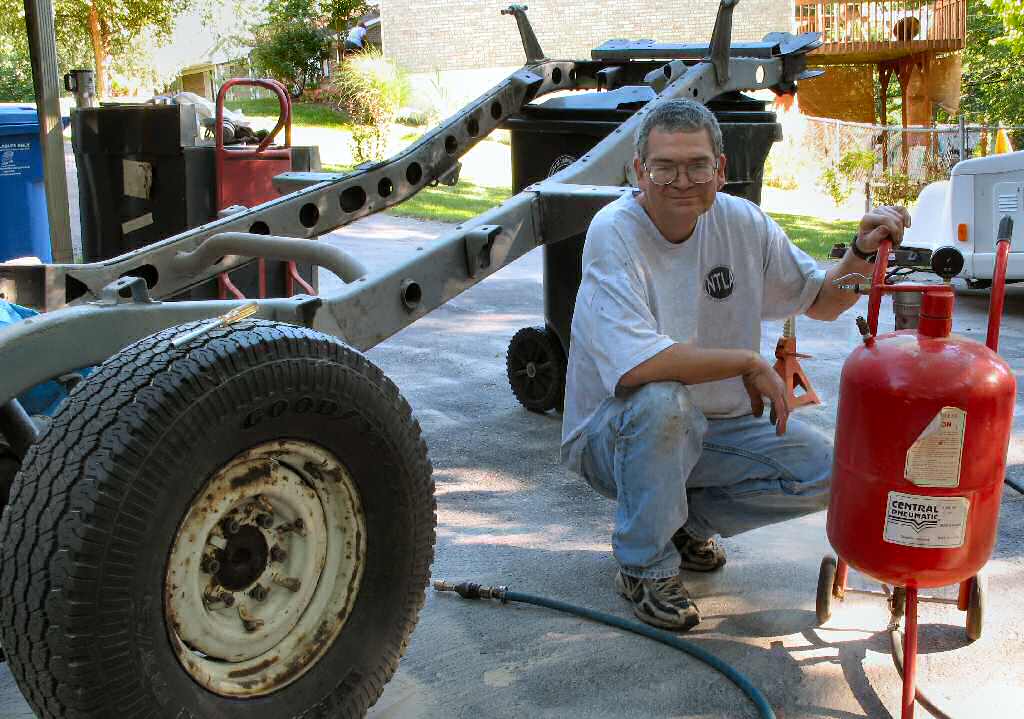
I rolled the frame out side and started removing front steering components like the center arm, steering rods and such then started the laborious process of removing the front springs. These springs I believe are Man-a-Fre springs with some custom made Shackles Anyway they did NOT want to come off. A little heat is always helpful and what man does not like to play with fire? See Fig. 1-2.
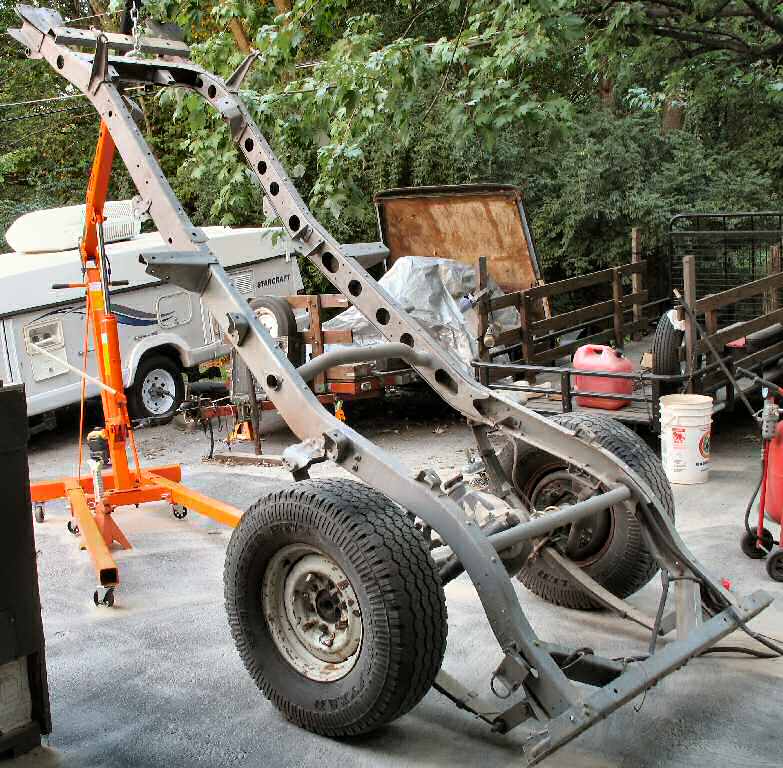
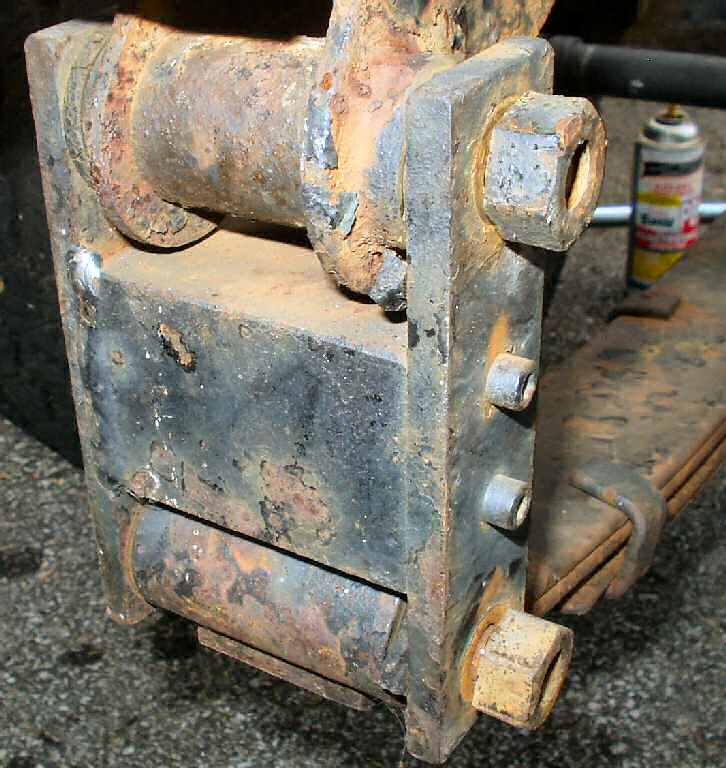
I discovered that a pickle fork can be of some use to get the spring pins and shackle pins out. So can a 12 lb sledge hammer... It took almost 4 hours to remove both front springs. Typical story, pins rusted to bushings and spring eyes. Once I had those out I put an impact wrench on the u-bolt nuts expecting them to spin right off. No such luck, I just used the cut off wheel to cut the u-bolts off. Boy, do they make a loud POP! when they let go under tension. See Fig. 3. I used my Hi-Lift to raise the frame up enough to roll the front axle out from under the truck and placed the frame on jack stands. Turns out I can actually pick up the front of the frame myself and roll in it and out of the garage! I finished removing things like the fuel line, misc bolts and brackets then rolled the frame back into the garage so I could do the front axle. I next tore the springs down and de-rusted them. See here.
Fig. 5 The beginning |
Fig. 6 Diff de-rusted |
Fig. 7 Rust Bullet applied
|
Fig. 8 Final |
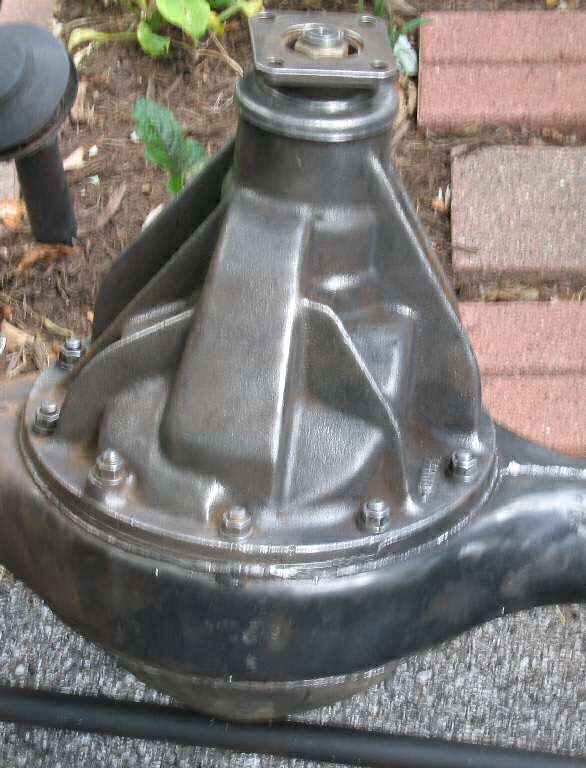
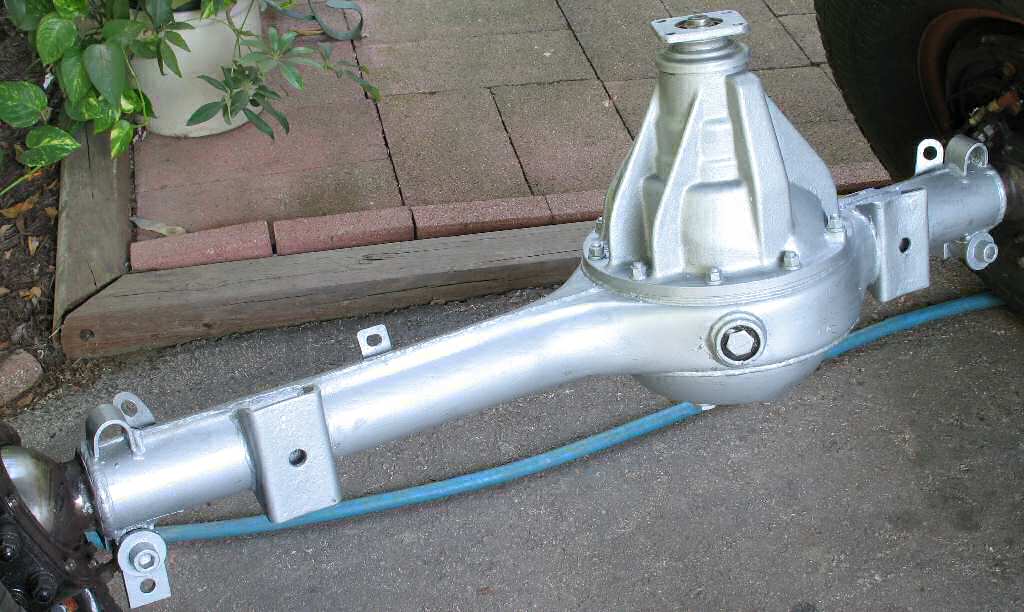
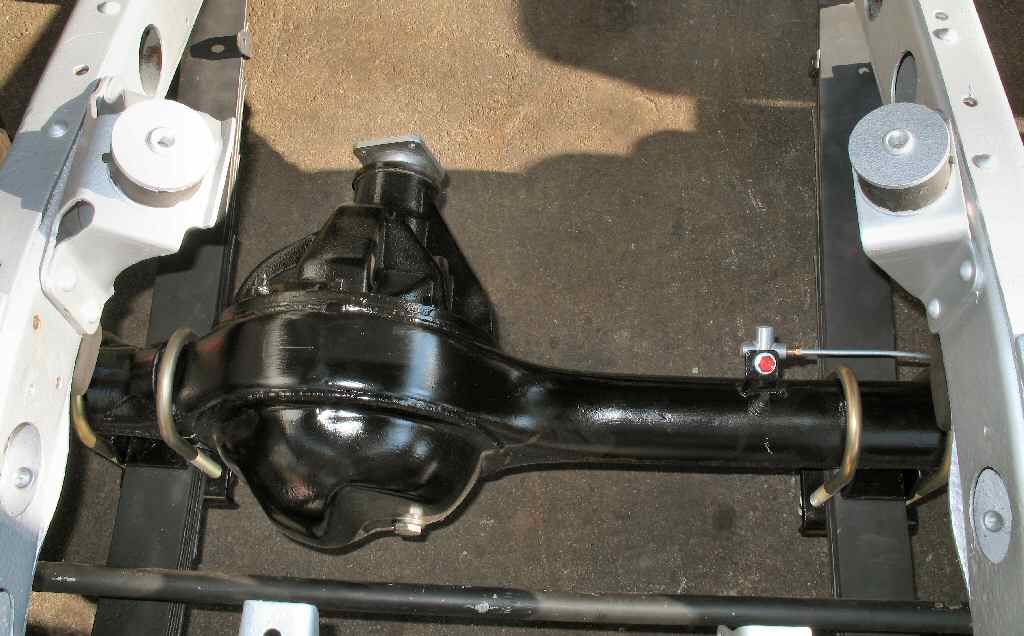
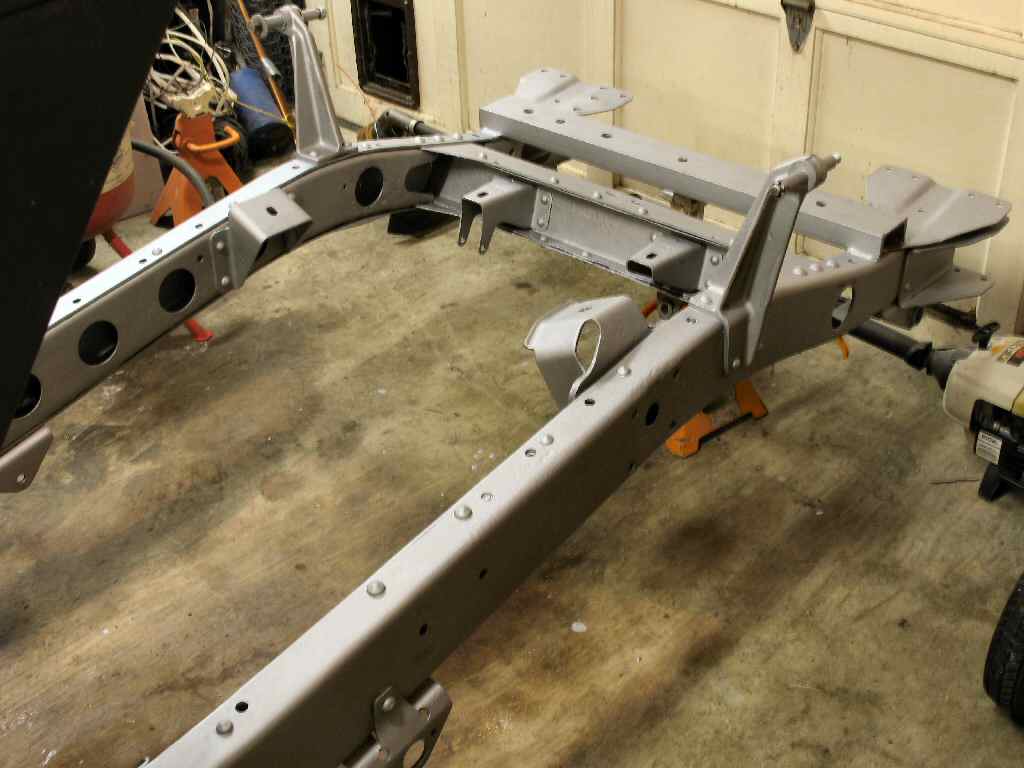
After removing the brake hard lines, drag link and axle vent hose I just used a wire wheel on a 4 1/2" angle grinder and some hand wire brushes to remove all the surface rust from the axle housing. It wasn't in too bad a shape. See Fig. 5-6. After I got all the rust off I wiped it down with acetone and applied two coats of Rust Bullet with a small brush. See Fig. 7. I topped that with a coat of black gloss enamel then cleaned up and reinstalled the brake hard lines and put a new vent hose on. Fig. 8 shows the axle in the frame.
Now on with the frame blasting!
Fig. 9 Round One |
Fig. 10 Round Two |
I use playground sand ($2.53 a bag) in my Harbor Freight 100 lb pot blaster. I set the pressure to 125 PSI and use a 1/8" nozzle. When the pot is full I can blast for about 20-25 minutes before having to stop, sweep up the spent sand, screen it and refill the pot. Also at least once or twice during that time I have to drain the water from the water trap. Failure to do this results in a clog in the bottom of the tank which means having to take the tank apart to remove the wet sand! I only used a total of 2 40lb bags of sand! (I recycle the sand)
I made two passes on the frame. For the first pass I just concentrated on removing just the loose rust and paint. I then stopped and inspected the frame for areas to concentrate on. For round two I used the engine hoist to raise the frame up to get to the bottom rails and front area. I spent a total time of 8 hours on the frame. The hardest part was removing the rust up inside the rails especially in the front. After getting the frame de-rusted I used the air gun to blow all the sand out of the rails then had to make one more pass to get all the areas I missed! Once I was satisfied I rolled the frame back into the garage.
A couple of years ago when I was doing the rear sill I had coated the rear half of the frame in a product called Rust Bullet. I love this stuff! It is so easy to apply, just brush it on straight from the can. It can be sprayed or rolled on if you prefer. It is a nice silver color and is also available in a very dark gray, almost black. Though I did not do this (I used two coats of silver) I would recommend getting a pint of silver and a pint of black. Do the first coat in silver then the second required coat in black. That way you can SEE where you are applying the second coat! It was very hard to tell where I had applied the Rust Bullet on the second coat. with a black first coat, if you see silver you know you have not applied anything there!
Your will need to decide on the best way to get the paint into the frame rails. I have heard of many methods of getting paint into this area including toilet brushes and tying paint soaked rags to a rope and pulling them through. Spraying would seem to be the best but I do not own spray equipment yet. I just used small paint brushes and reached where I could. While there are plenty of holes in the frame, there are a couple of places where you just can't reach with a brush so I just lived with it.
Since fall temps this year (2007) are nowhere to be seen, and the mosquitoes are really bad, I decided to do the painting in the garage with the door down. (Just so you know I have a large blower fan that sucks massive amounts of air out of the basement and used two other fans to direct the paint fumes to that fan.)
To make it easier to reach the bottom of the frame had to come up with a way to raise the frame while not interfering with the body suspended from the ceiling! I raised the frame up by screwing a large 'swing' hook into one of the garage joists, hung my power puller from that and used it to raise the frame.
Fig. 11 Done! |
It takes about 2 hours to do the entire frame with a 3" brush. Since you have to do two coats and you have to wait minimum two hours and maximum 72 hours between coats that works out pretty good. However 4 hours of crawling around and painting by hand was not going to work with my back, so I painted one half one day, the other half the next day, then did the second coat all at one time on the third day. Then I let it dry for another day and got the tap set out and cleared out all the tapped holes in the frame. I ran across a couple of broken off bolts and had to drill those out and re-tap them. That's it! The frame is officially done! Yahoo!
Hosted by Global Software, Inc.
©1998 - 2023 Mark C. Baker Web Designer
Please: No part of this web site may be used without express permission... email mbaker@globalsoftware-inc.com for permission.