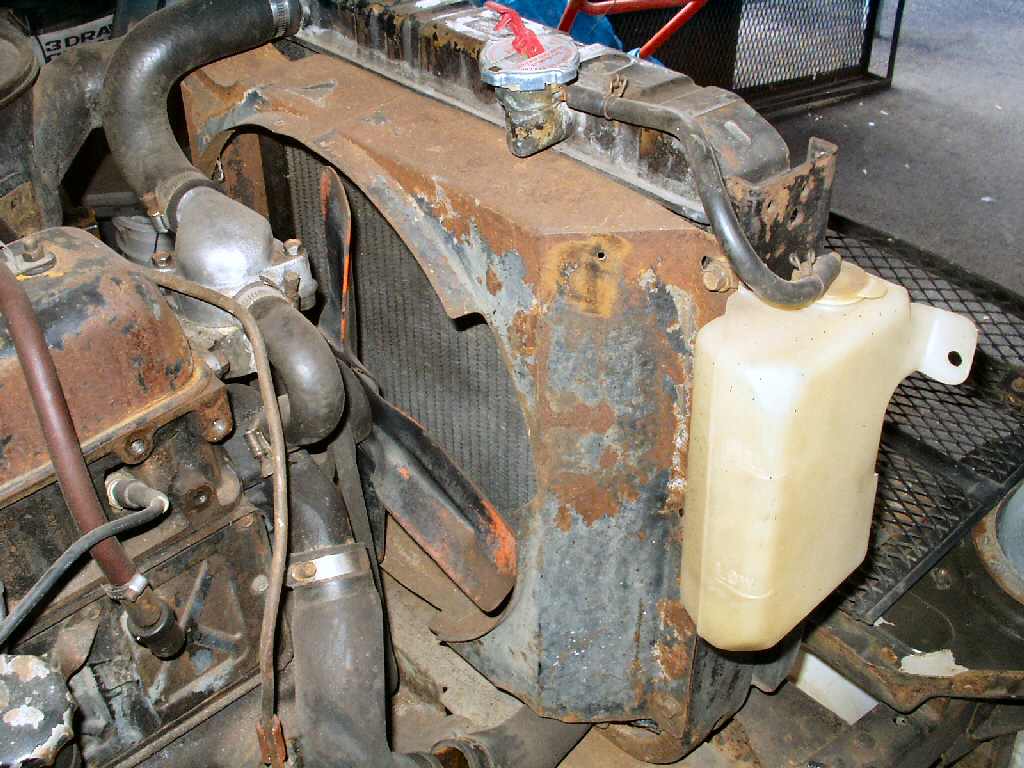
As you well know my truck was a bit rusty when I started this work. Fig. 1 shows the sad state of the radiator assembly. The OEM shroud was originally yellow zinc or cad plated, and the radiator and support frame were painted black. We are going to spice that up a bit. :-)
The radiator in the truck only has about 3 years use on it, though it is 11 years old. :) When I replaced the water pump, I had ran muriatic acid through it and flushed it over and over. I then plugged the bottom with a rag, filled it to the top then pulled the rag from the bottom. It emptied very quickly telling me it is not plugged.
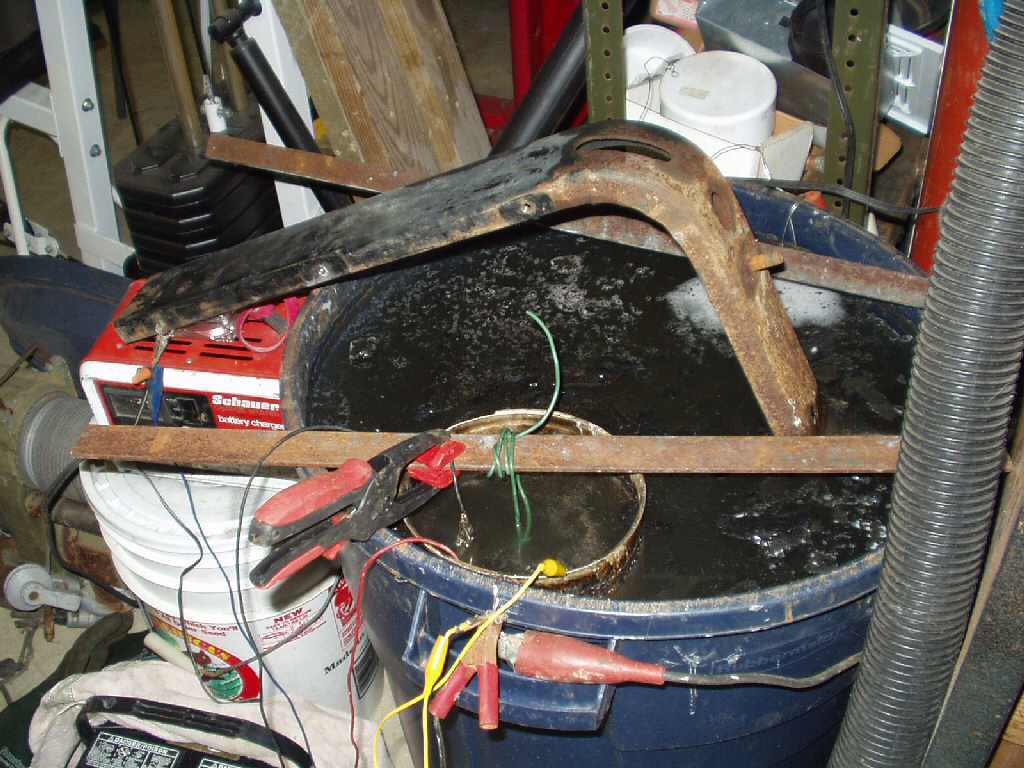
I started by disassembling the radiator support assembly and started de-rusting the parts. All these parts were de-rusted then wire wheeled or sand blasted to remove the scale then set aside. See Fig. 2.
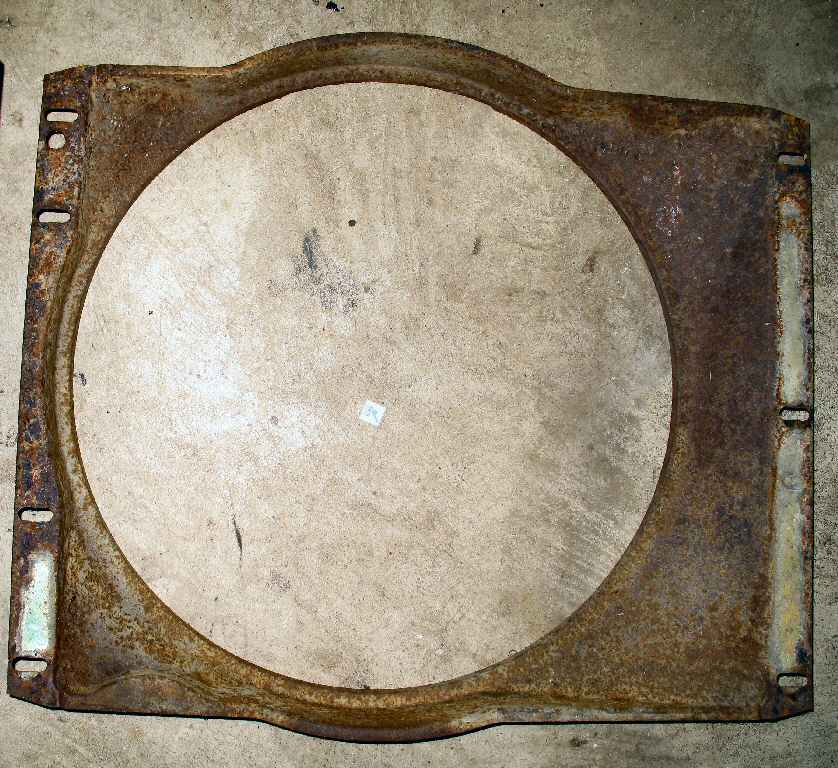
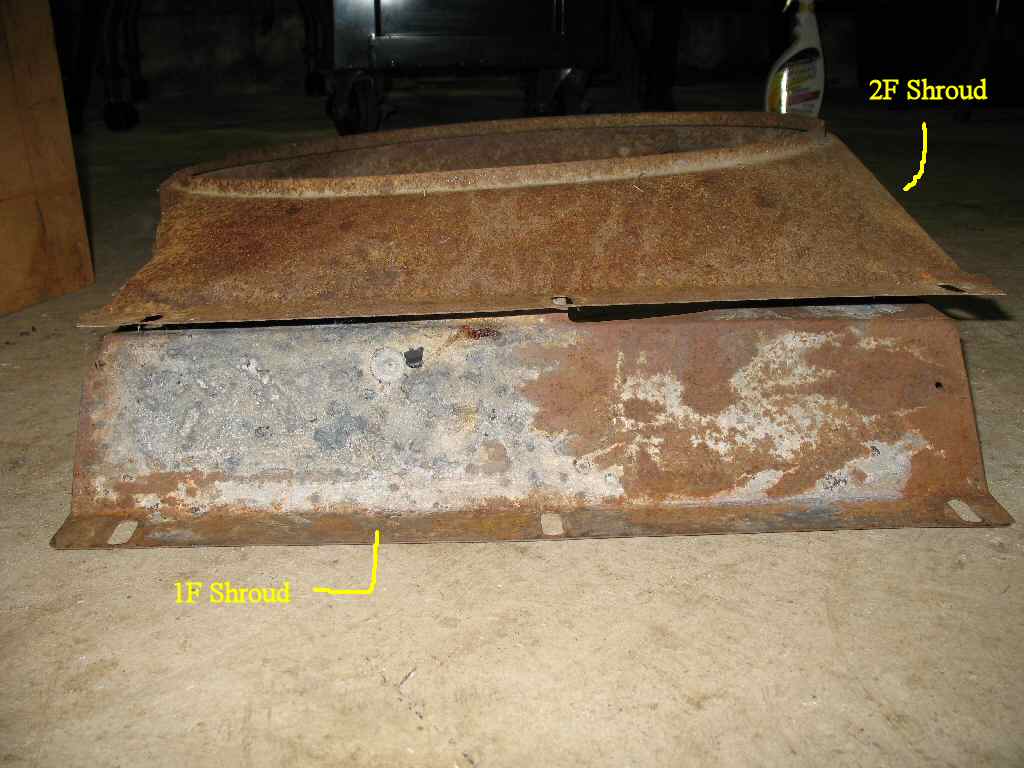
In the mean time I acquired a 2F fan shroud as I have converted over to a 2F water pump and pulley system due to a mini-truck steering install. (Mini-Truck Power Steering) See Fig. 3. For a comparison of the two types of shrouds (1F/2F) see Fig. 4. As you can see the 2F shroud is much thinner to accommodate the taller 2F water pump. (The taller 2F pump allows one to run a two groove 2F water pump pulley needed for the power steering setup.)
Fig. 5
'New' Channel
Fig. 6
Rubber Pads
Fig. 7
Radiator Cushions
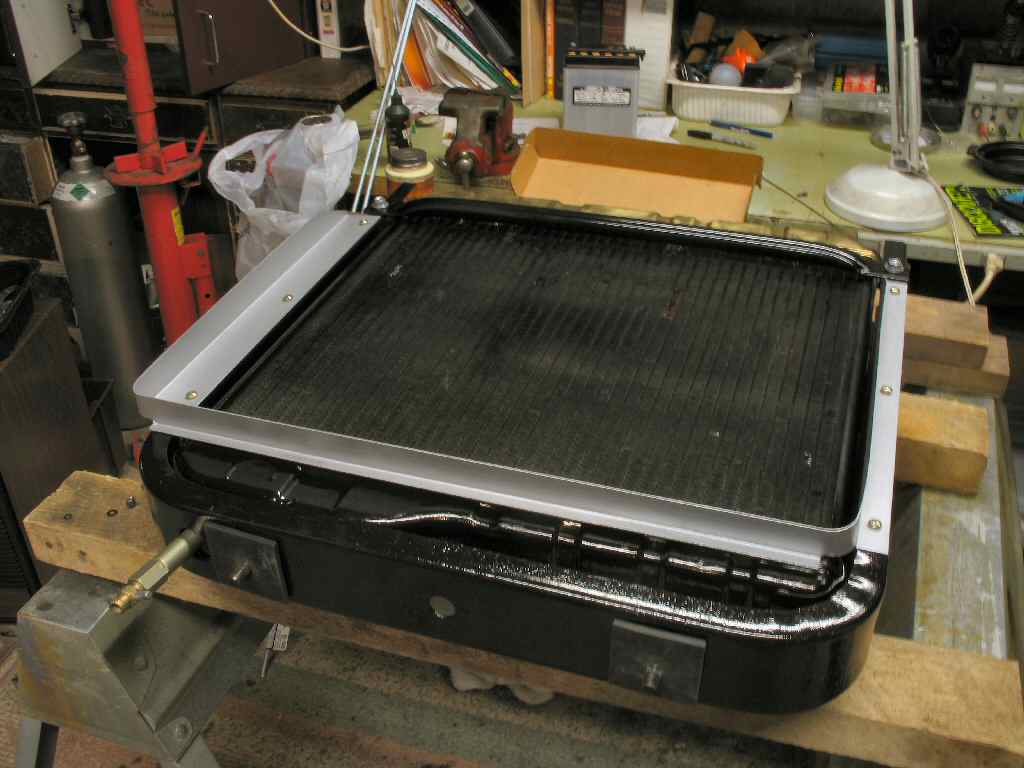
The radiator support frame was given two coats of Rust Bullet Black Shell. This is a high gloss coating and is very thick. I made the mistake of using a paint brush to apply this and it left brush marks. A foam brush would be the preferred method of applying this. See Fig. 5. After it dried I used some 3/16" rubber to replace the canvas shims Toyota supplied. I figured rubber would be better as a replacement as it won't absorb water. See Fig. 6 .
I also made the rubber cushion pieces that fit between the radiator and the support frame from 1/8 rubber sheet. I used weather strip cement to bond these to the support frame so they would not fall off the next time I needed to pull the radiator. Also keeps them in place while bolting the radiator down. See Fig. 7 .
Fig. 8
Polished Radiator
Fig. 9
Ready to Paint
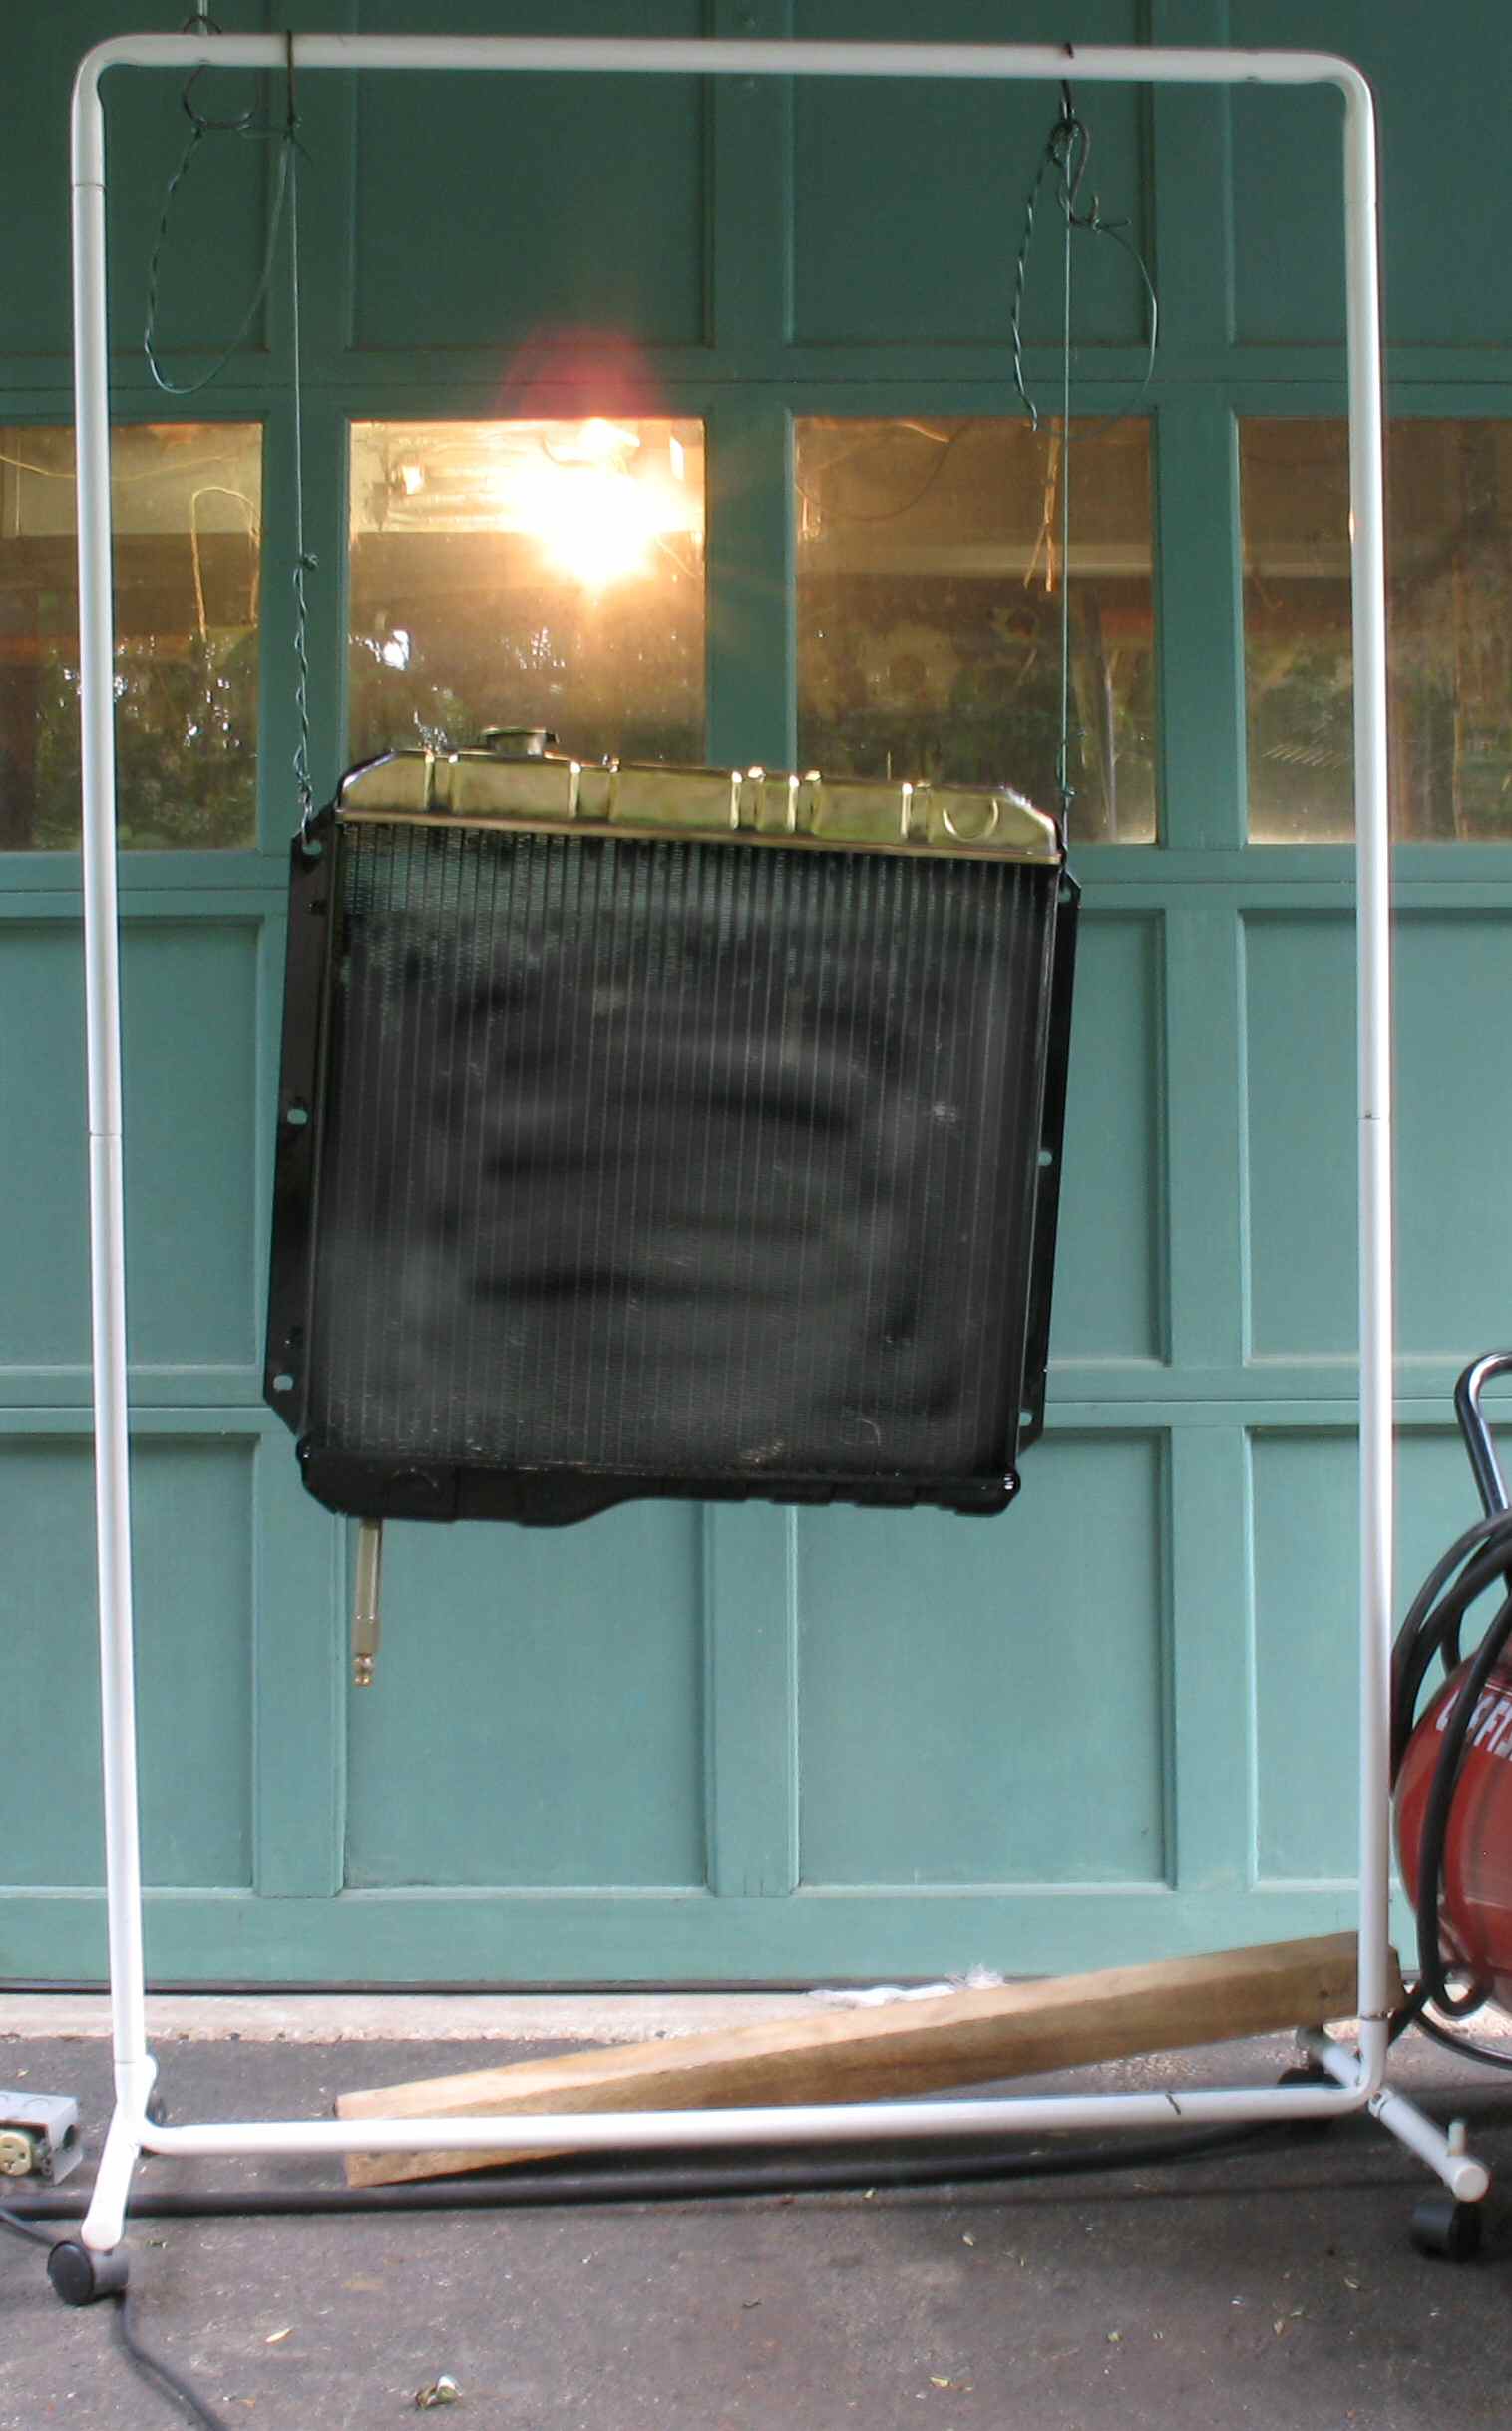
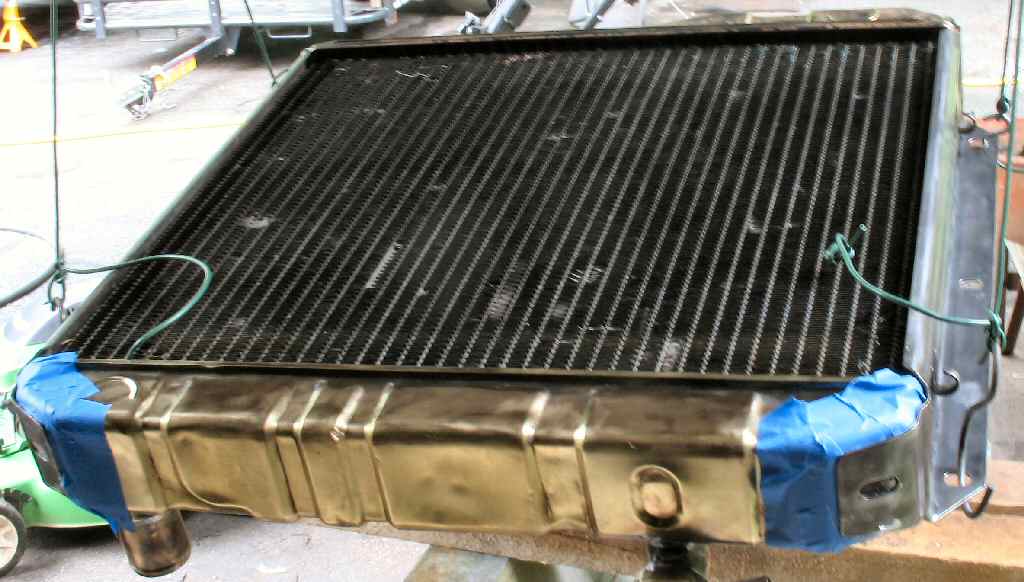
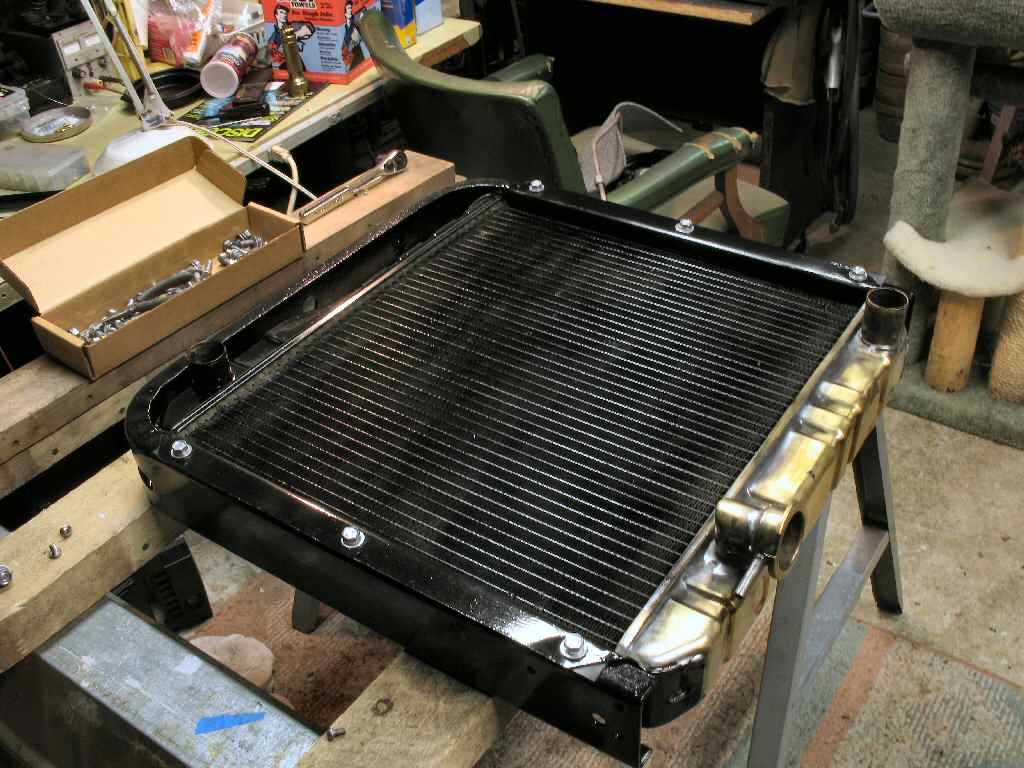
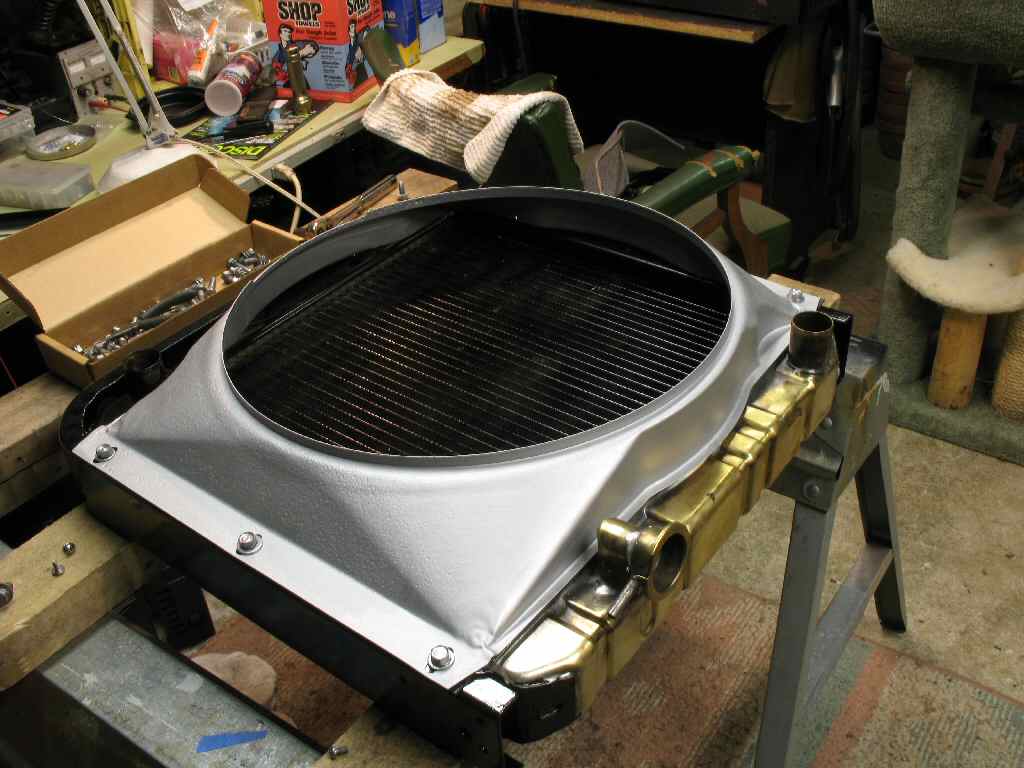
Next up I noticed that the paint on the radiator was flaking off on the top header and underneath was brass. Yes, I decided to polish the brass! I hung the radiator from the wife's laundry rack and used a brass wire wheel to remove the paint and smooth the brass. I followed this up with a rag soaked in brass cleaner. Came out pretty good! See Fig. 8 . I followed up by masking off the brass and applying two coats of Rust Bullet Black Shell to the radiator side frame. See Fig. 9 . Last I laboriously straightened out all the bent and crushed fins, then used some cheap spray paint to paint them black.
Fig. 10
Mounting Radiator
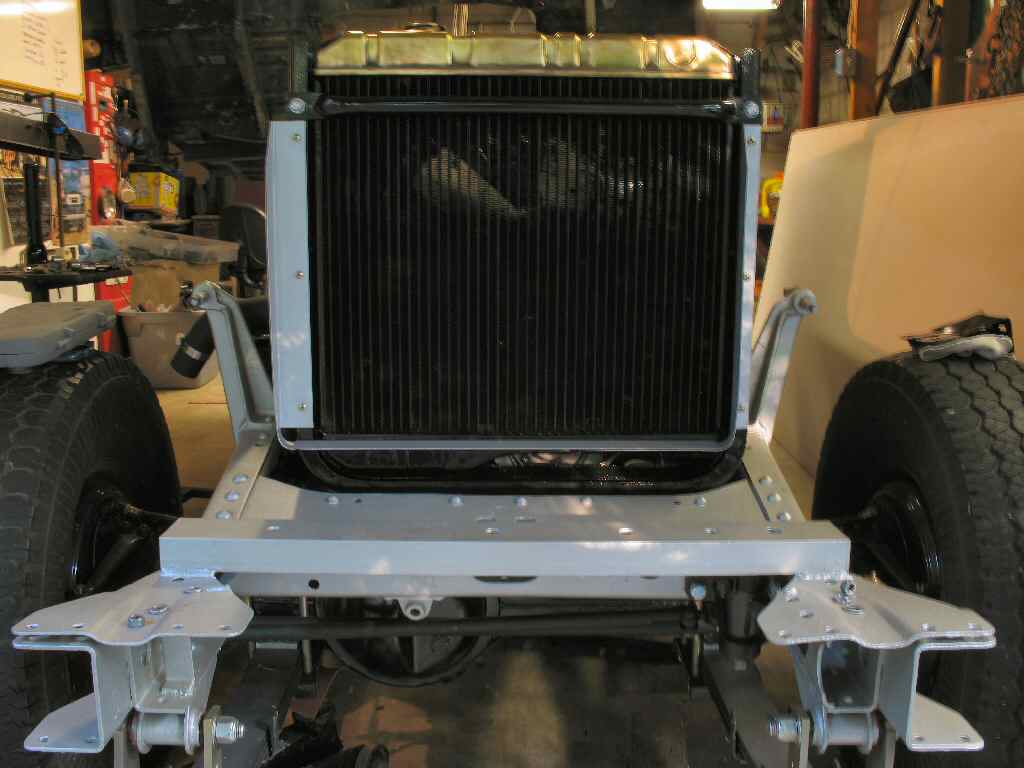
Fig. 11
Shroud
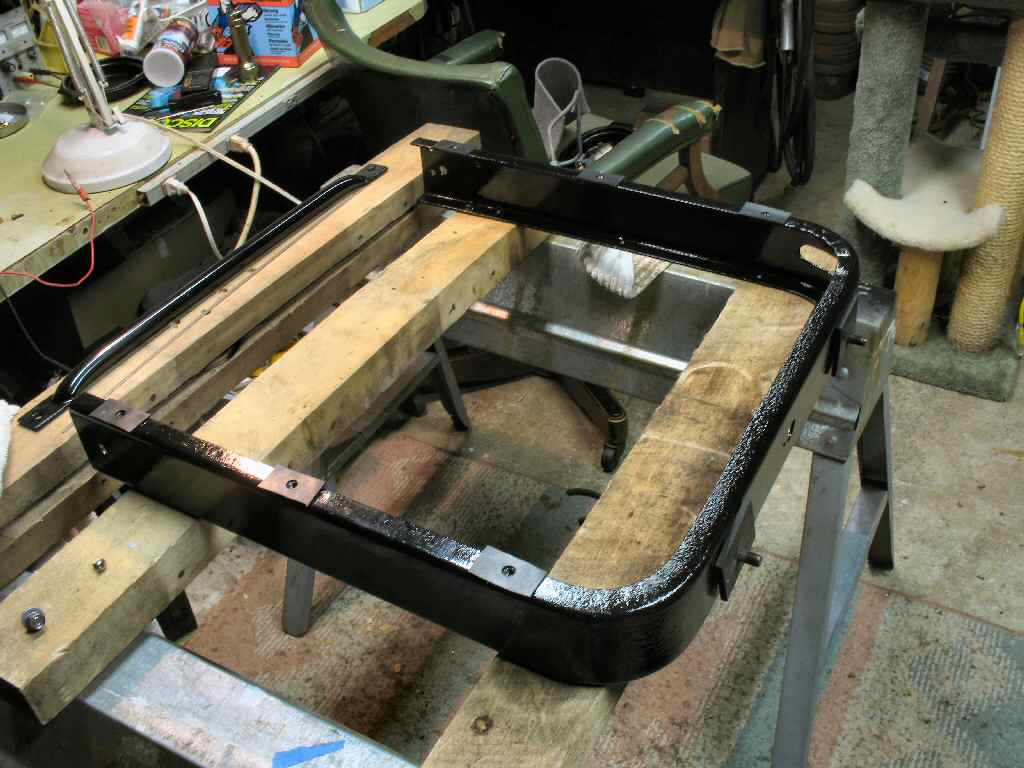
Fig. 12
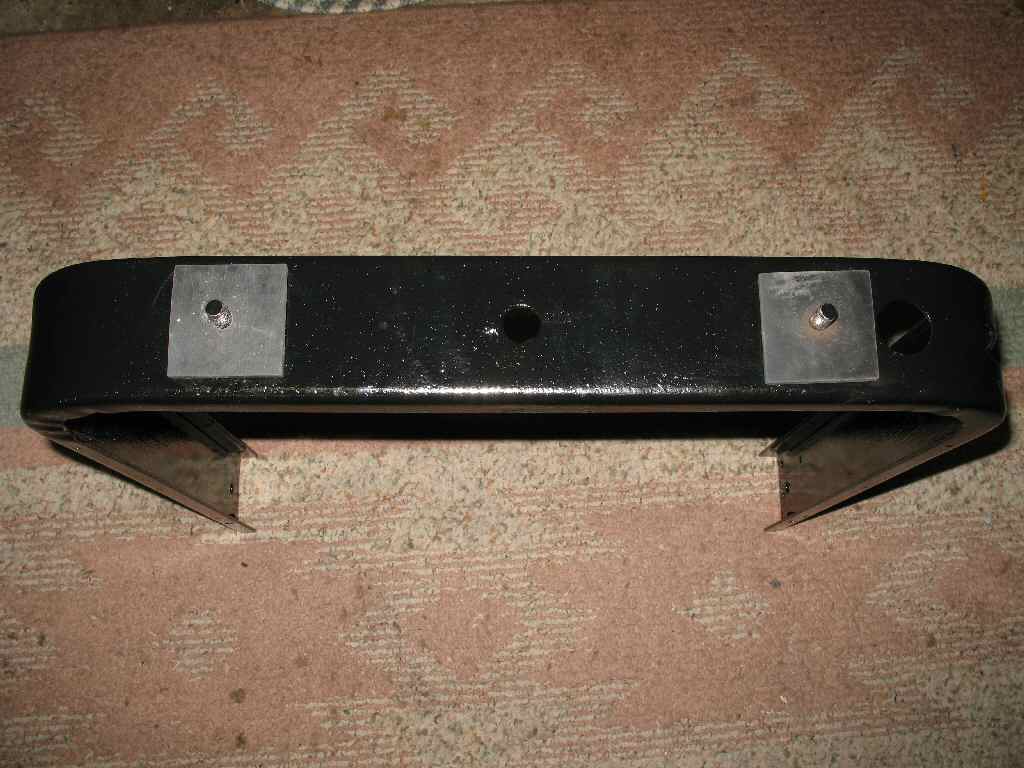
Front Plate
Reassembly is quite easy. Just insert the radiator into the support frame (drain extension should be removed at this point) and put a couple of bolts in to align it to the frame. Fig. 10. Remove the alignment bolts and place the shroud on the frame. Insert the six bolts and snug them down. See Fig. 11. Last mount the thin plate mount to the front of the support frame with six sheet metal screws. See Fig. 12.
Fig. 13
Mounted Rear
Fig. 14
Mounted Front
Fig. 15
Expanding Hose End
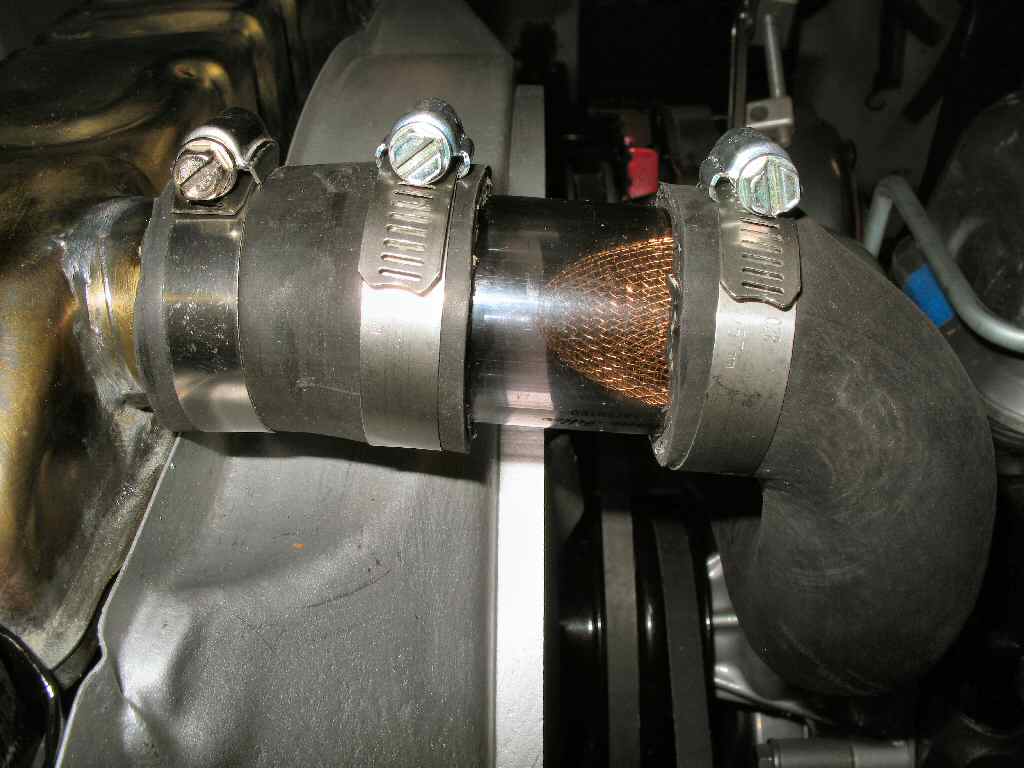
Fig. 16
Gano Filter
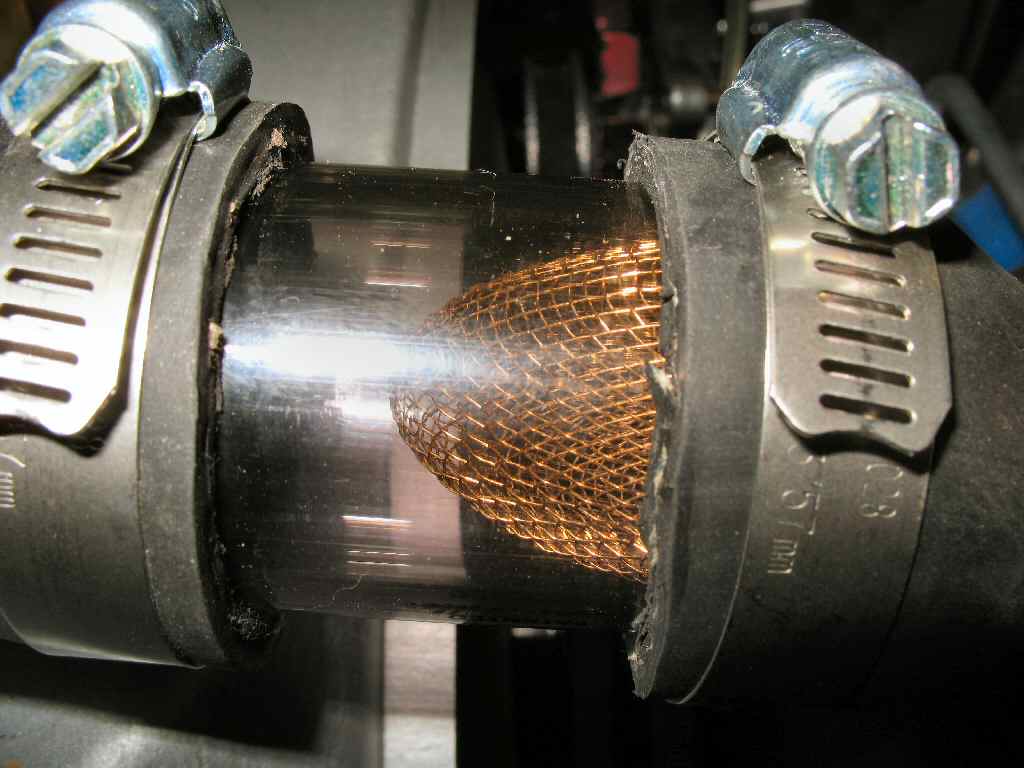
Fig. 17
Filter Detail
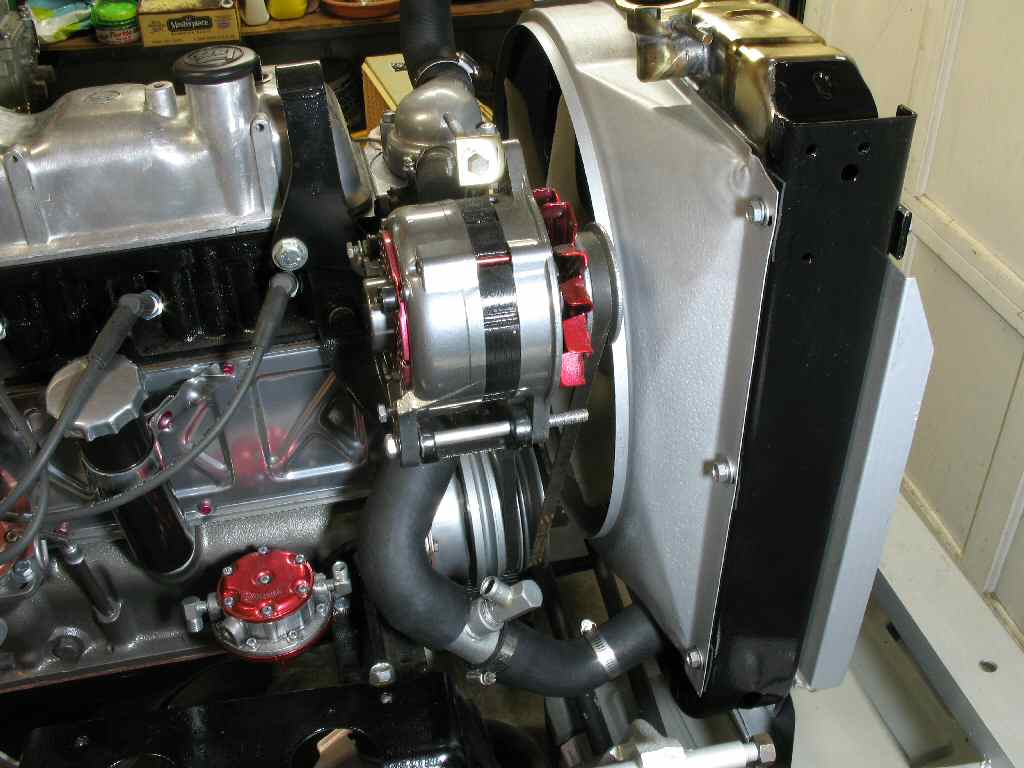
Finally I get to mount the assembly back into the frame! I had already checked the direct drive, 6 blade plastic fan, clearance and radiator hose placement, so all that was easy to install. Last I installed the Gano Coolant filter in line with the top radiator hose. After cutting out 1 1/2" from the hose I had to use an exhaust pipe expander to expand the hose to fit the filter! See Fig. 15. The installed filter allows one to see the coolant level, coolant color, and any debris that has been trapped instantly. See Fig. 16-17.