Mobile Home Floor Repair
Last Updated 10-31-2005
Floor Theory 101
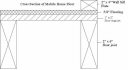
Fig. 1
Floor Cross Section End View
|

Fig. 2
Floor Cross Section Length View
|
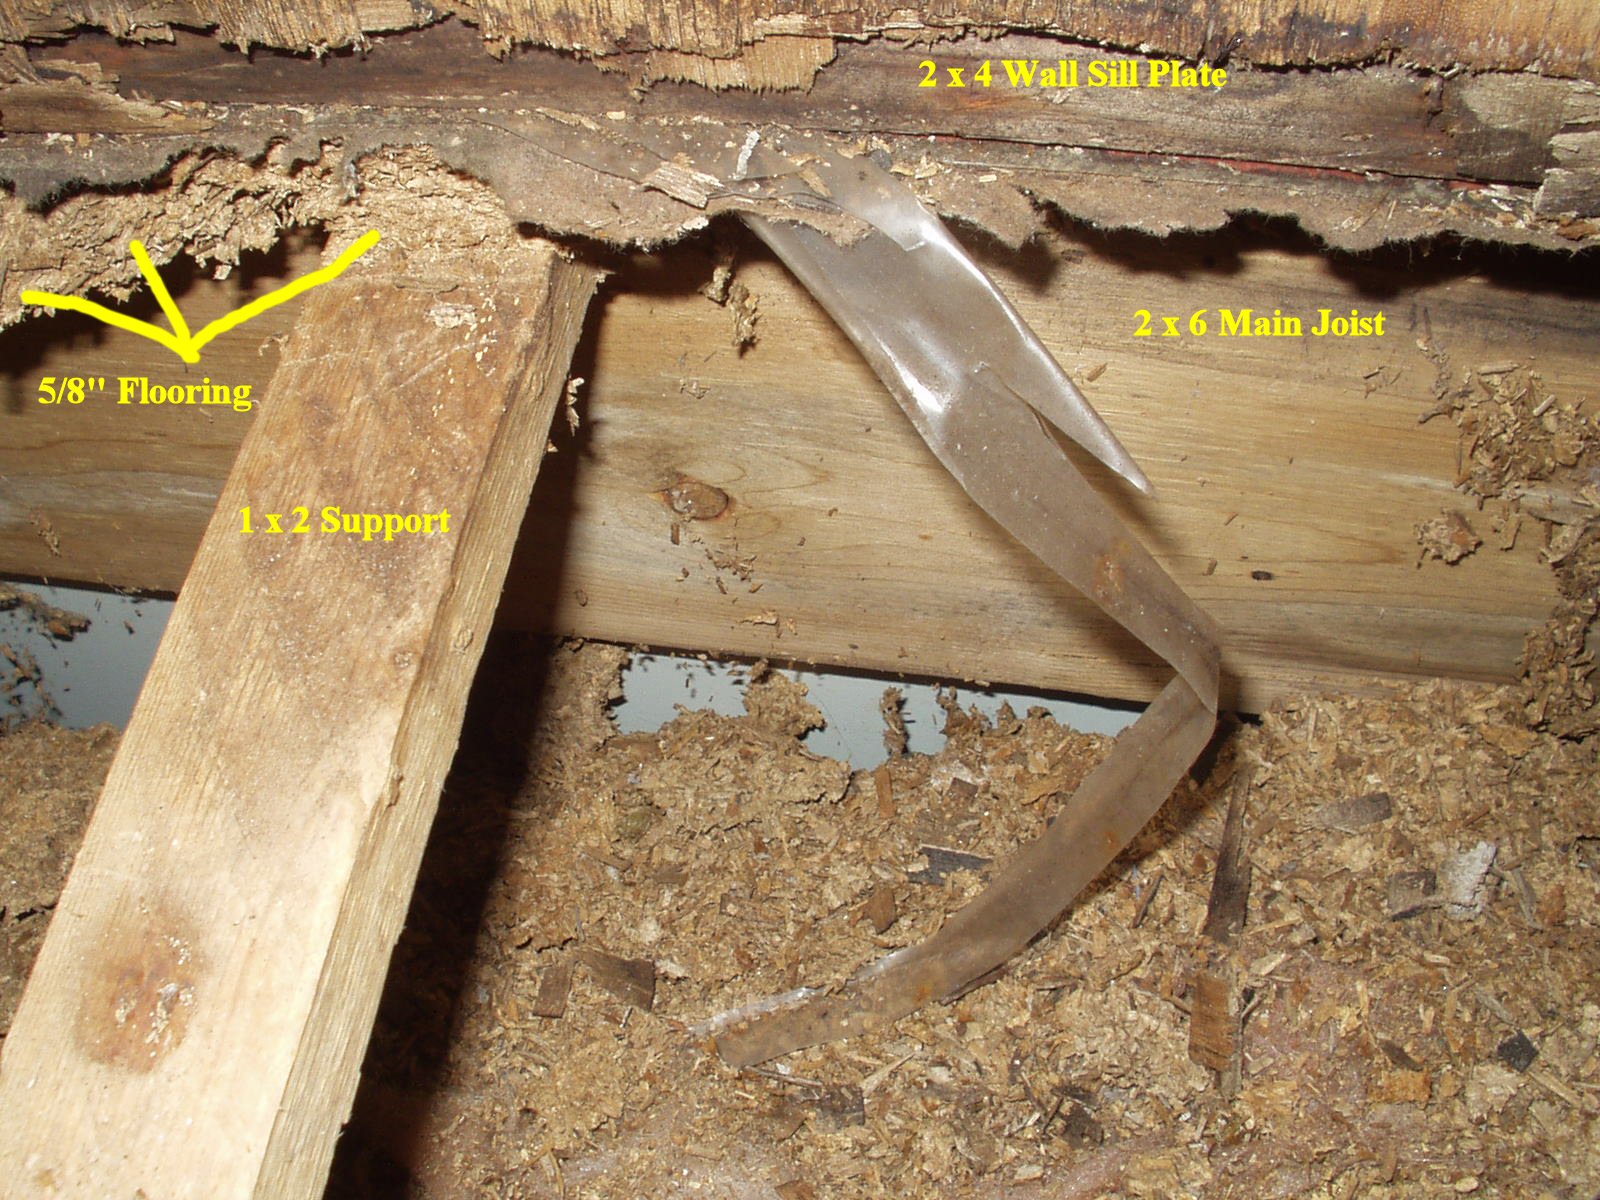
Before you start you need to determine how your
floor is put together. I drew up some cross sections of how mine is done.
See Fig. 1-2. Yours may be different and use a standard sub floor system of
'normal' joists.
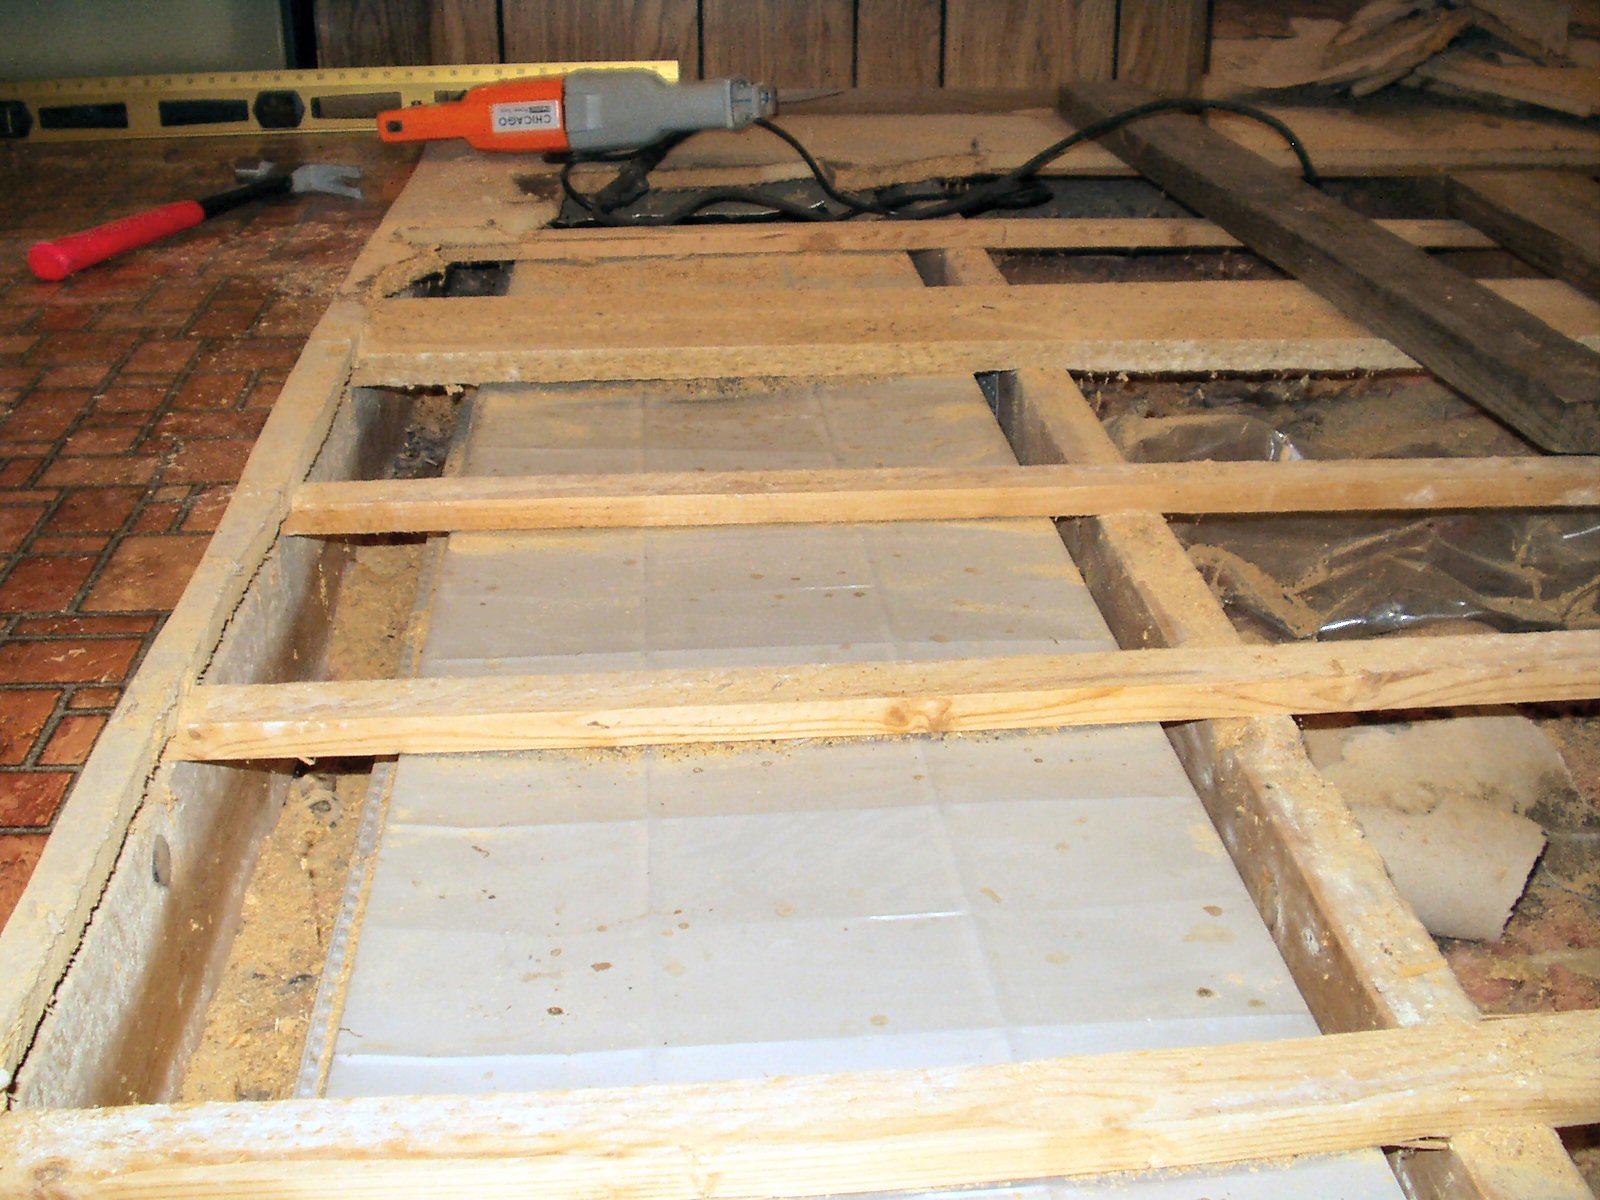
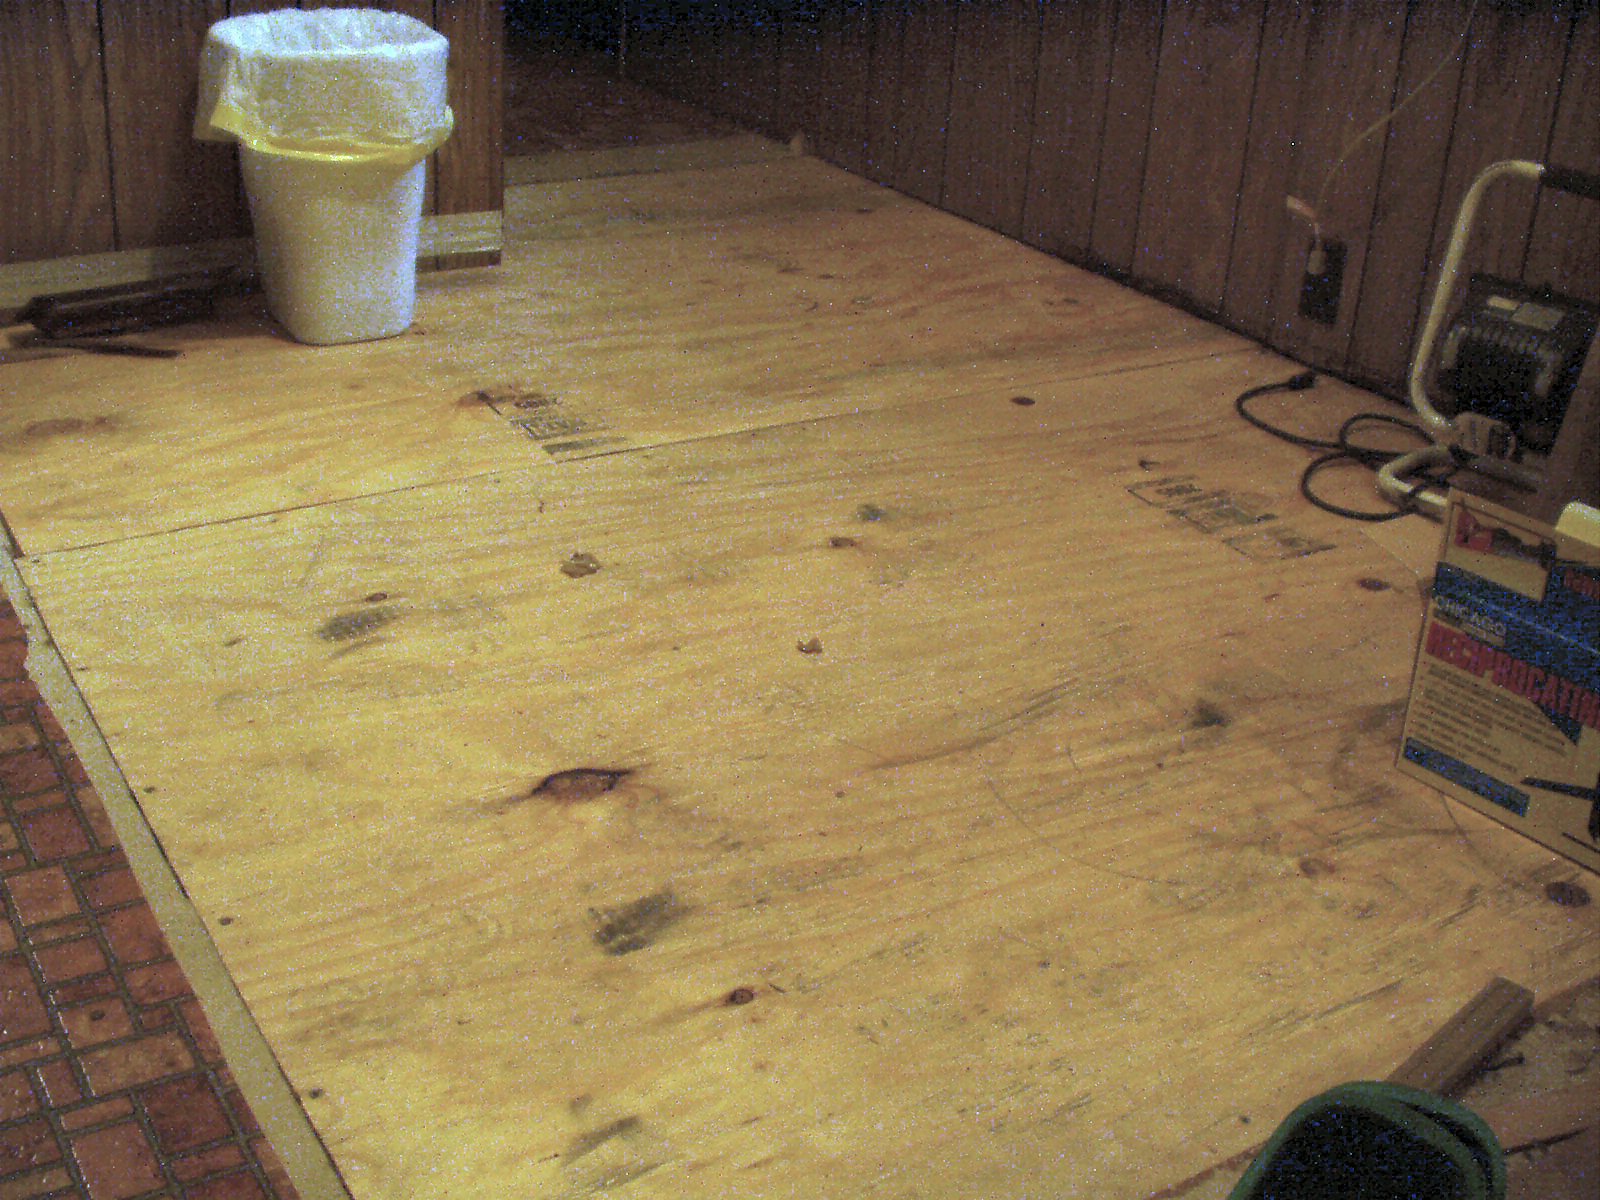
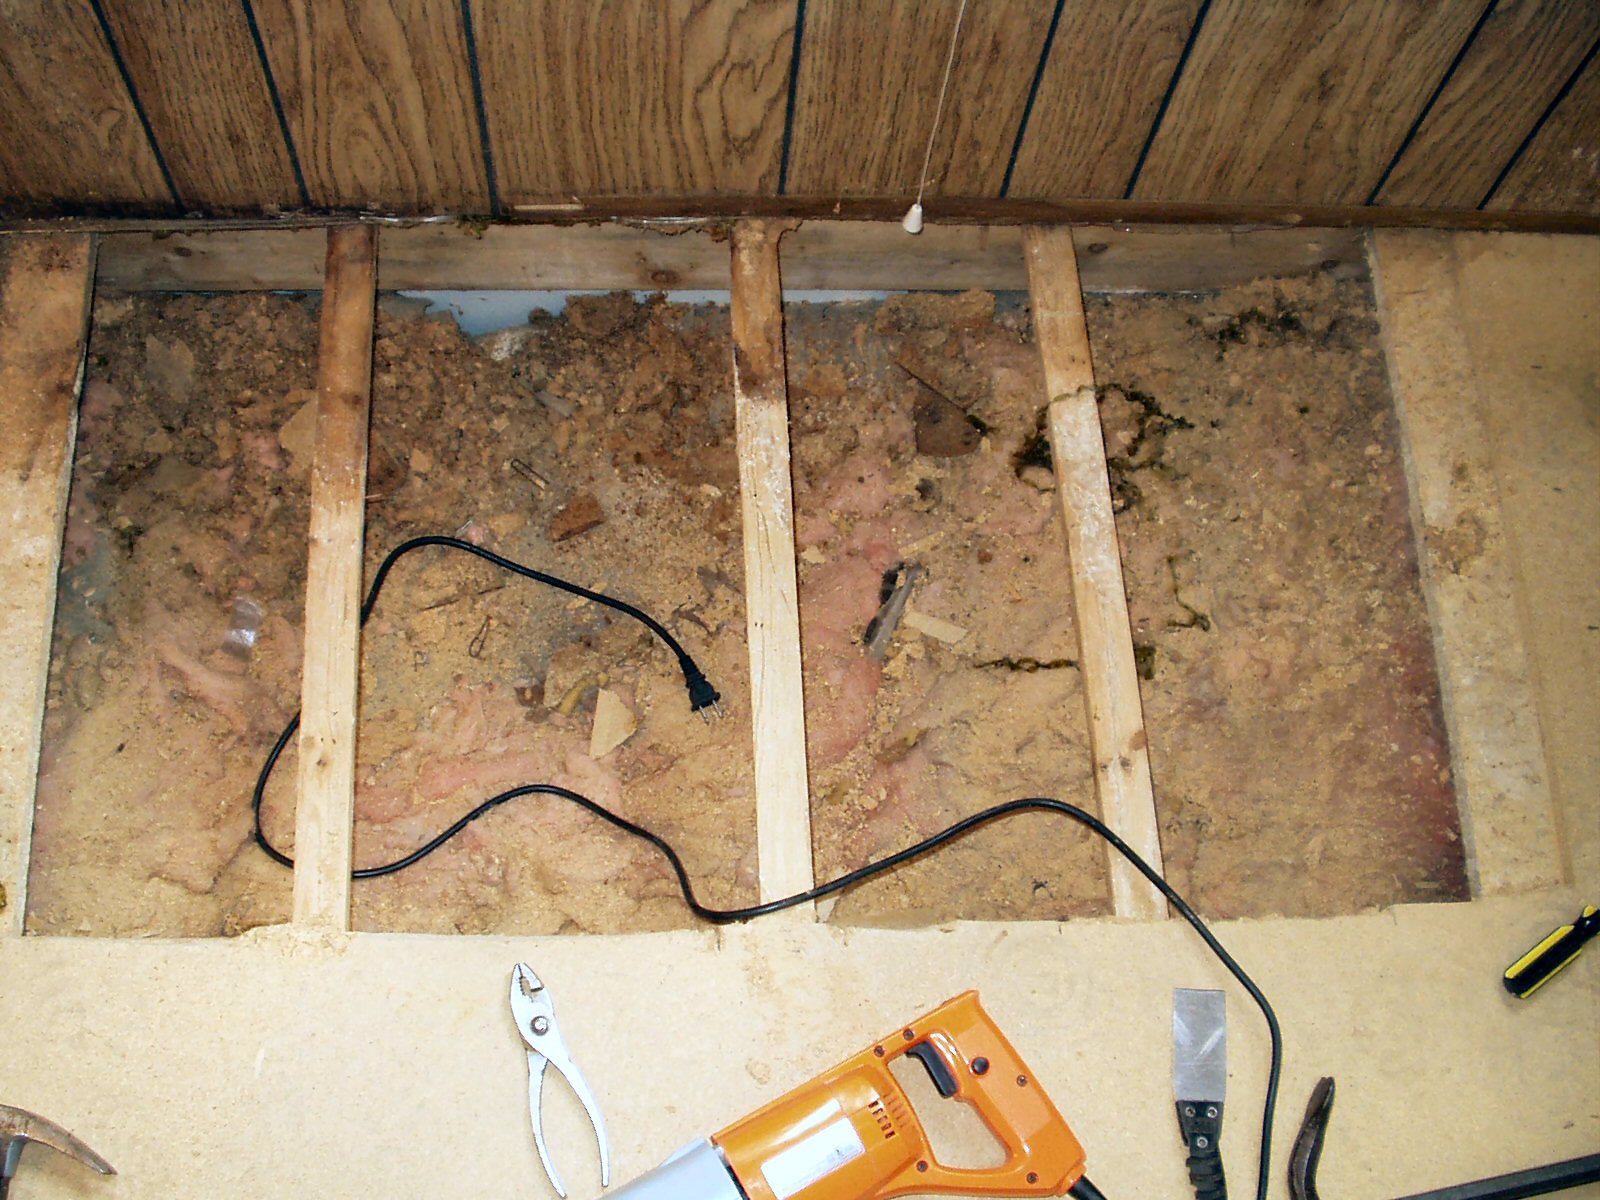
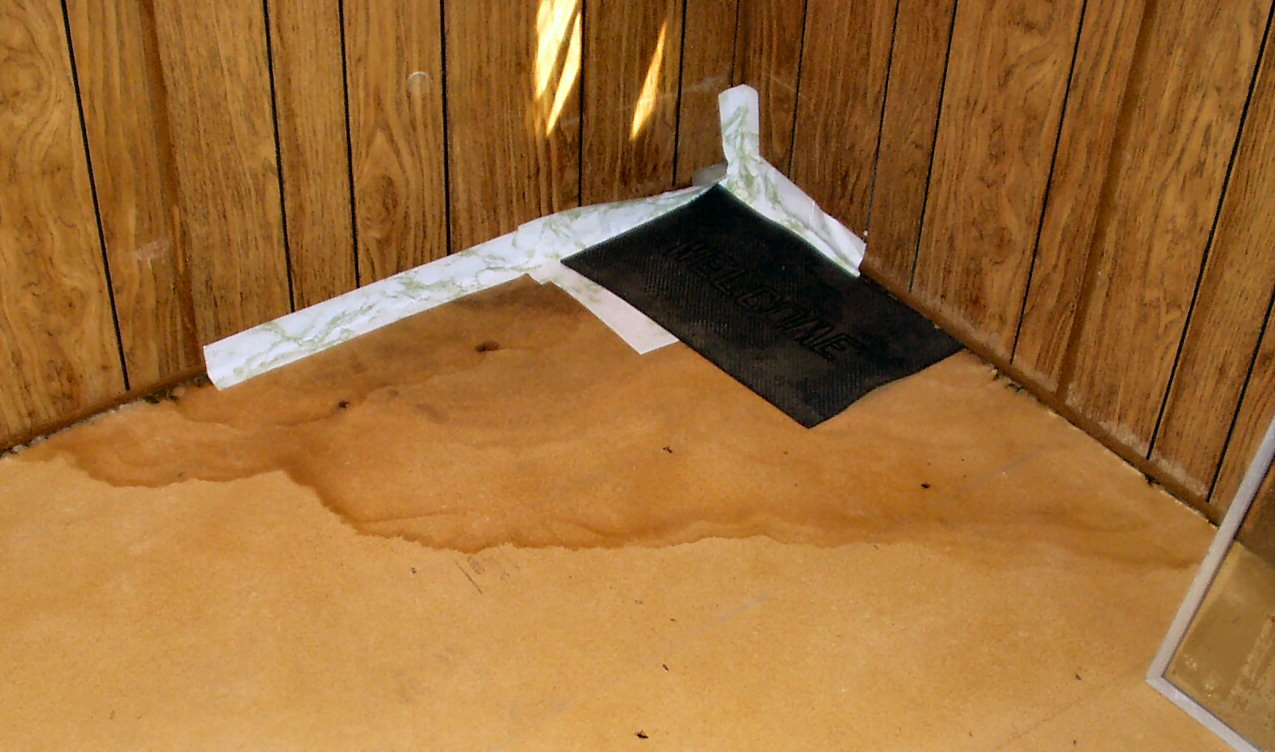
The Kitchen
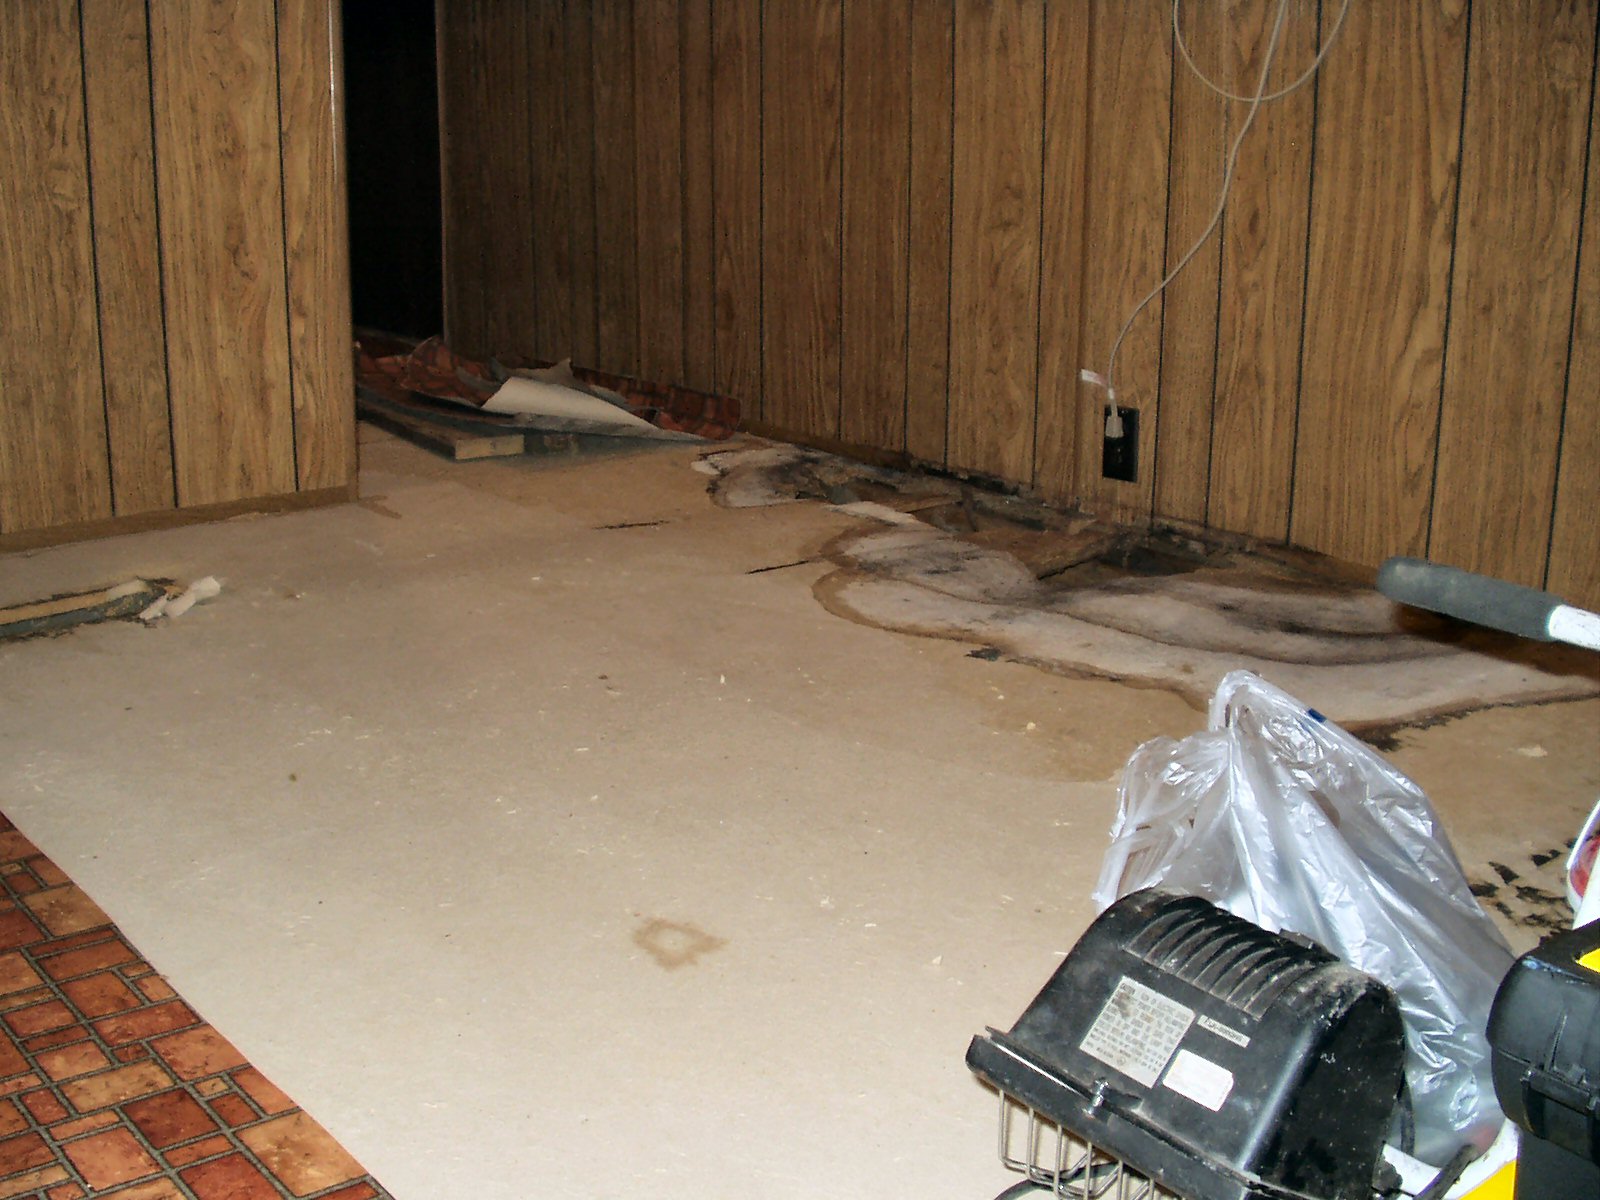
Fig. 3
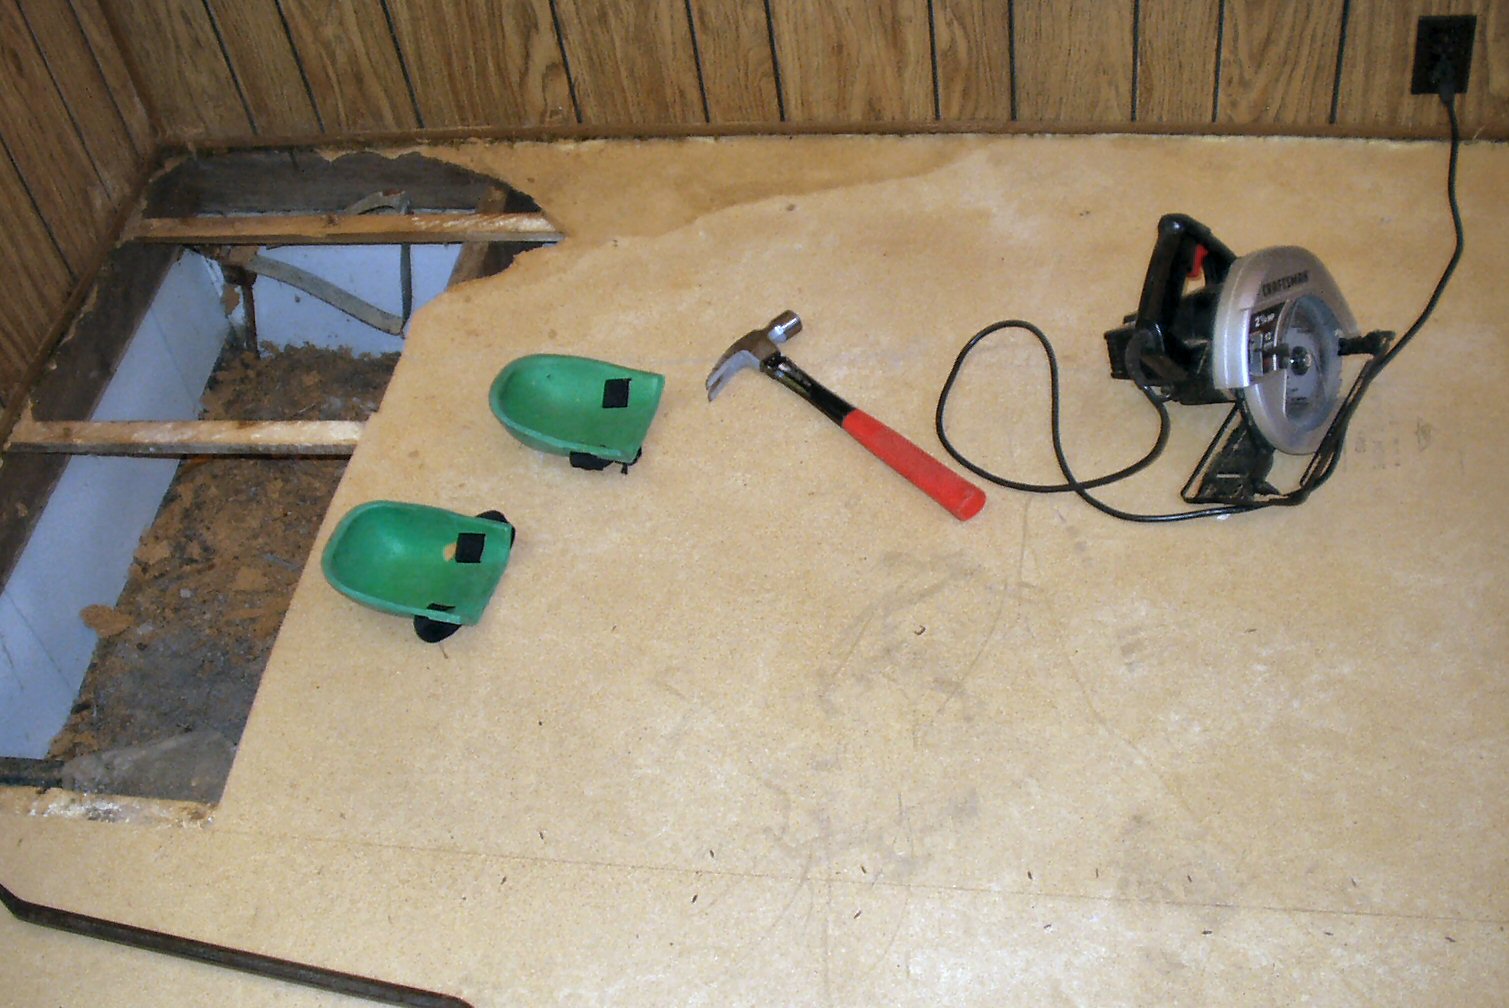
Preparing To Cut
|
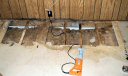
Fig. 4
Opening up the floor
|
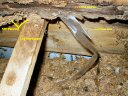
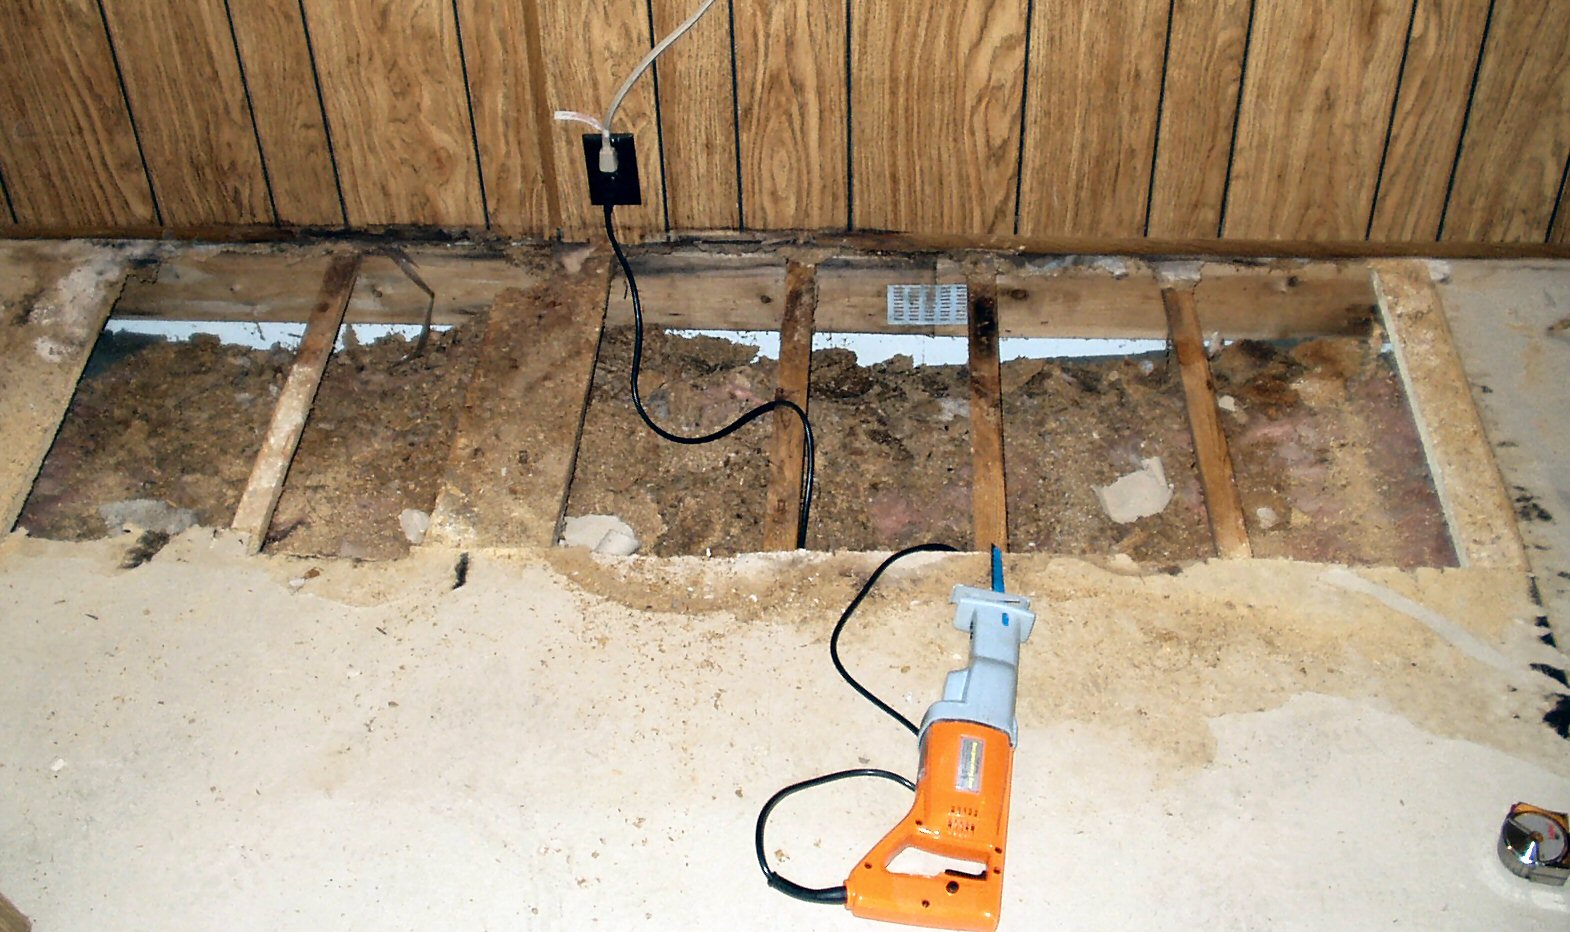
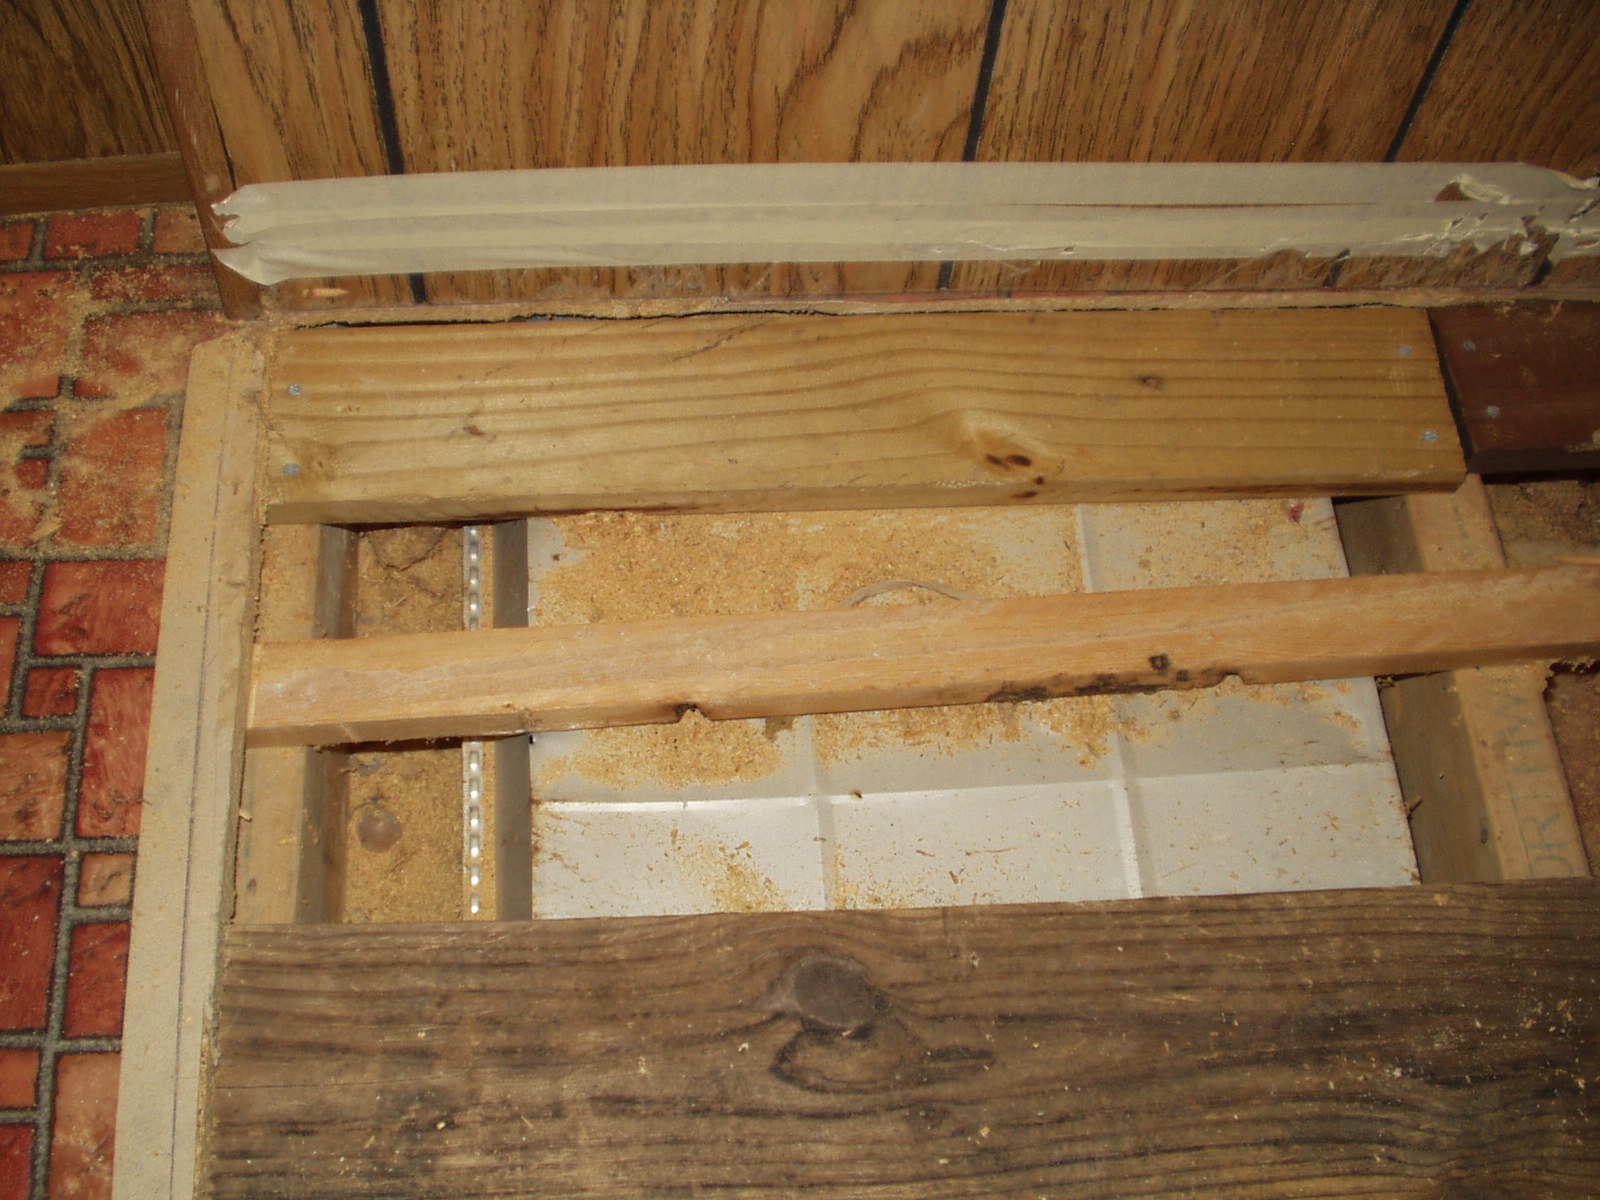
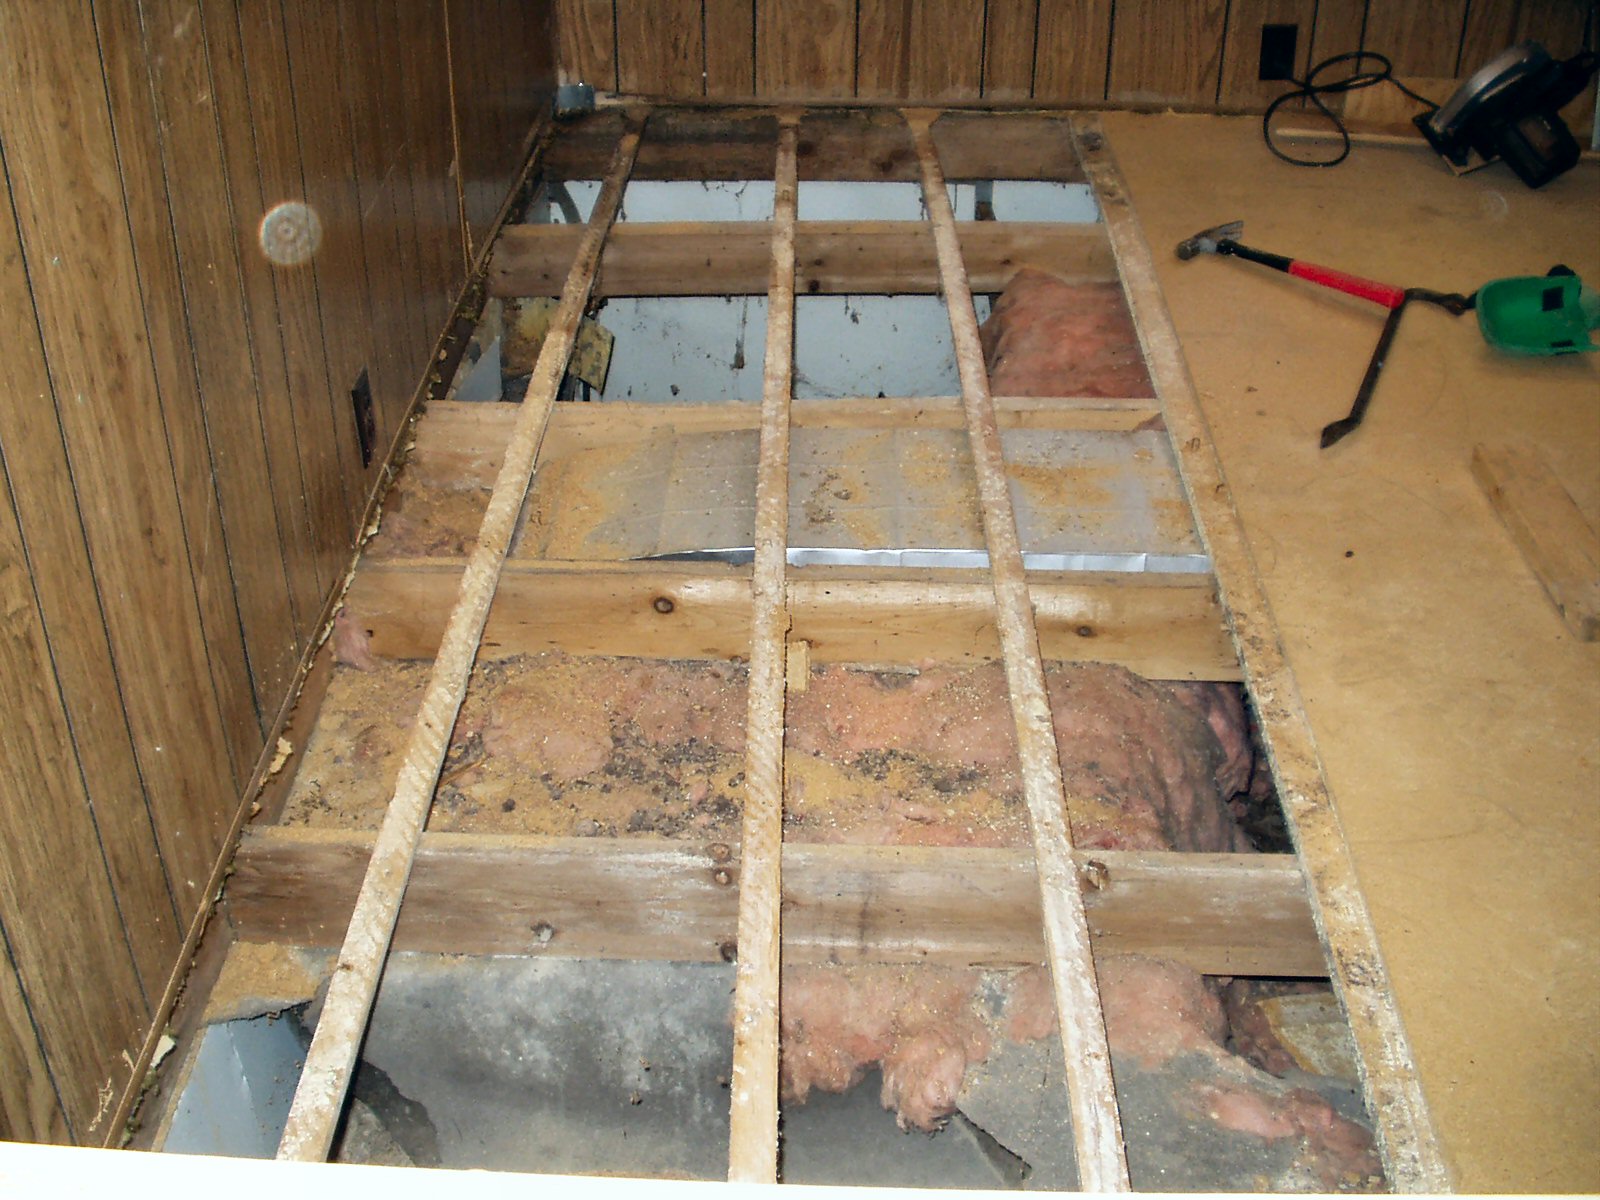
Fig 5
Floor Details 1
|
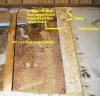
Fig. 6
Floor Details 2
|

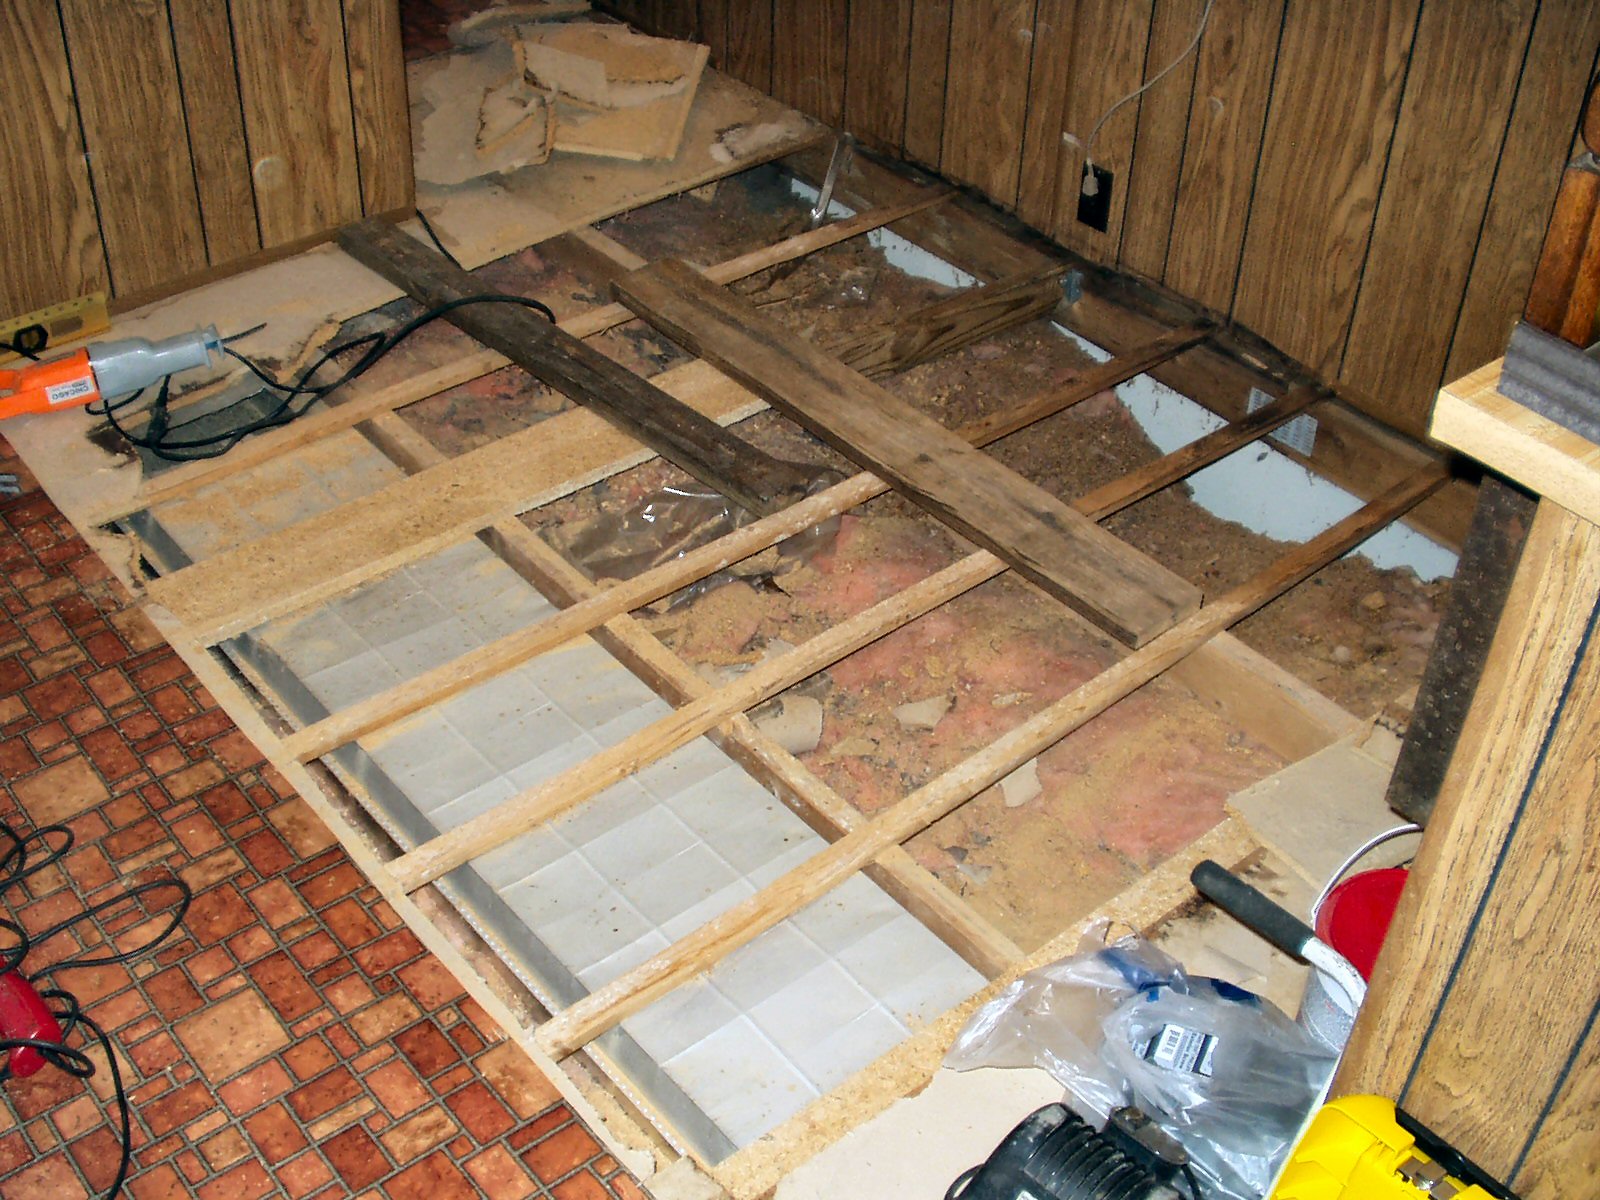
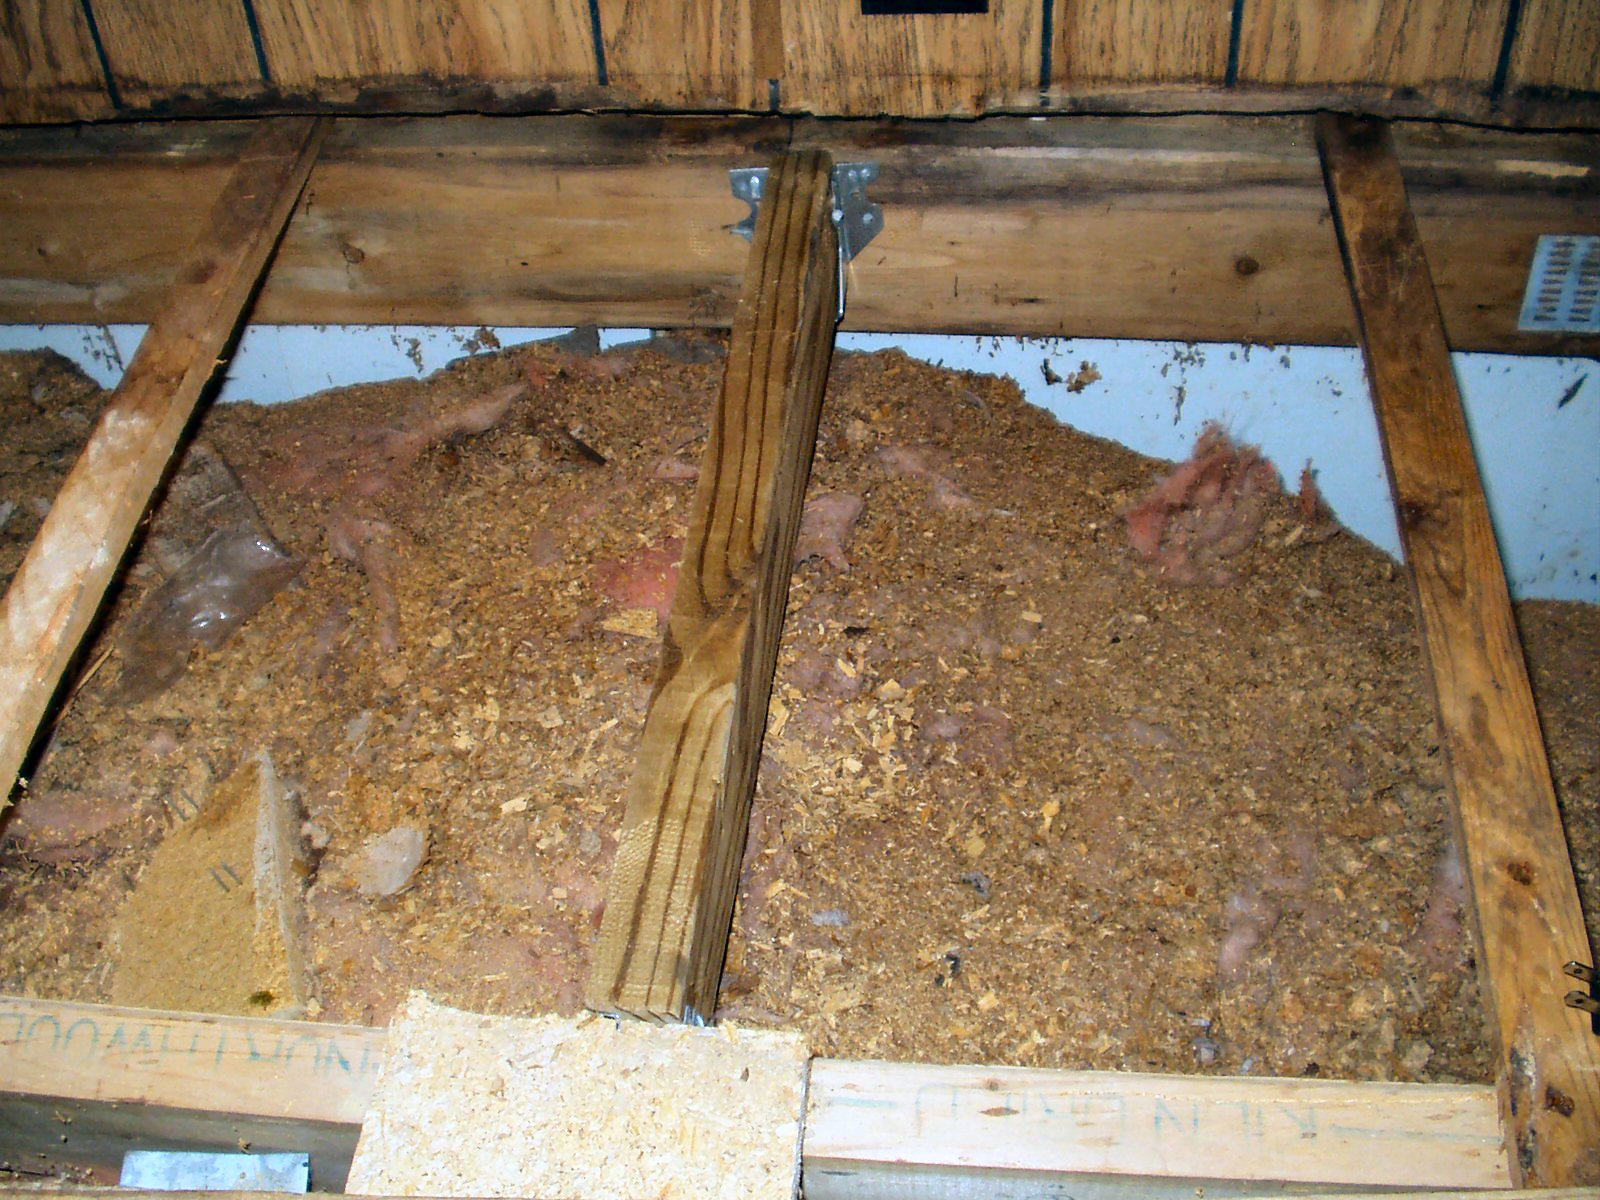
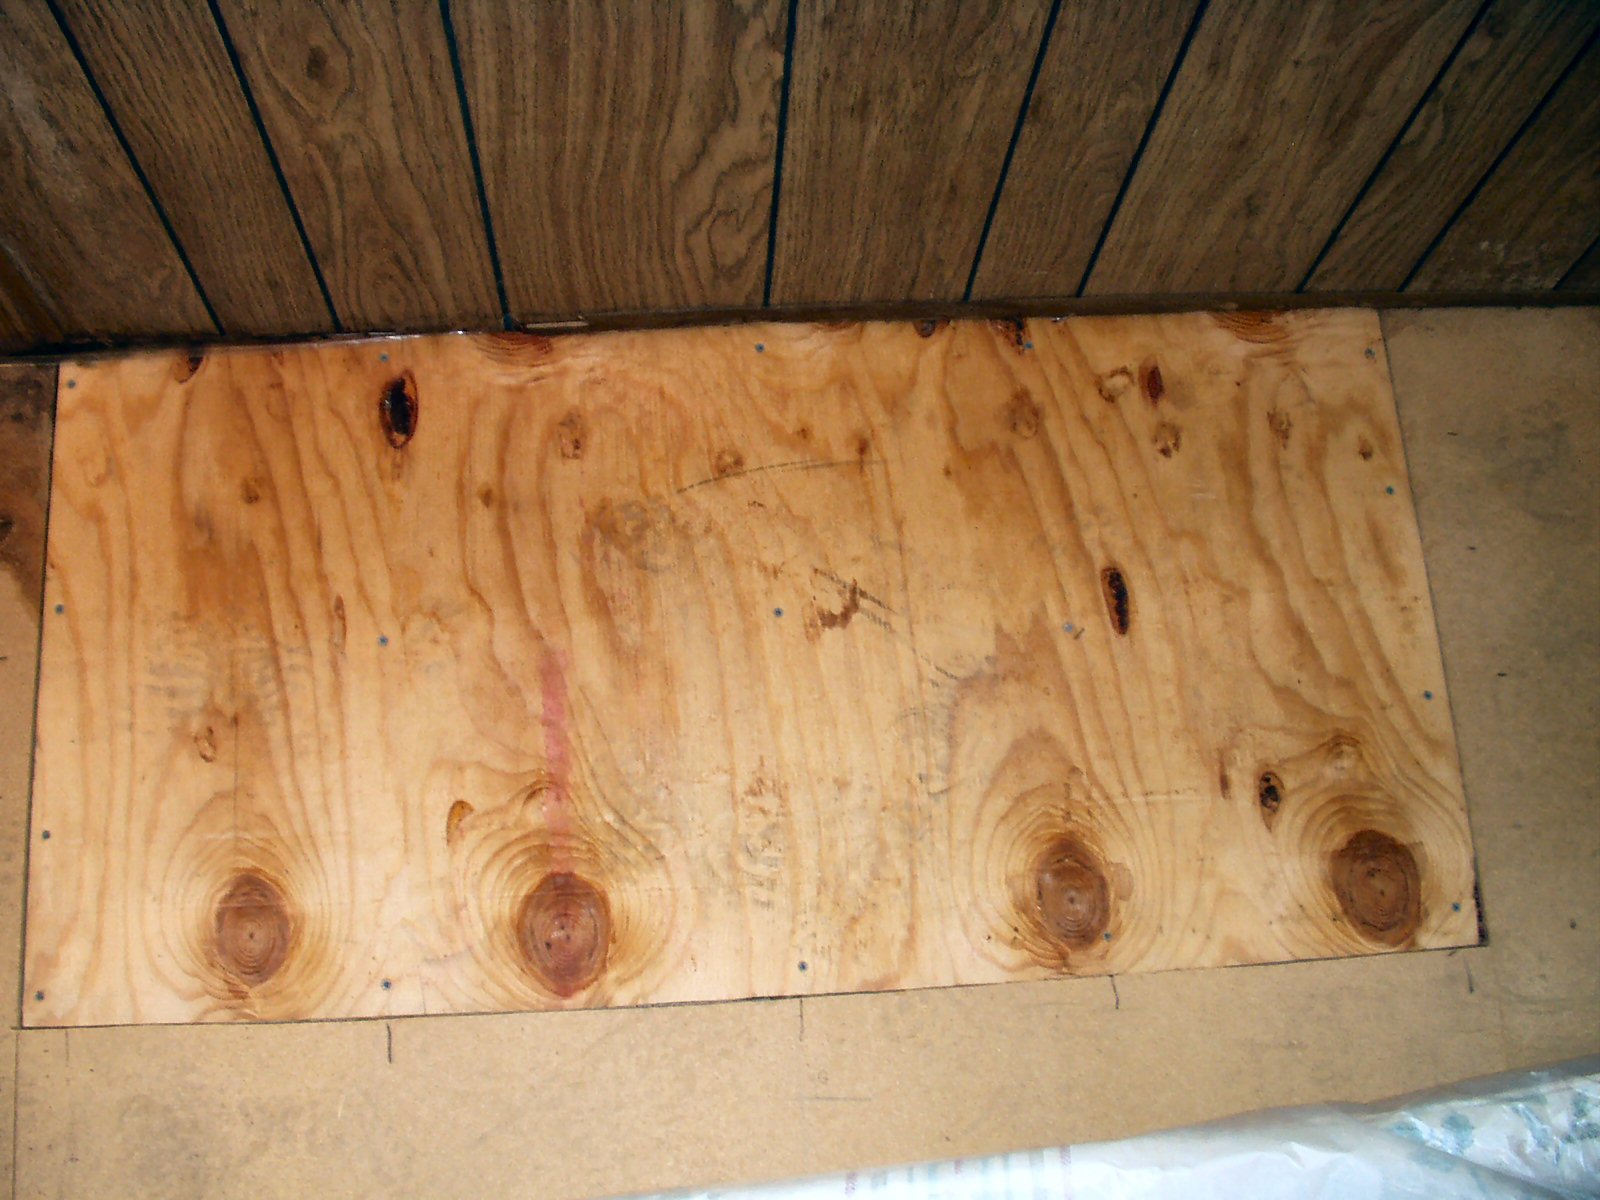
Fig. 7
All Open
|
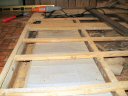
Fig. 8
Duct Detail
|
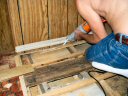
Fig. 9
Cutting Under Wall
|
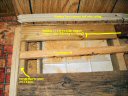
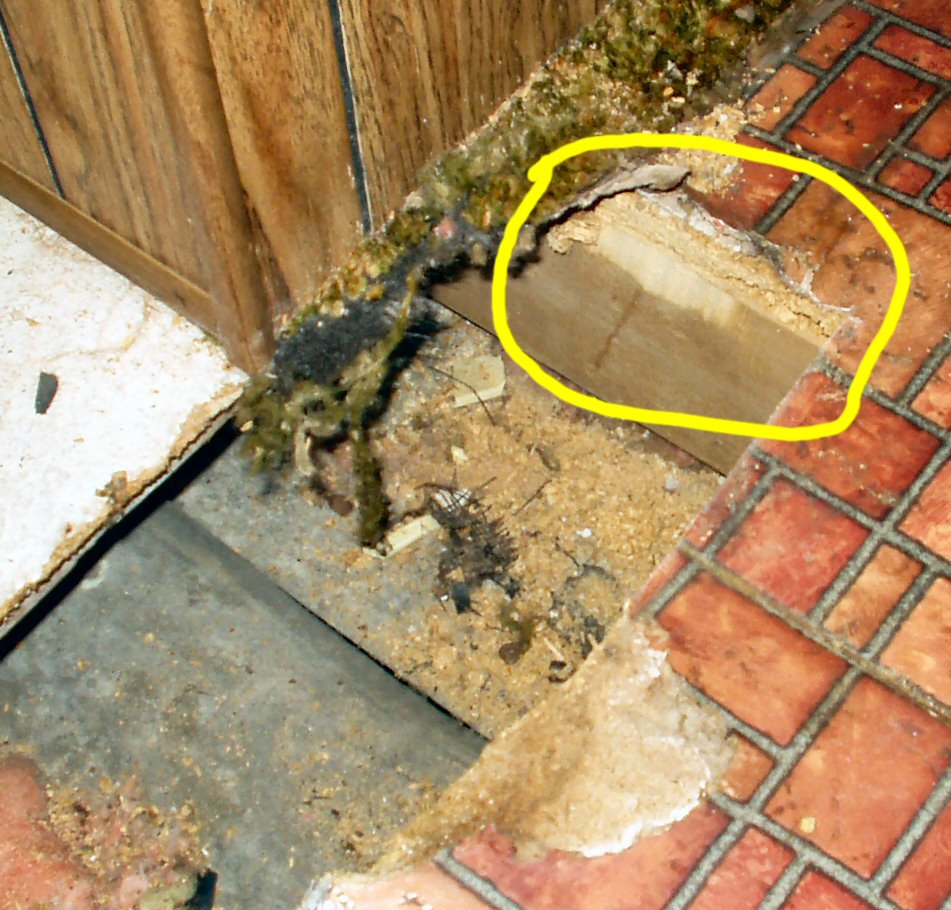
Fig. 10
Floor Edge Support Board
|
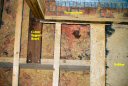
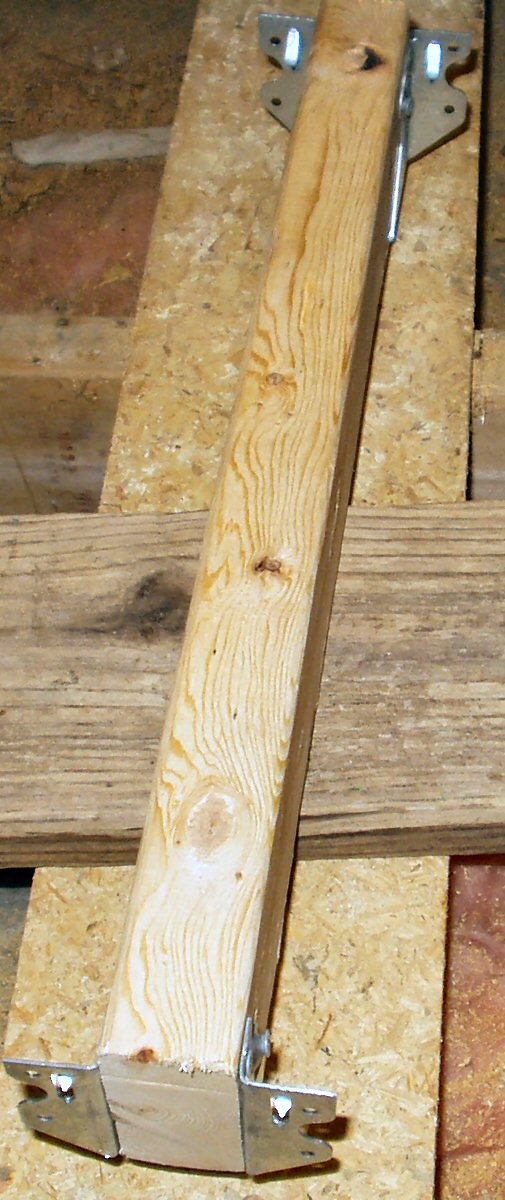
Fig. 11
Wall Corner Support |
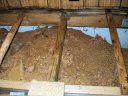
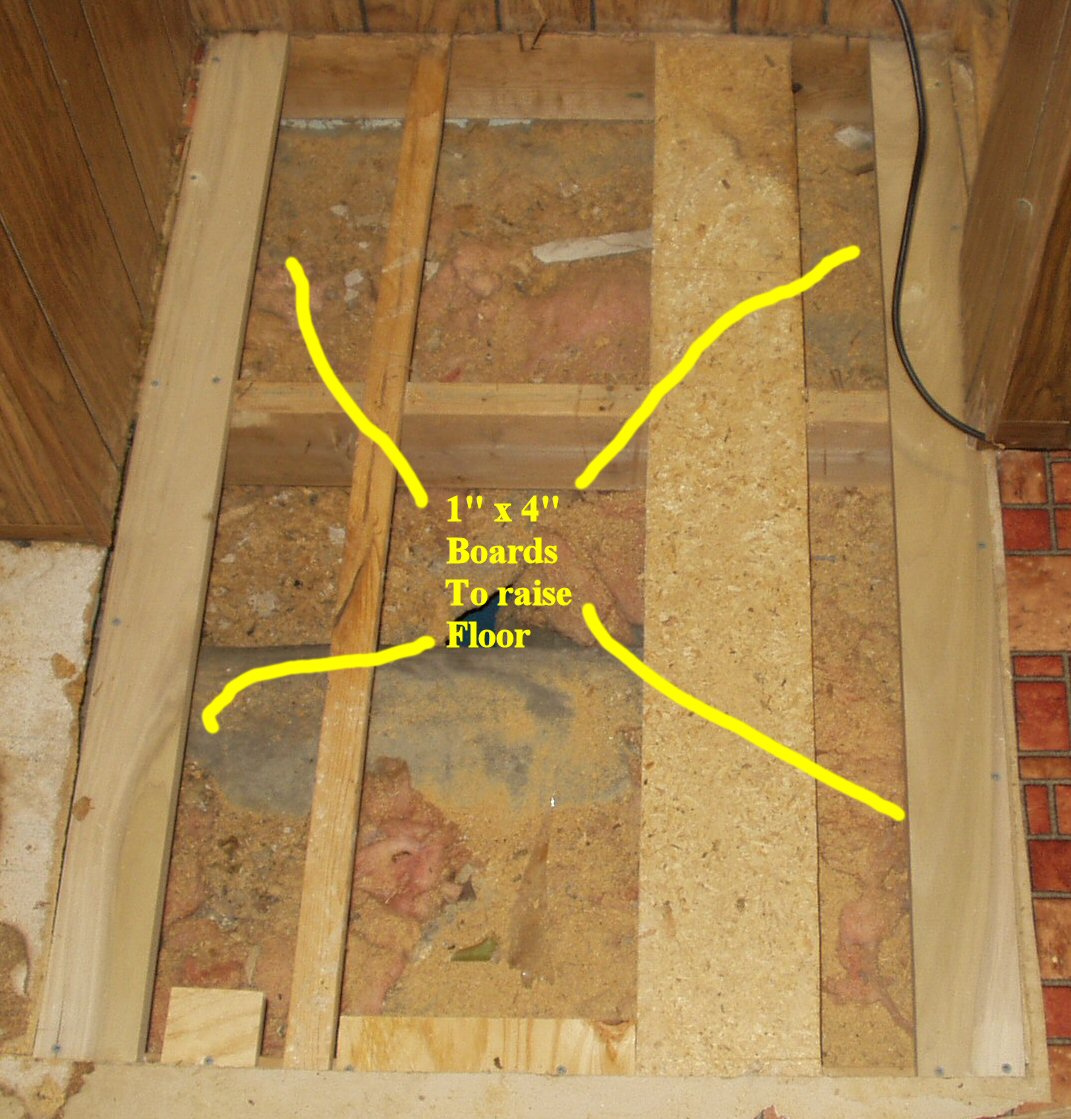
Fig. 12
Joist Repair 1 |
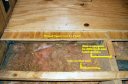
Fig. 13
Joist Repair 2 |
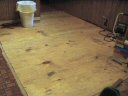
Fig. 14
All Done! |
I decided to make this page more of a 'how to
do it', than a, 'here's what I did' page. From looking around at other
sites I realize this may only apply to older single wide homes like this one.
I'll give a step by step of what I did and why I did it. It may not be the
best way or the only way but the result is a strong floor.
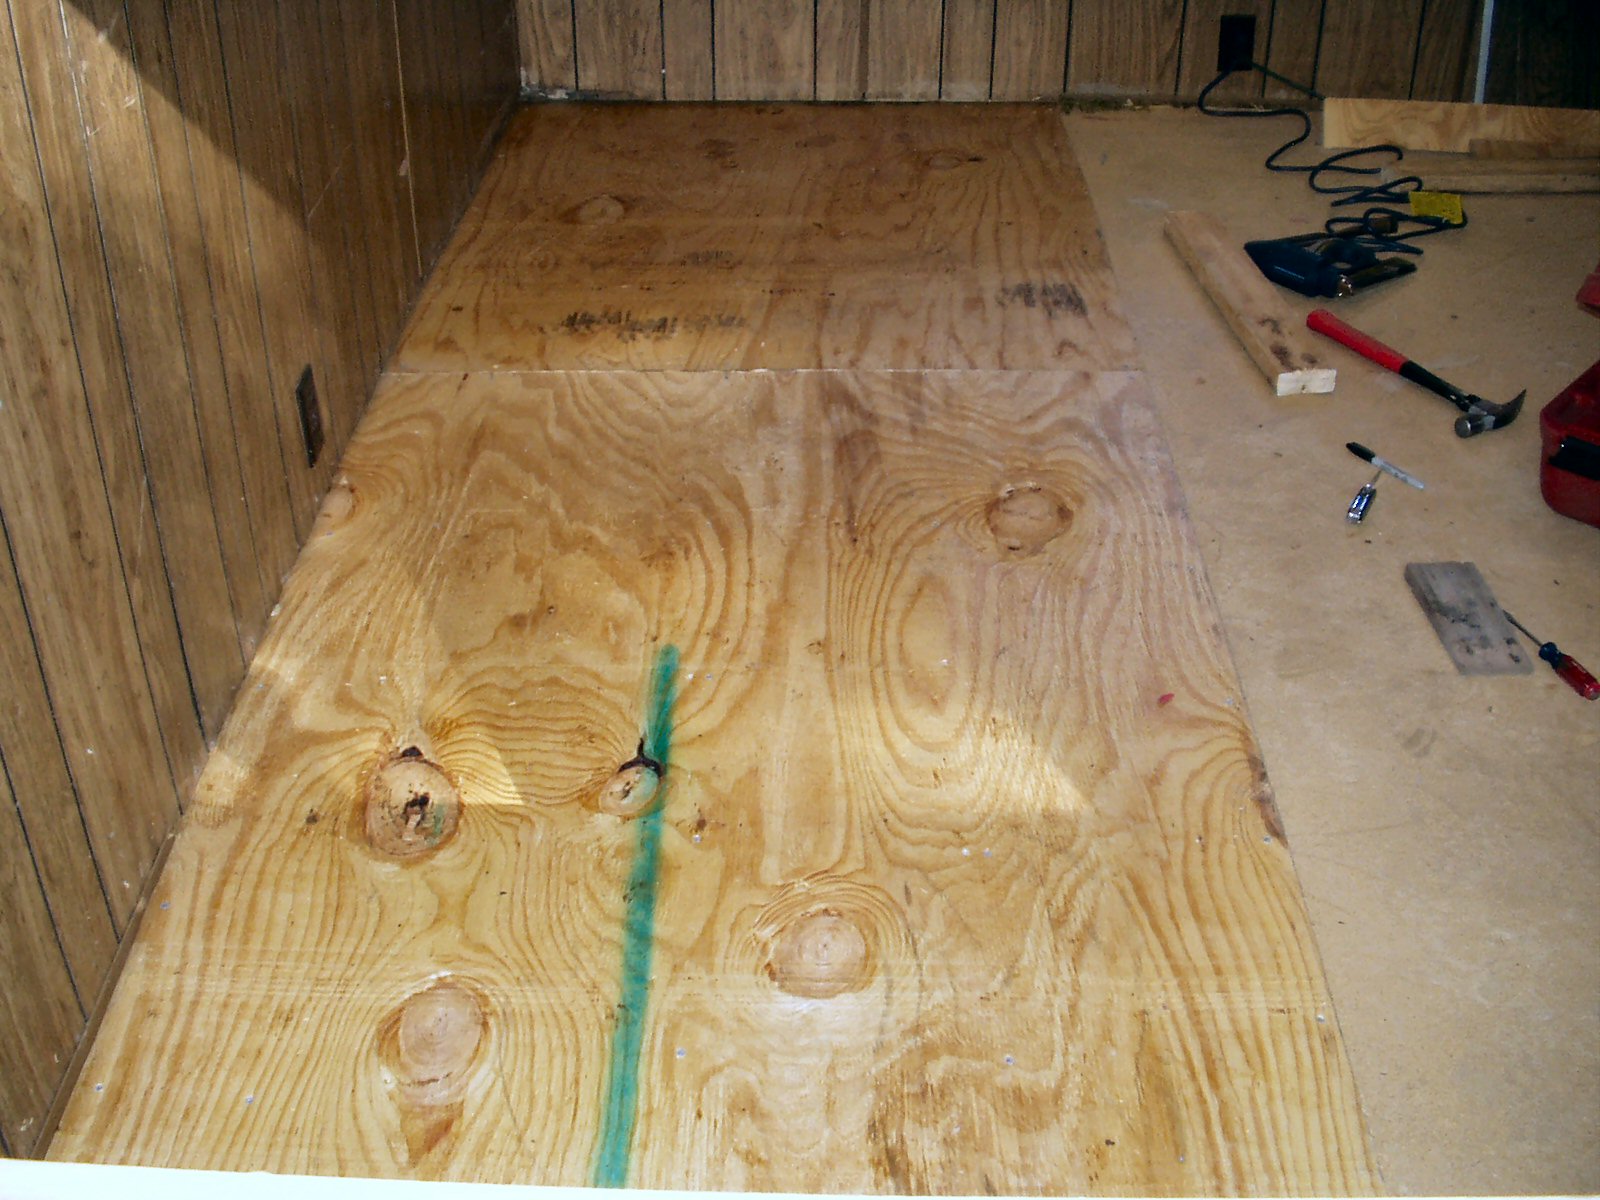
The Living Room
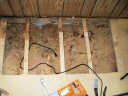
Fig. 15
Living Room Floor Repair
|

Fig. 16
Done!
|
I also fixed a smaller area in the living room
under a window. I only had to take the floor back to the first joist so it
was an easy 2 hour repair.
The Hallway

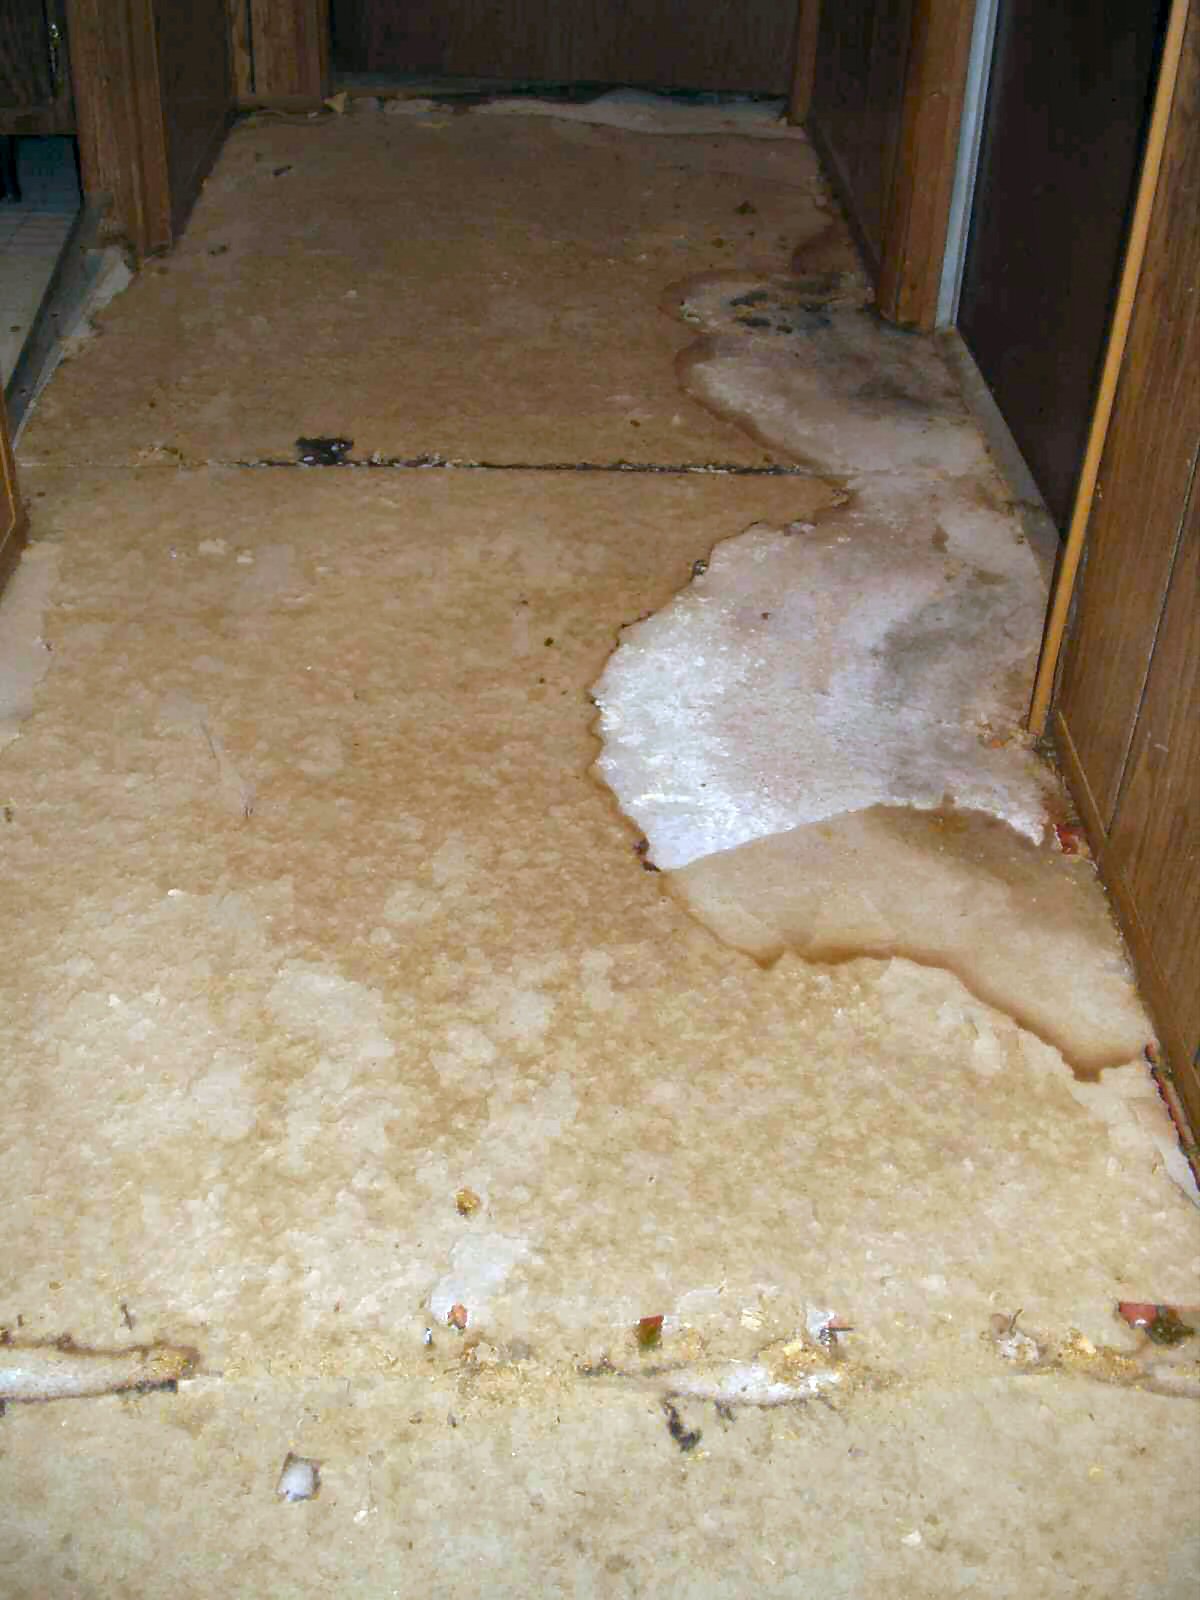
Fig. 17
Hallway Before
|

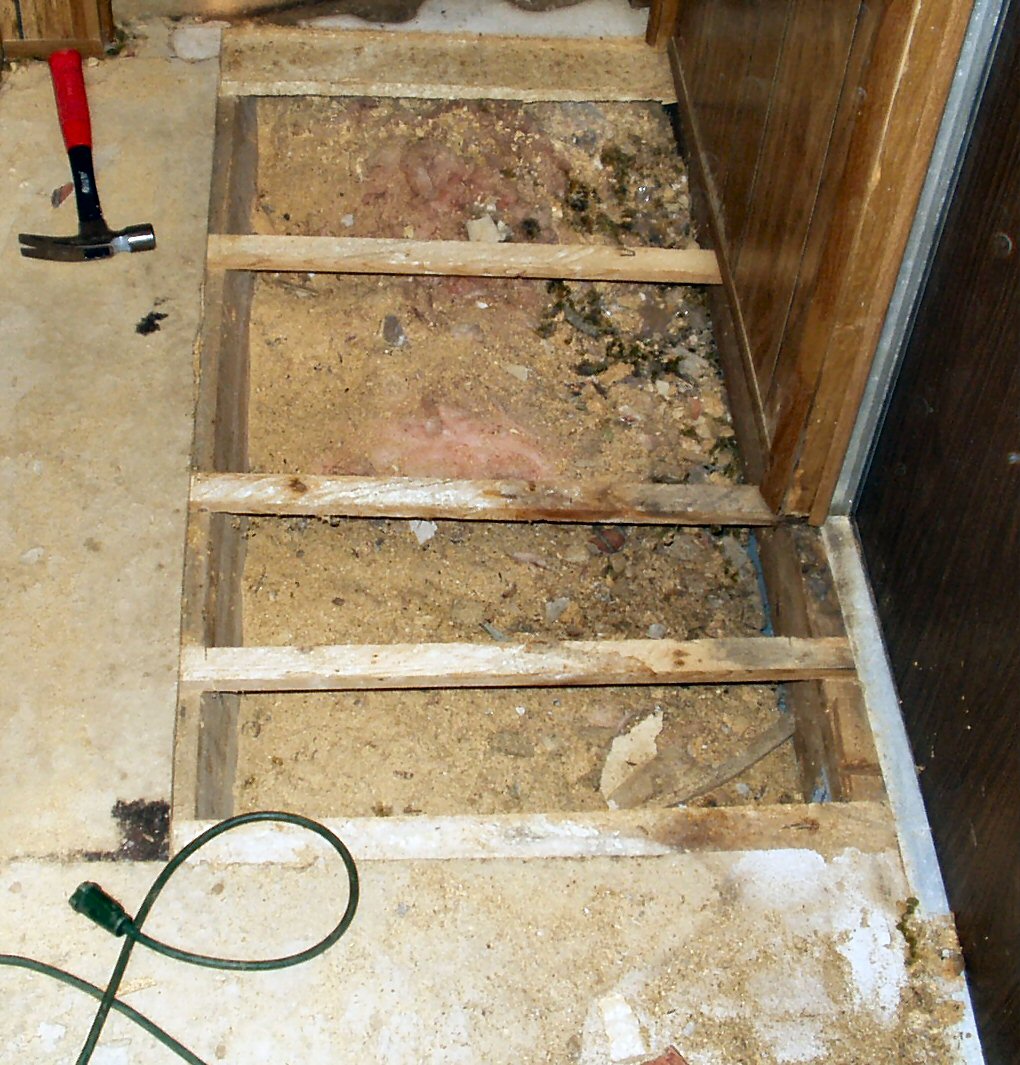
Fig. 18
First Hole
|

Fig. 19
Done!
|
The hall was also an easy fix, though it took
me about 4 hours.
The Master Bedroom
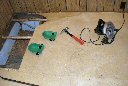
Fig. 20
Left Side Floor
|
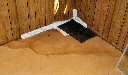
Fig. 21
Right Side Floor
|
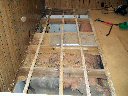
Fig. 22
All Ripped Out
|

Fig. 23
Huh?
|
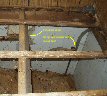
Fig. 24
I give up |
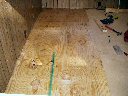
Fig. 25
Done! |
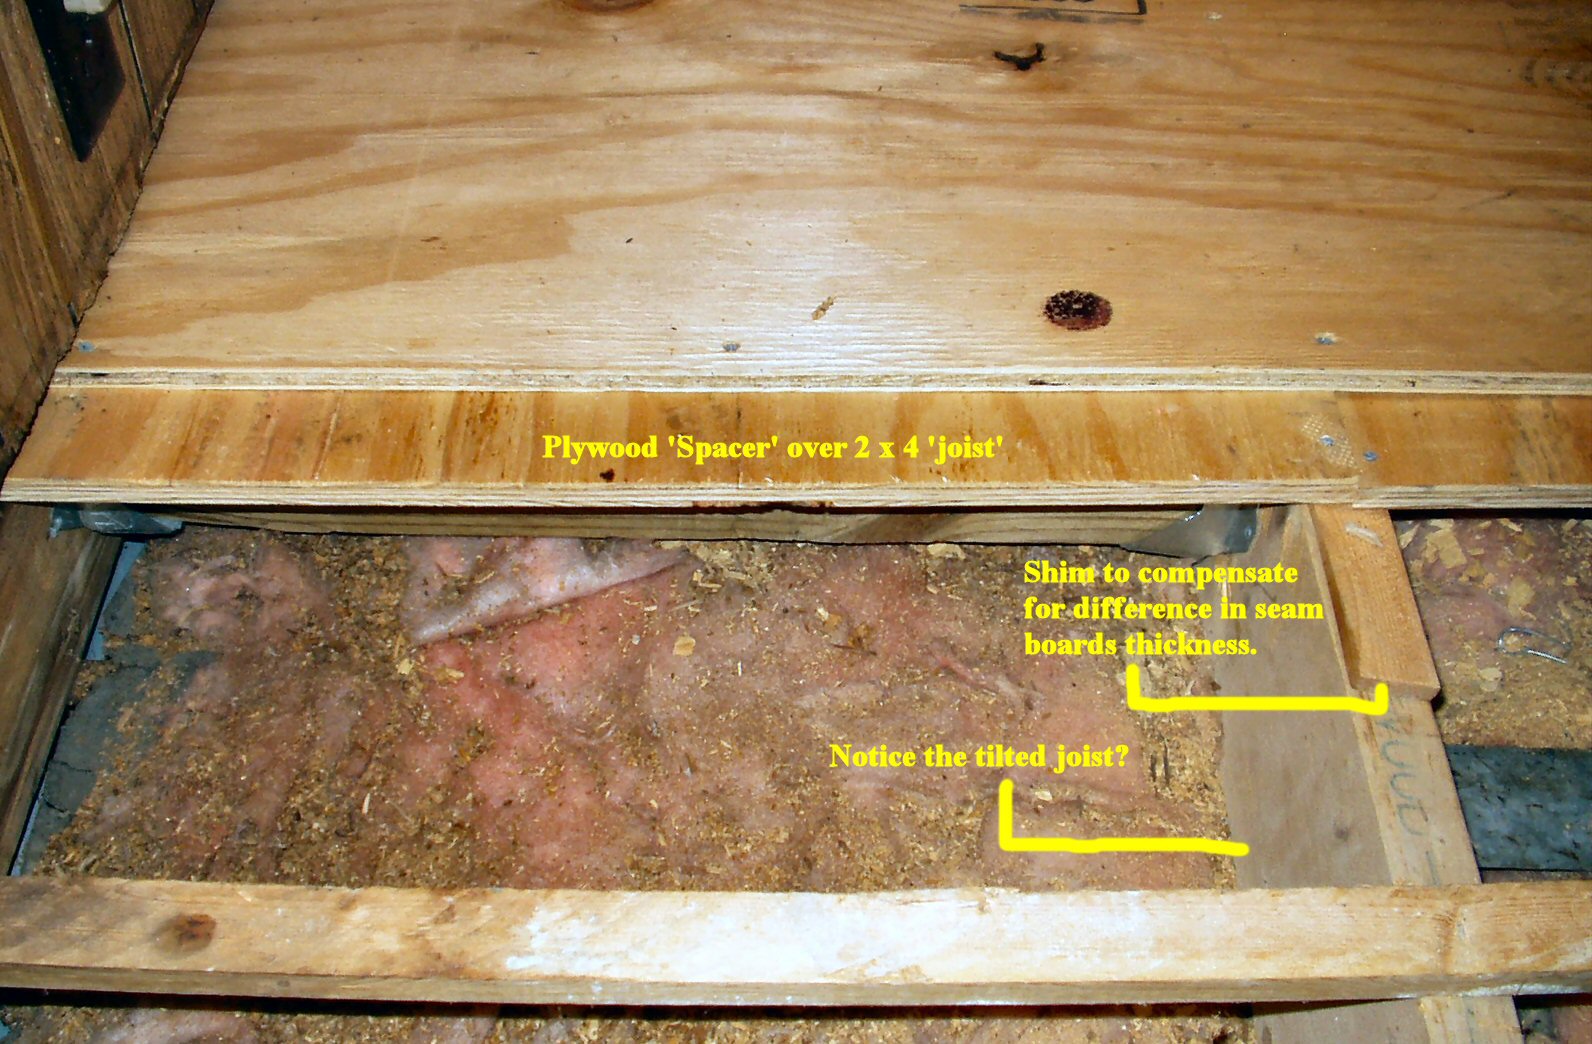
Last but not least was the master bedroom. I
started thinking I would make two separate repairs one in each corner. See
Fig. 20 and 21. Then I realized that it would be faster to just replace the
floor all the way across. Does anyone know if the floor edge 2 x 6 is supposed
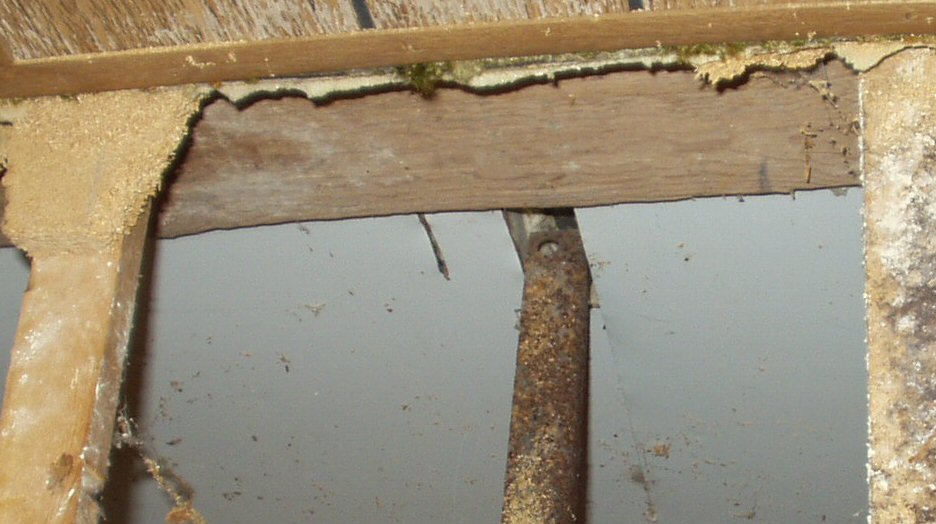
to sit on top of the out riggers? Fig 23 shows that mine do not. (It does
not on the other side either. Remember the crooked joist we found in the kitchen
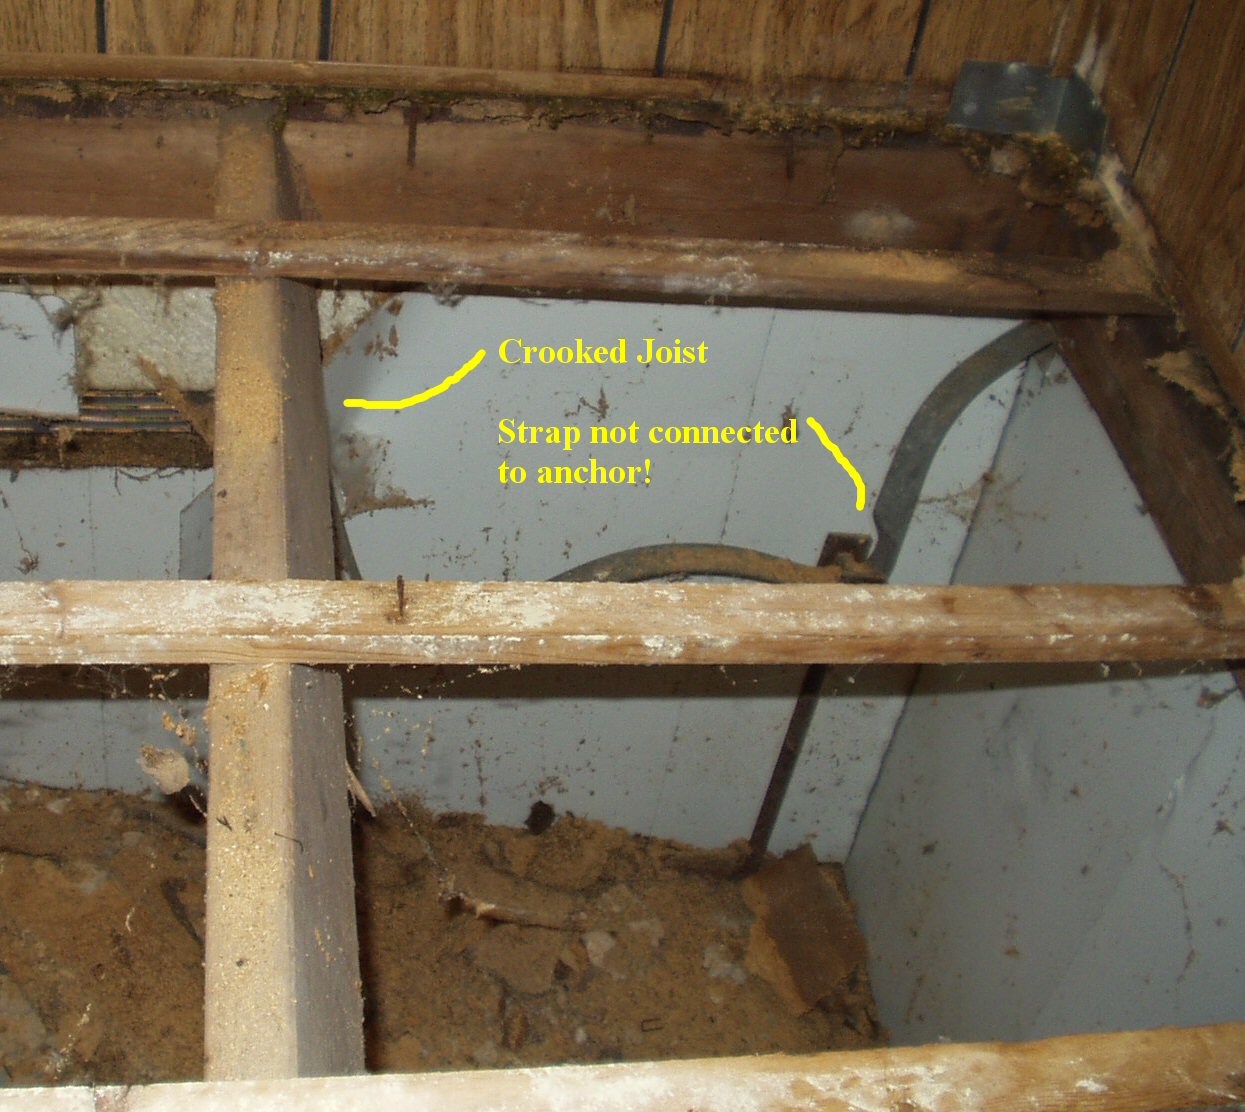
and hallway? Well it continued all the way to the end! See Fig. 24. If the
board had been straight up and down the floor would have been over 3/4"
of an inch taller there! I came to the conclusion that the welder welded the
out riggers too high on the frame on this side and they had to turn the joist
at an angle to prevent the floor from being higher than it already was. Would
have been a better repair to plane the joist down.
Fig. 24 also shows the tie down straps were not
tightened! I looked under the home and sure enough, even though they took
the time to drive the anchors into the ground NOT ONE of them was tightned!
When I put the plastic under the floor I will tighten them all...
Well this concludes the floor repair on the home.