The Living Room
Page last updated 10-25-2005
Fig. 1 Before we cleaned |
Fig. 2 During cleaning |
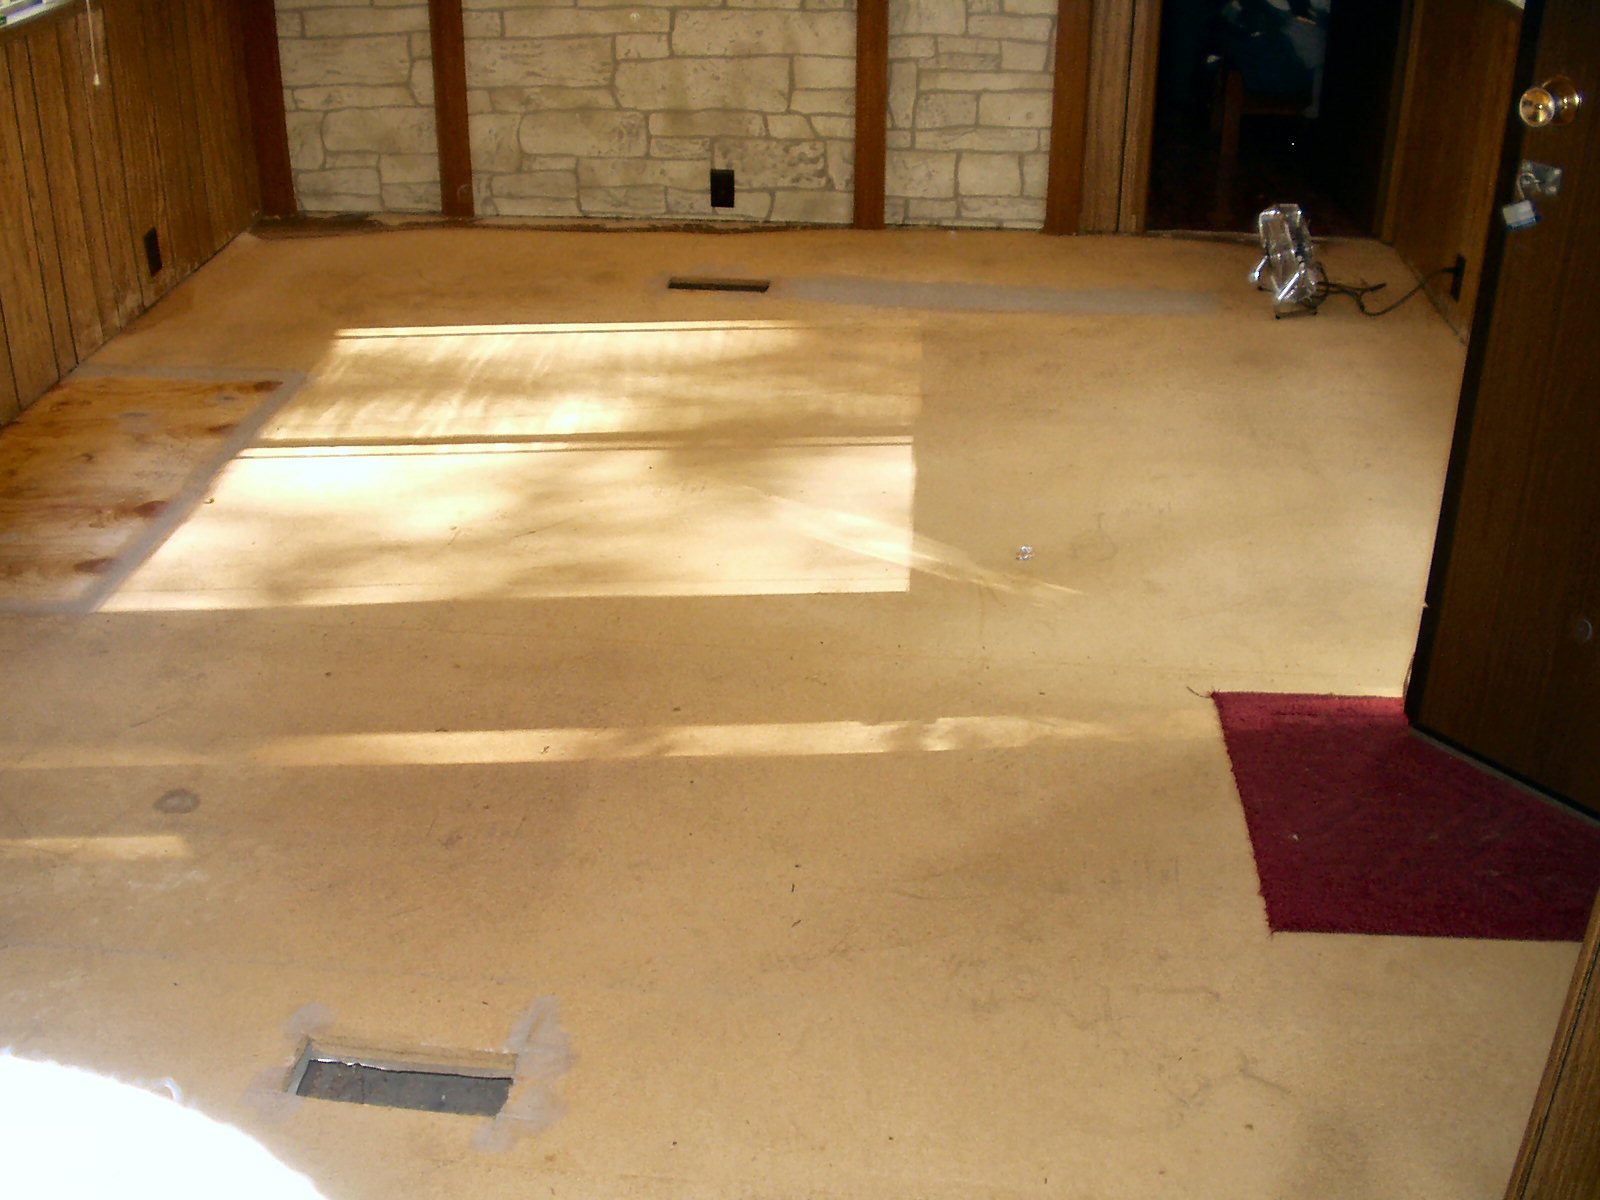
Fig. 3 More cleaning |
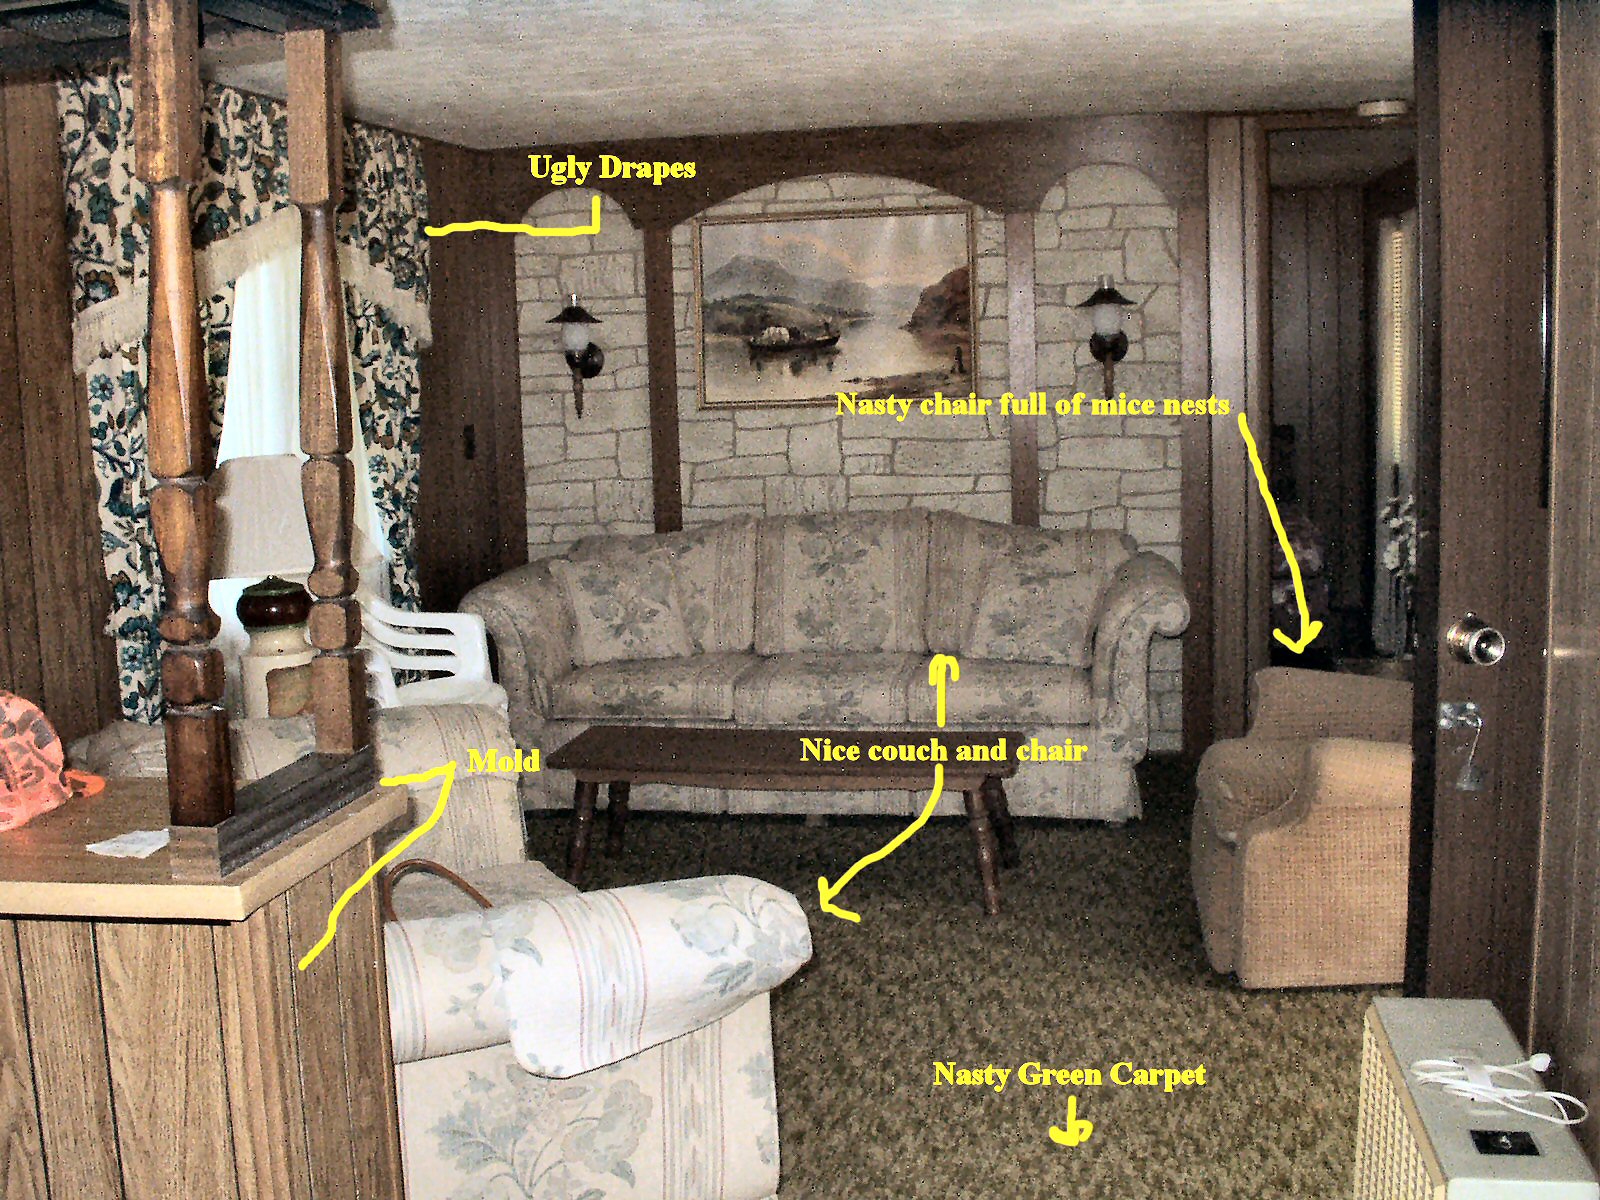
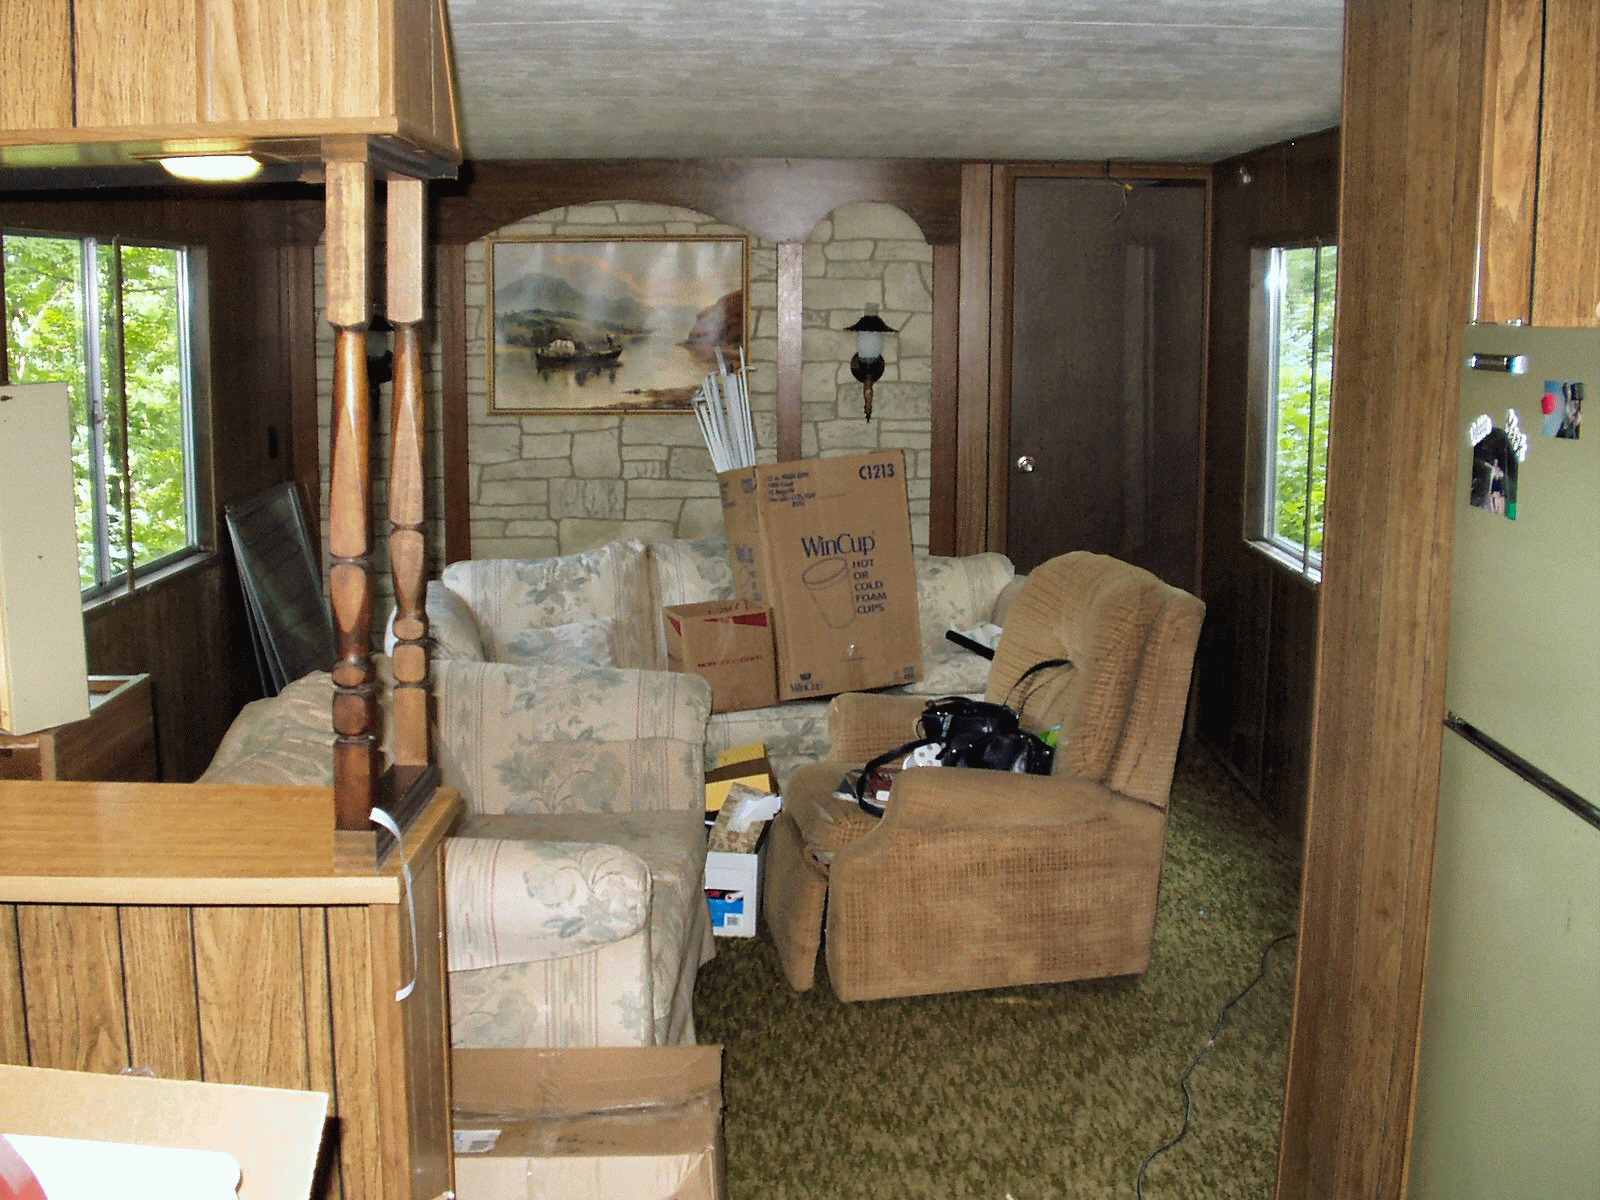

The living room was a little 'dated' in appearance so we changed a few things. Over the last few weeks we ripped out the old carpet, took down those hideous drapes, installed mini blinds, burned the old recliner and fixed the floor.
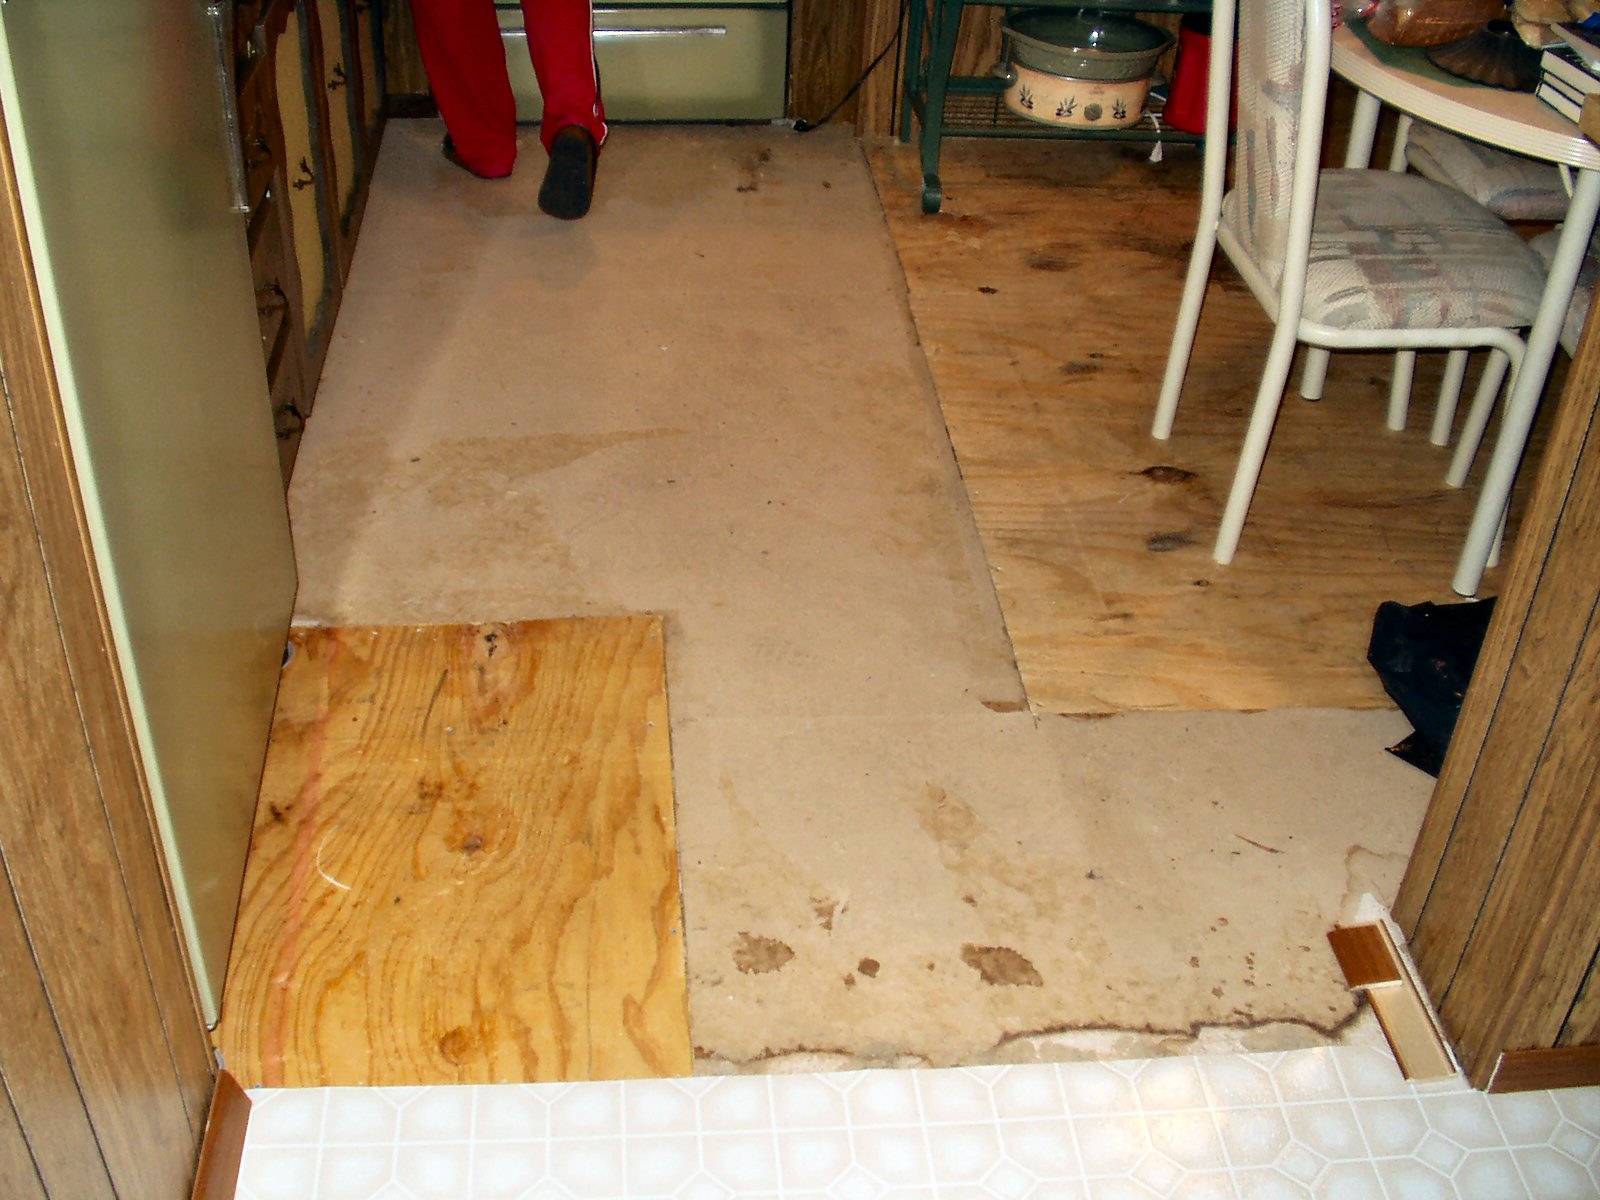
After moving out everything in the room we were ready to try our hand at putting down vinyl flooring. First I used floor leveling compound to fill in all the holes and cracks around the plywood repair and the vents. This stuff takes 6 HOURS to dry so be warned! While that was drying I removed all the tiny 1" baseboard using a putty knife. We bought 3" to replace it. Since I had plenty of time I went ahead and measured and cut the new trim. It was set aside for later installation. Note: You will have to trim the paneling seam trim to accommodate the new 3" baseboard. I used a sharp razor knife for this. The empty prepped room is shown in Fig. 4.
Laying the New Vinyl Flooring
Fig. 4 Floor: Repaired and bare |
Fig. 5 Ready to Trim |
Fig. 6 Seam area |
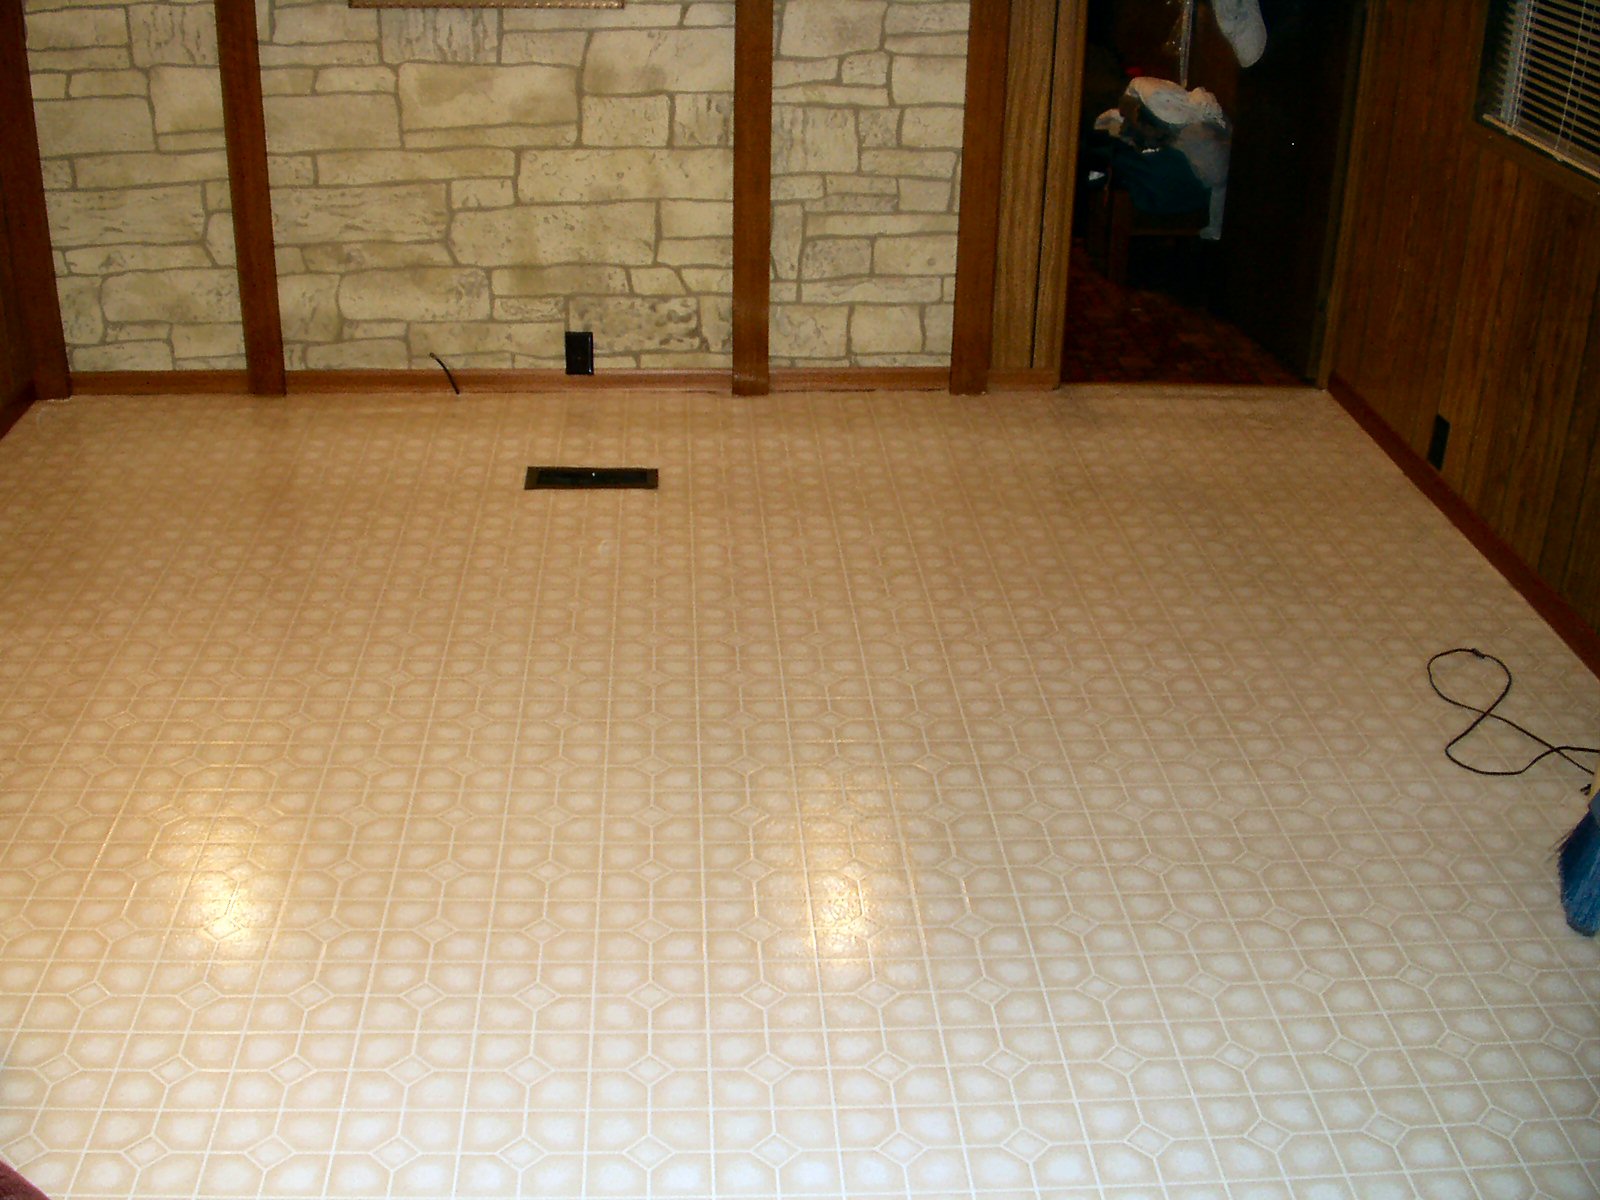
Fig. 7 Living room Done! |
Fig. 8 Furniture back in |
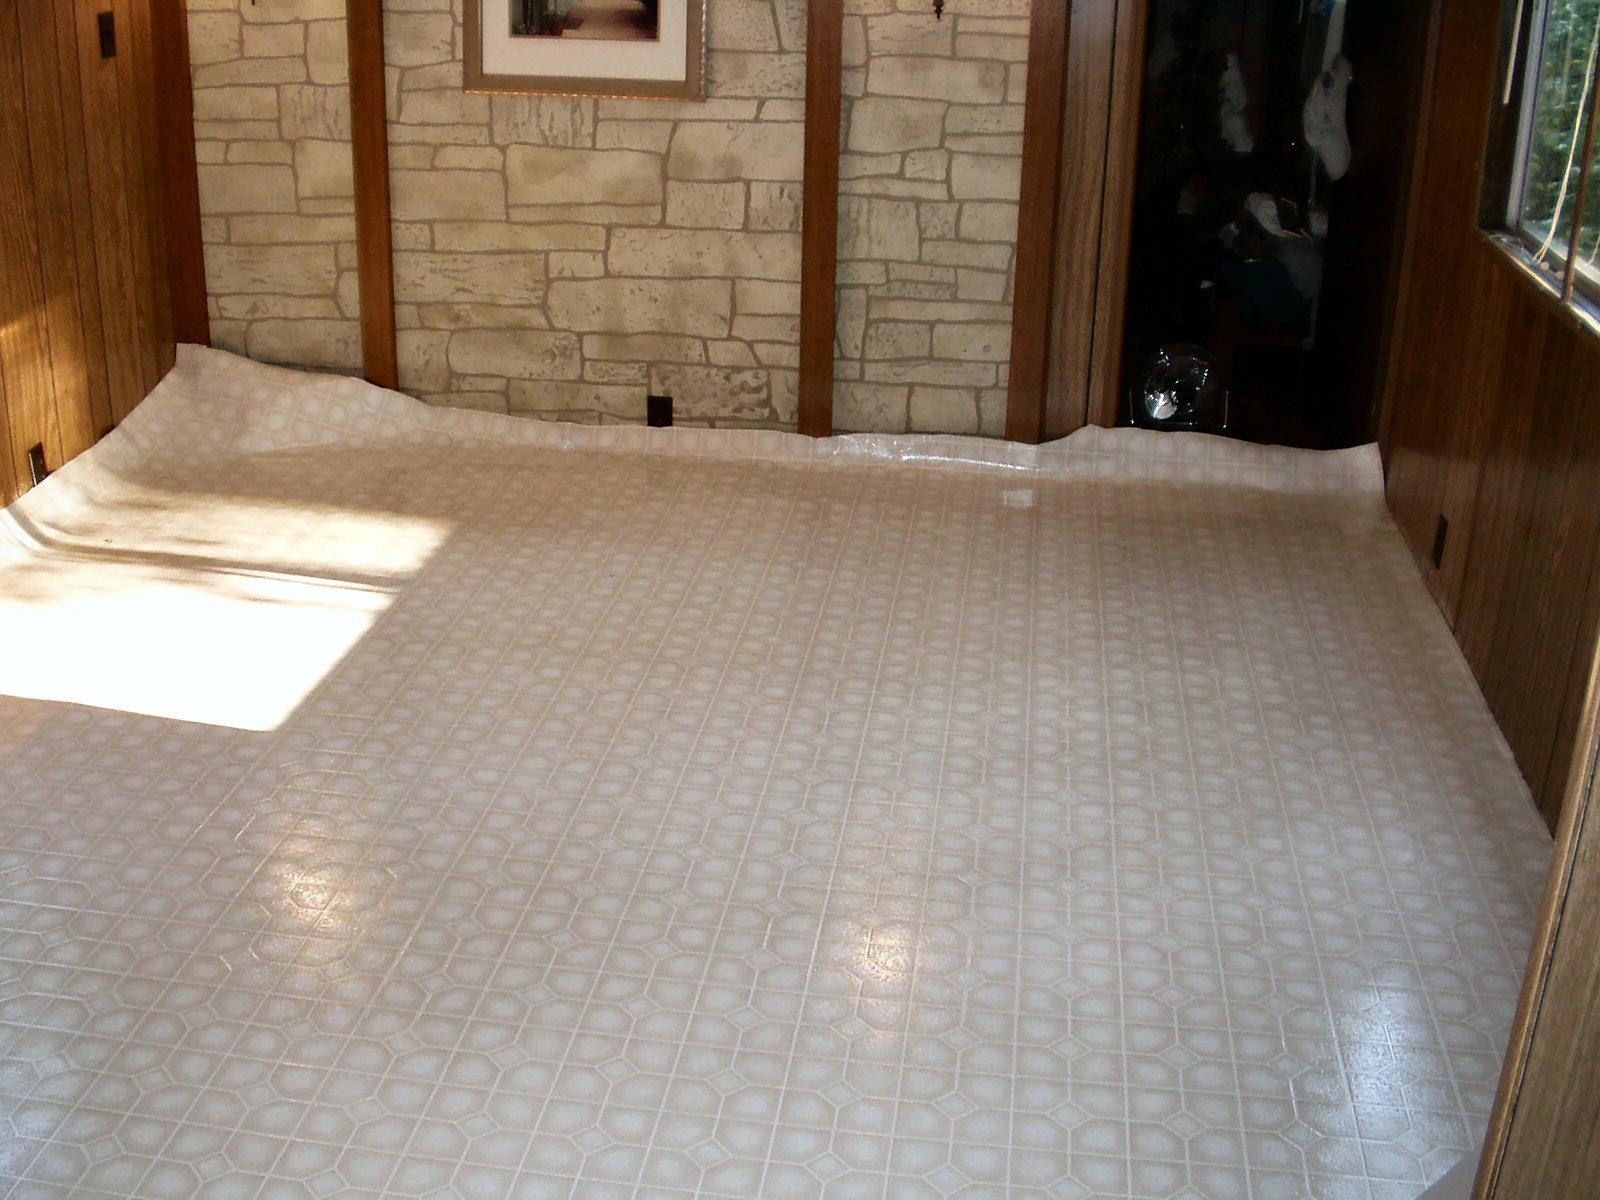
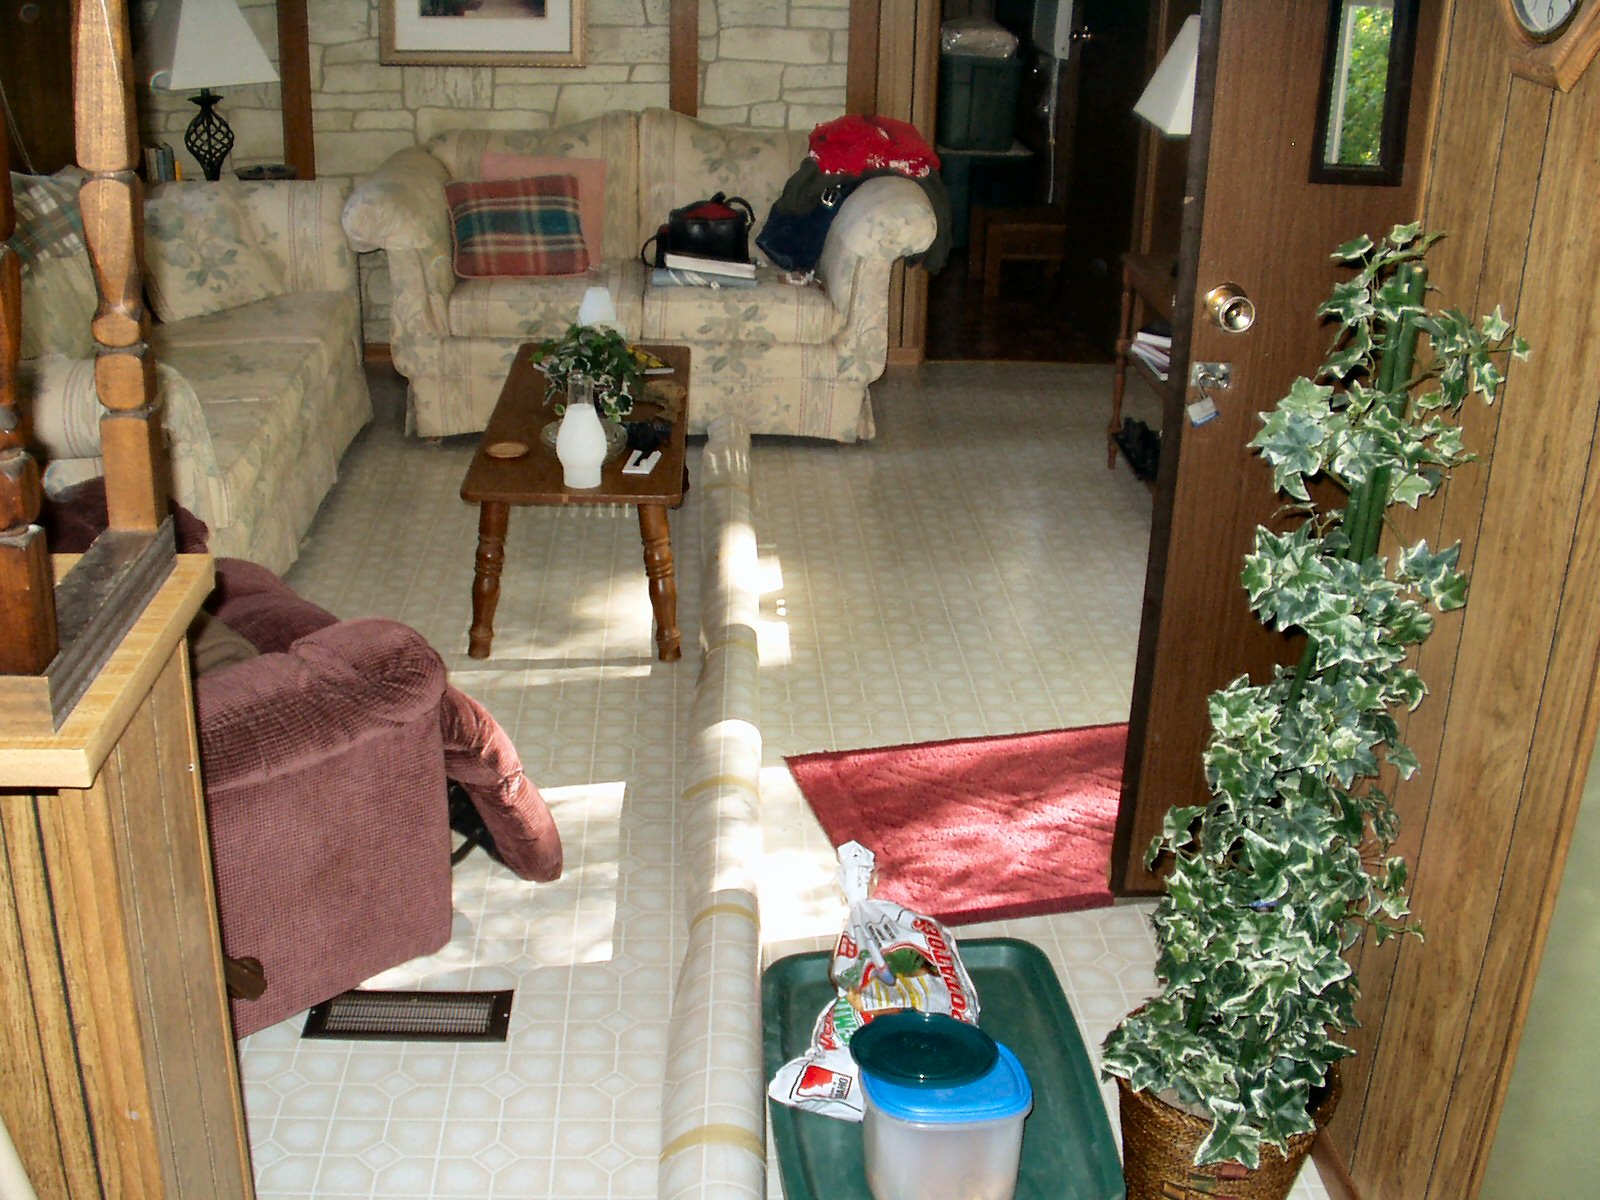
We bought 3 pieces of vinyl flooring from Lowes. The living room piece was 12' wide x 15' long. The other two are for the kitchen/hall and the back bedroom. We had a heck of a time getting a 12' wide roll unspooled in a 11' wide room! The trick was I had a 12' long 2x4 that I stuck through the window on one side, through the roll then out the other window. By cocking the 2x4 in the window sill this allowed us to get the 12' wide roll in the 11' wide room. Now one person could unspool it while the other person guided it up the walls. See Fig. 5. Since the edges of the roll are 'perfect' we left one side with just about an inch to trim and the other with the remainder.
After we got it upspooled and lined up (it has a square patterned print) I patiently used a SHARP razor knife and trimmed it to fit the room. I can't stress enough about having a sharp blade. Get a pack of them, you will need them! I left a 3 inch overlap going into the kitchen for a transition strip. See Fig. 6.
Once trimmed we used a towel wrapped around a piece of 2x4 to work out the bubbles in the floor. We let the floor sit for a couple of hours then used a staple gun to staple it around the edges and vents to prevent it from creeping. Then I installed the baseboard trim using an electric brad gun. Best tool in the world for this! Saved a lot of knee time believe me! See Fig. 7 for the finished room.